Digital Productivity, Online planners, Planners
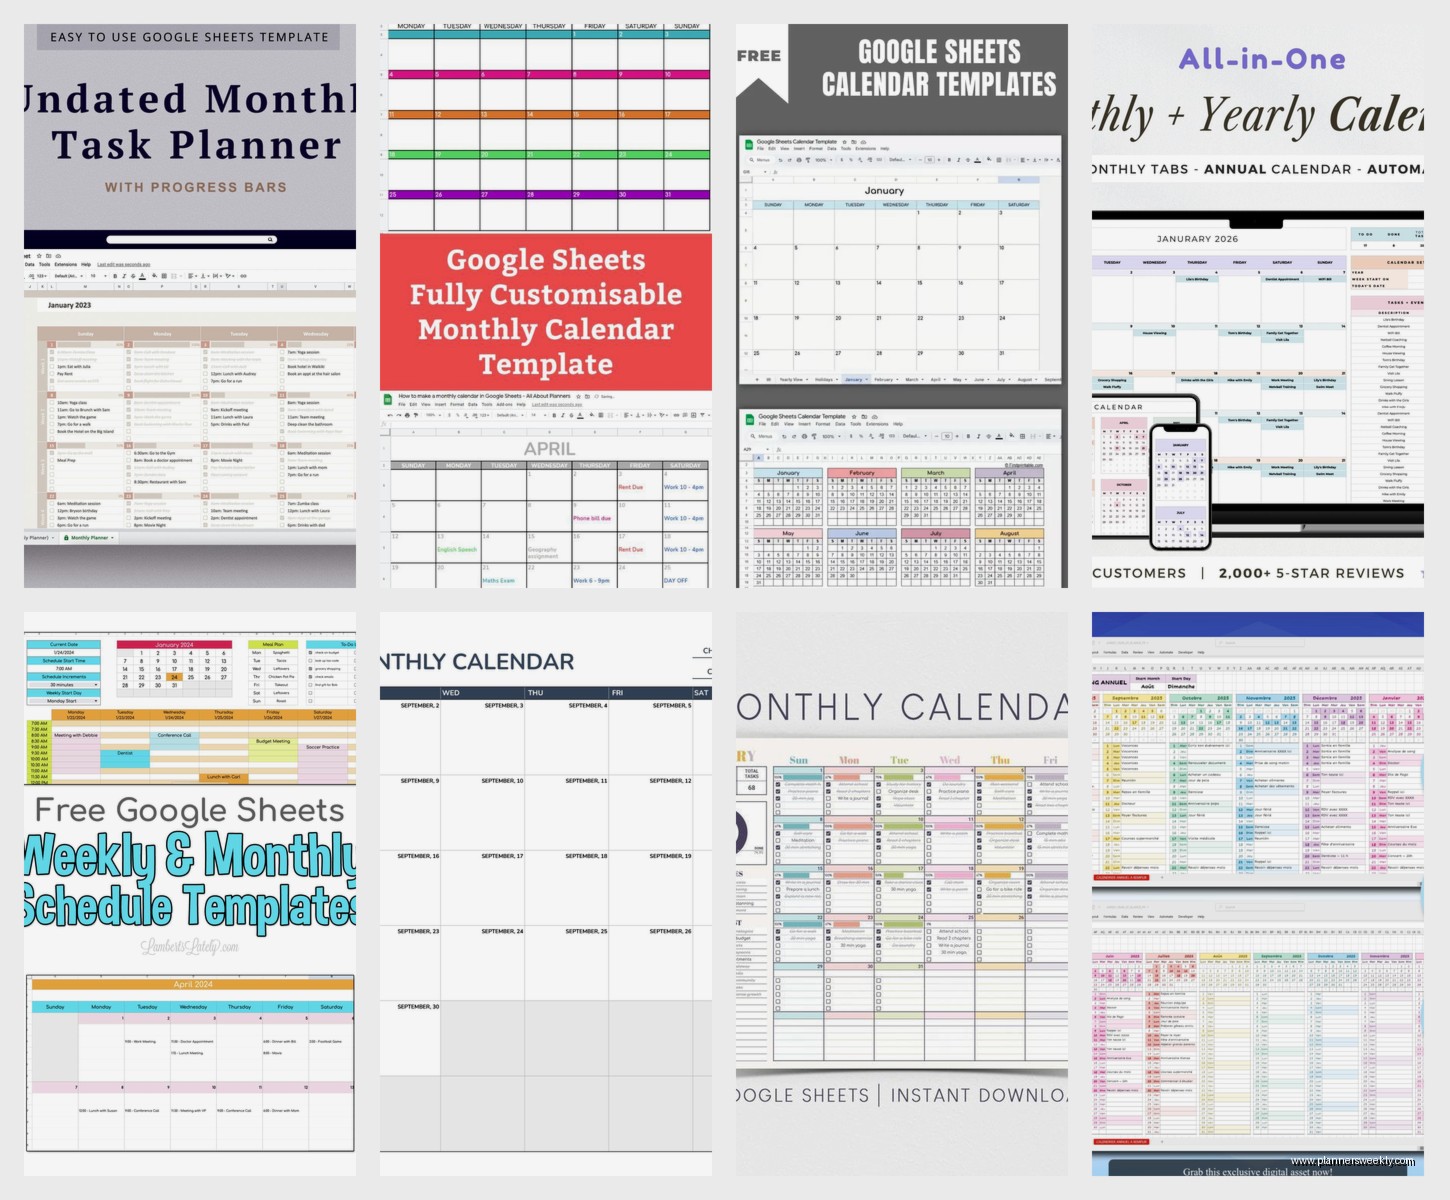
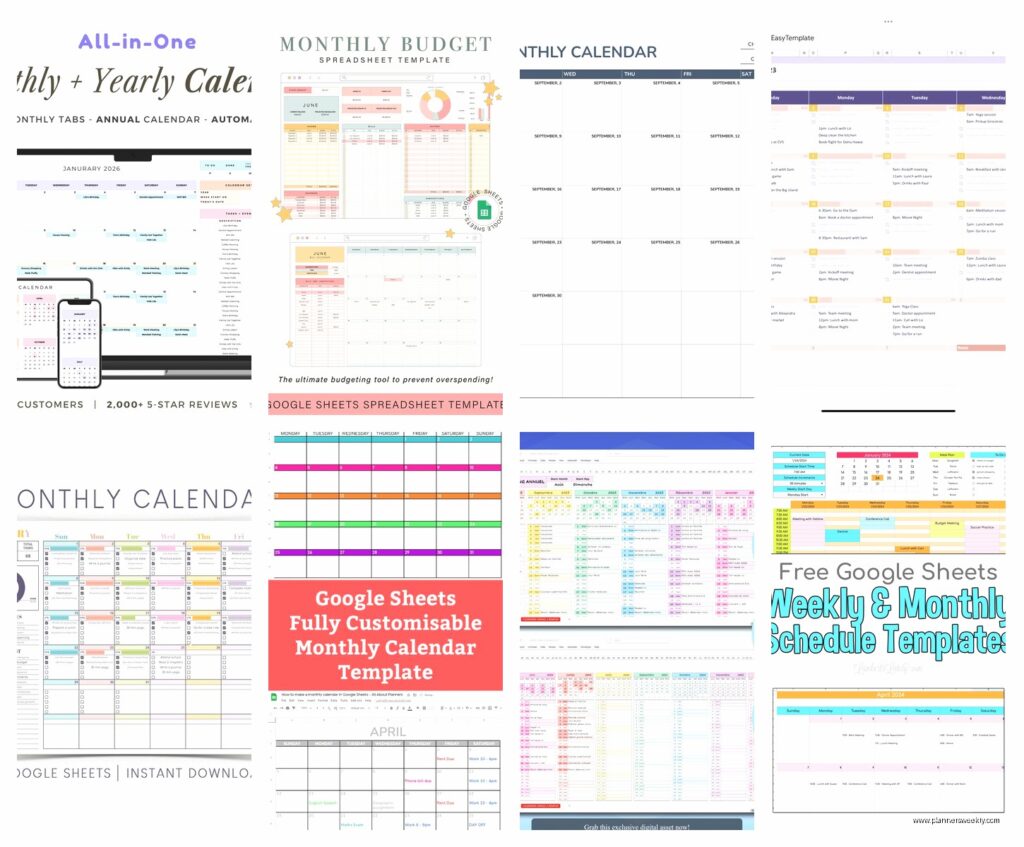
Google Sheets Monthly Calendar Template: Free Guide
Mar
Okay so I just spent like three hours setting up different Google Sheets calendar templates because my old system was a mess and honestly? The built-in templates are kinda underwhelming but there are workarounds that actually work.
Starting From Scratch vs Using Templates
So here’s the thing – Google Sheets doesn’t have a native monthly calendar template that’s actually good. Like they have the template gallery but it’s super basic and doesn’t do half the stuff you’d want. I tried their default one last Tuesday and it was just… cells with dates. That’s it. No color coding, no automatic date filling, nothing.
The fastest way to get something decent is honestly to build it yourself but not from complete scratch. You’re gonna use formulas to auto-populate dates which sounds scary but I promise it’s not.
The Fast Setup Method I Actually Use
Open a blank Google Sheet and make the first row your days of the week. Type Sunday through Saturday across cells A1 to G1. Or start with Monday if you’re that person, no judgment.
In cell A2, type the first day of whatever month you want. Like if you’re doing January 2024, figure out what day January 1st falls on. You can literally just Google “what day is January 1 2024” because who memorizes this stuff.
Here’s where it gets good though – in the next cell (B2 if you started in A2), type this formula: =A2+1
That’s it. Then drag that formula across the row. Each cell will increment by one day automatically. My dog was barking at the mailman while I was testing this and I accidentally dragged it too far but you just delete the extra cells.
Making It Actually Look Like a Calendar
The rows need to represent weeks obviously. So you’ll have 5 or 6 rows depending on how the month falls. Keep using that same formula trick – in the cell below your first week (so A3 if you started in A2), type =G2+1 to continue from the last day of the previous week.
Copy that formula across row 3. Then do the same thing for rows 4, 5, and 6. You’ll end up with dates that spill into the next month which is actually fine? I leave them there but just make them a lighter gray so I can see what’s coming.
The Date Format Thing That Tripped Me Up
Your dates are gonna look weird at first. They’ll show up as full dates like “1/1/2024” when you just want to see the day number. Right-click the cells, go to Format > Number > Custom number format, and type just a single d in the box.
That gives you just the day number. Clean and simple.
Wait I forgot to mention – you gotta make your cells bigger. Like way bigger. Highlight all your calendar cells, right-click on the row numbers and set row height to at least 100. Maybe more depending on how much stuff you write in there. I use 120 because I write a lot of notes.
Adding the Month and Year Header
This is gonna sound weird but I put the month/year in a merged cell above the calendar. Highlight cells A1 through G1, no wait – you already used those for day names. Highlight A0… that’s not a thing.
Okay insert a row above everything first. Right-click row 1 and click “Insert 1 above.” NOW merge cells A1 through G1 for your header. Type your month and year, make it big, center it, bold it. Make it look like a calendar.
The Formula Way for Month Headers
If you want to get fancy and have the month name auto-populate based on your dates below, use this formula in that merged header cell:
=TEXT(A3,”MMMM YYYY”)
Assuming A3 is where your first actual date is. This pulls the month and year from that date automatically. So if you change the starting date later, the header updates. Pretty satisfying honestly.
Color Coding That Actually Helps
Here’s what I do and it’s worked for like six months now. I color code by category but not in the cells themselves – that gets messy fast. Instead I use conditional formatting based on text.
Go to Format > Conditional formatting. Set the range to your whole calendar area. Under “Format cells if” choose “Text contains” and type something like “meeting” – then pick a color. Add another rule for “deadline” in a different color.
Oh and another thing – I make weekends a light gray background automatically. Select your weekend columns (if you started with Sunday, that’s columns A and G). Format > Conditional formatting, choose “Custom formula is” and type:
=TRUE
Then pick your gray color. This just makes those cells always gray regardless of what’s in them.
The Weekly View Hack
Sometimes monthly view is too zoomed out. I keep a second sheet in the same file (tabs at the bottom) for weekly planning. It’s basically the same setup but just one week across seven columns and way more row height. Like 200+ pixels.
I’ll have the week of dates across the top, then just massive cells below for each day where I dump everything. Tasks, notes, whatever. My client canceled last week so I spent an hour comparing the weekly vs monthly view and honestly I use weekly more for actual planning and monthly for overview.
Linking Between Views
You can hyperlink between sheets which is kinda cool. In your monthly calendar, right-click a date and choose “Insert link” – then link to your weekly sheet. I don’t do this much because it’s extra clicks but some people love it.
Template Duplication for Future Months
Once you’ve got one month set up the way you like it, duplicate the sheet tab. Right-click the tab at the bottom, choose “Duplicate.” Now you’ve got a copy.
The dates won’t be right for the next month though. You gotta change that first date cell (remember, probably A2 or A3 depending on your setup) to whatever the first of the next month is. If your formulas are set up right, everything else updates automatically.
I keep all my months in one Google Sheet file as different tabs. January, February, March, etc. Makes it easy to flip between them and I can see the whole year in one place.
Adding Dropdowns for Recurring Stuff
This changed everything for me – dropdown lists for recurring categories. Like I have the same types of tasks every month. Meetings, content deadlines, admin stuff, personal appointments.
Select a cell or range of cells where you want the dropdown. Go to Data > Data validation. Under “Criteria” choose “List of items” and type your categories separated by commas. Like: Meeting, Deadline, Admin, Personal
Now those cells have a dropdown arrow. Click it and pick from your list instead of typing every time. Saves so much time and keeps your conditional formatting consistent because you’re using the exact same words.
Checkbox Method for Tasks
For actual task lists within calendar cells, I insert checkboxes. Put your cursor in a cell, then go to Insert > Checkbox. It adds a little checkbox you can click to mark complete.
The checked boxes have a value of TRUE and unchecked are FALSE which means you can do conditional formatting on them. Make completed items turn gray or get a strikethrough. Format > Conditional formatting, set it to format cells where the checkbox is TRUE, add strikethrough text.
The Sharing Settings You Need
If you’re sharing this with a team or family, click the Share button top right. You can give people view-only access or edit access. I usually do view-only for most people and edit access for like my assistant or whoever needs to actually add stuff.
One thing though – if multiple people edit at the same time, Google Sheets shows you their cursor and it’s kinda distracting? I was watching that show The Bear while updating my calendar and someone else was editing and I kept losing my place because their cursor kept jumping around.
You can see version history too which is clutch if someone deletes something by accident. File > Version history > See version history. You can restore old versions from there.
Mobile Access Reality Check
The Google Sheets app on mobile is… okay. You can view your calendar fine but editing is annoying because cells are small and typing on phone keyboards in spreadsheet cells is not great. I mostly use mobile for checking what’s coming up, not for adding stuff.
The web browser version on mobile is actually worse somehow? Stick with the app if you’re on your phone.
Print Settings That Don’t Suck
If you wanna print your calendar, you gotta adjust print settings or it’ll be a disaster. File > Print, then set scaling to “Fit to width” and choose 1 page wide.
Set margins to narrow. Under “Formatting” check “Show gridlines” so your cells have borders when printed. I also check “Repeat frozen rows” even though I don’t usually freeze rows… wait that doesn’t make sense. Skip that one.
The print preview shows you what it’ll look like. You’ll probably need to adjust row heights and column widths to make everything fit nicely on one page. It’s trial and error honestly.
Formulas for Auto-Calculating Stuff
I have a little section at the bottom of my calendar (below all the date cells) where I track metrics. Like how many meetings I had that month or how many deadlines.
Use COUNTIF for this. The formula is: =COUNTIF(range,”criteria”)
So if I want to count how many cells contain the word “meeting” I’d do: =COUNTIF(A2:G7,”*meeting*”)
The asterisks make it match any cell that contains that word, even if there’s other text in the cell too.
You can also do SUMIF if you’re tracking numbers, like hours worked or budget stuff. Same concept.
The Template Files Other People Made
Okay so there ARE some pre-made templates floating around online that people have shared. If you search “Google Sheets calendar template” you’ll find a bunch. The good ones usually come from productivity bloggers or teachers.
I tried one from a teacher blog last month and it was actually pretty sophisticated – had built-in formulas for switching months, color coding, the whole thing. But it also had a bunch of stuff I didn’t need like grade tracking.
The template from Vertex42 is decent if you want something ready-made. They have a bunch of calendar formats. You have to download it and then upload to your Google Drive but it works.
Honestly though building your own means you understand how it works and can fix it when something breaks. Which it will because spreadsheets are weird sometimes.
Collaboration Features Worth Using
Comments are underrated. Right-click any cell and choose “Comment” – you can tag people with @ mentions and they’ll get notified. Good for asking questions about specific dates or events without having to send a separate message.
There’s also “Assign to” in comments which creates like a mini task. I don’t use this much because I have other task management tools but if your whole system is in Sheets it could work.
Backup Situation
Google auto-saves everything which is great but I still download a copy of my calendar at the end of each month. File > Download > Excel format works fine. I just keep them in a folder on my computer as backup.
You can also use Google Takeout to export all your Google Drive stuff if you’re worried about losing access to your account or whatever. I did this once and it took like three days to process because I have way too many files but it worked.
Keyboard Shortcuts That Help
Learn these, they’re gonna save you time:
Ctrl + ; inserts today’s date
Ctrl + Shift + ; inserts current time
Ctrl + D fills down (copies cell above)
Ctrl + R fills right (copies cell to the left)
There are more but those are the ones I actually remember to use.