Digital Productivity, Online planners, Planners
GoodNotes Planner: Complete Template & Setup Guide
Apr
Okay so I just spent like three weeks deep in GoodNotes planner templates and here’s what actually works
The first thing you gotta know is that GoodNotes doesn’t come with a built-in planner. Like, at all. Which honestly threw me off when I first downloaded it because I assumed it’d be like those other apps with preset layouts. Nope. You’re either buying templates from Etsy or making your own, and I’ve done both because apparently I have no self-control when my dog’s at the groomer and I’m waiting with my iPad.
Let me just jump straight to setup because that’s where everyone gets stuck. You download GoodNotes from the App Store, open it, and you’re staring at this blank library screen. The interface is pretty clean but also kinda confusing if you’ve never used it before. That plus button in the corner is your friend. Tap it and you’ll see options for creating a new notebook.
Getting Your Template Into GoodNotes
So there’s like three ways to do this and I’ve tried all of them at weird hours of the night:
- Import a PDF template you bought or downloaded
- Create from their blank templates (boring but functional)
- Take images and convert them into a planner (more complicated than it needs to be)
The PDF route is honestly the easiest. When you buy a template from Etsy or Notability Market or wherever, it downloads as a PDF to your Files app. Then you just tap that plus button in GoodNotes, choose “Import,” navigate to where you saved it, and boom. It shows up as a new notebook in your library.
One thing that messed me up initially was the whole dated vs undated template situation. I bought this gorgeous daily planner template in January thinking I’d be super organized, but it was dated for 2023 and I couldn’t figure out how to change it. Turns out you can’t. You need undated templates if you want flexibility, which is what I recommend unless you’re buying specifically for the current year and you’re okay with it becoming useless on January 1st.
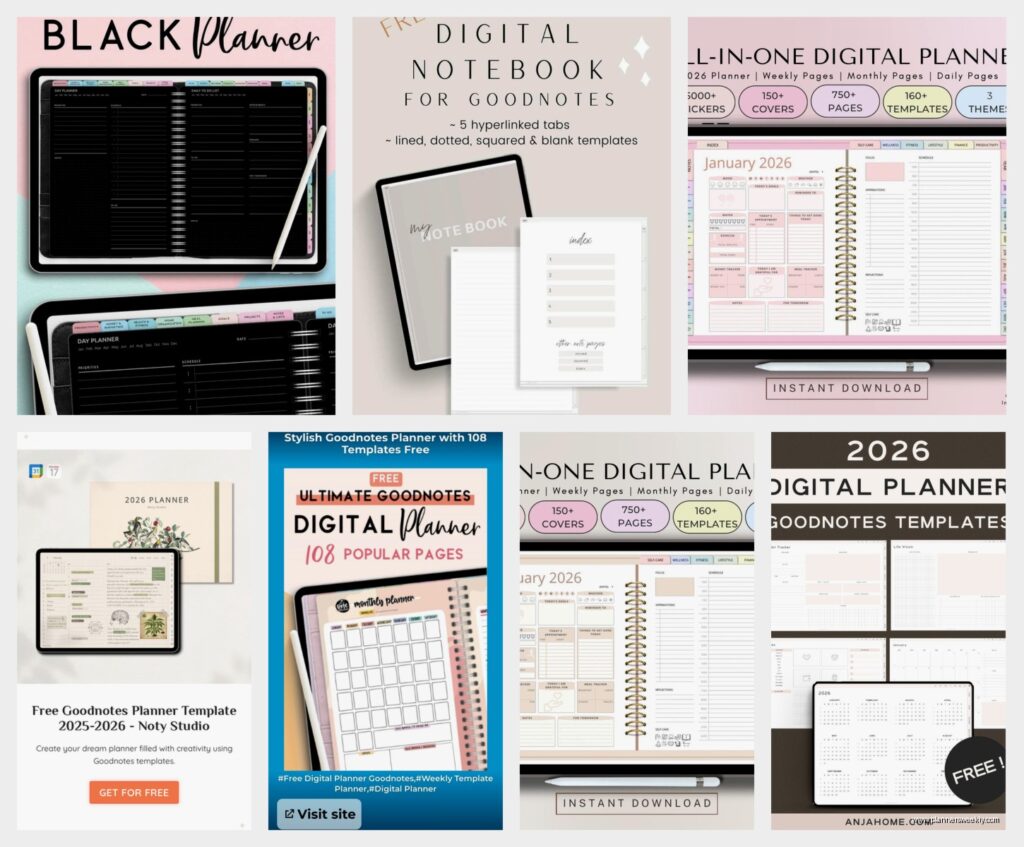
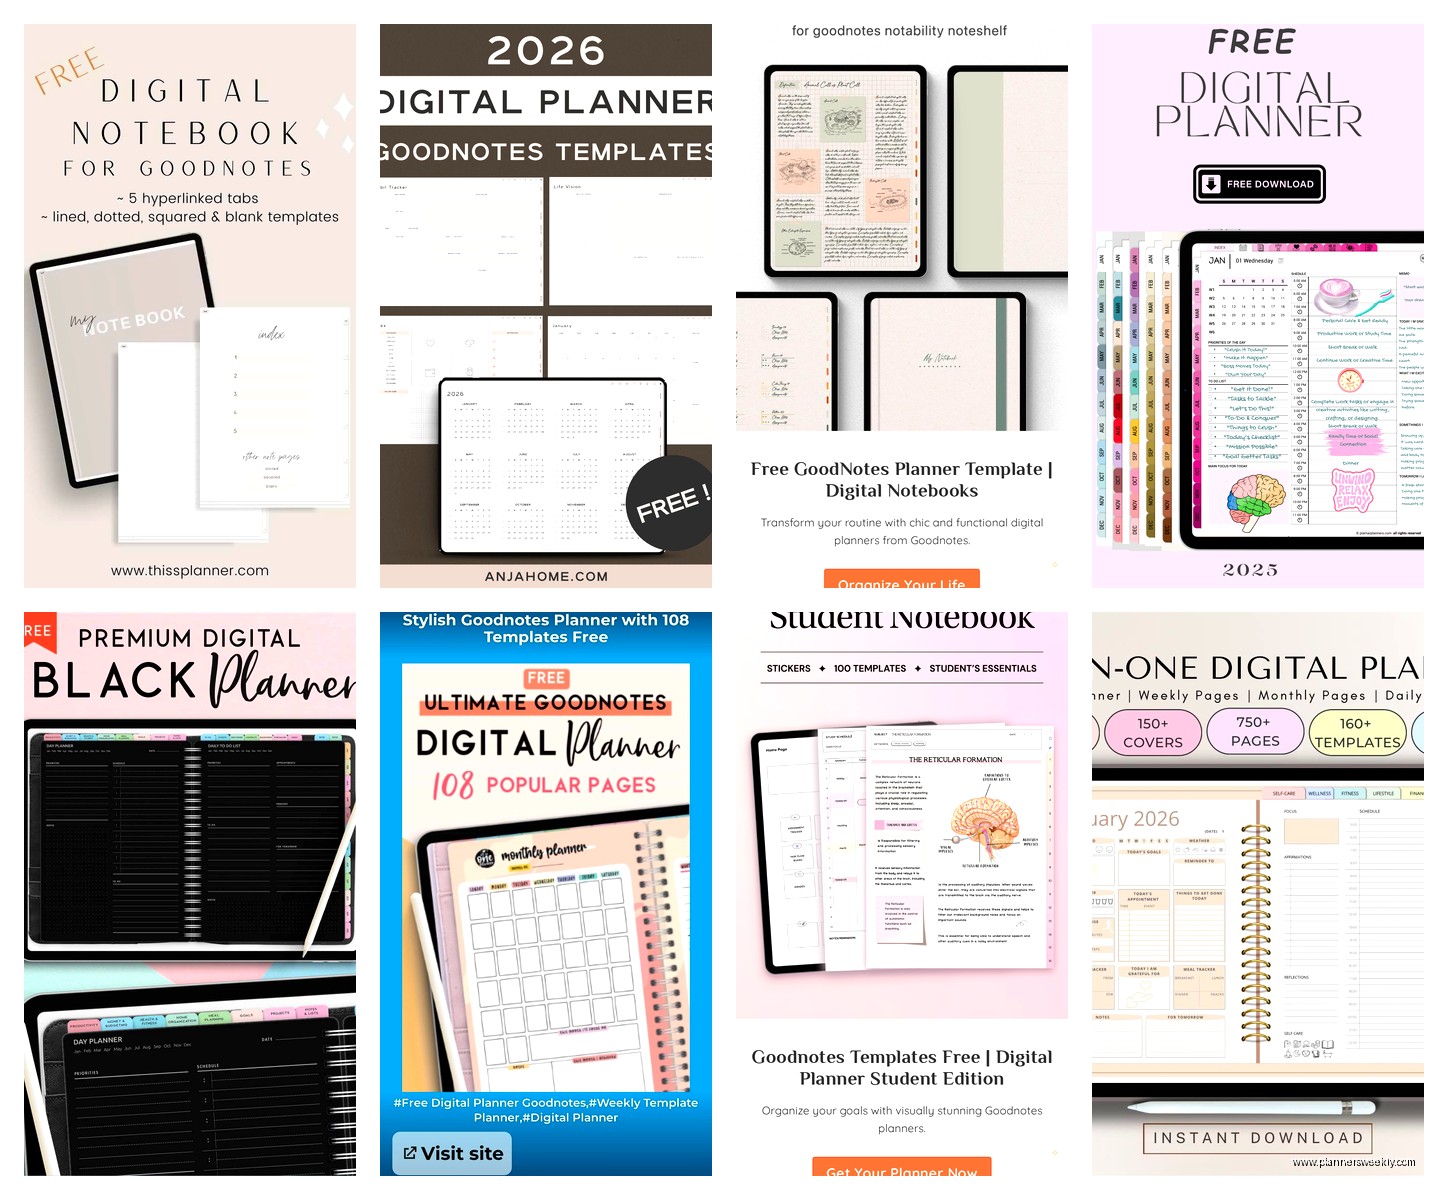
Template Shopping Real Talk
I’ve probably spent like $150 on templates at this point testing stuff for clients. The price range is wild. You’ve got free ones on Reddit and Pinterest that are honestly pretty decent, then Etsy templates ranging from $3 to $30, and some premium creators charging $50+ for comprehensive planner systems.
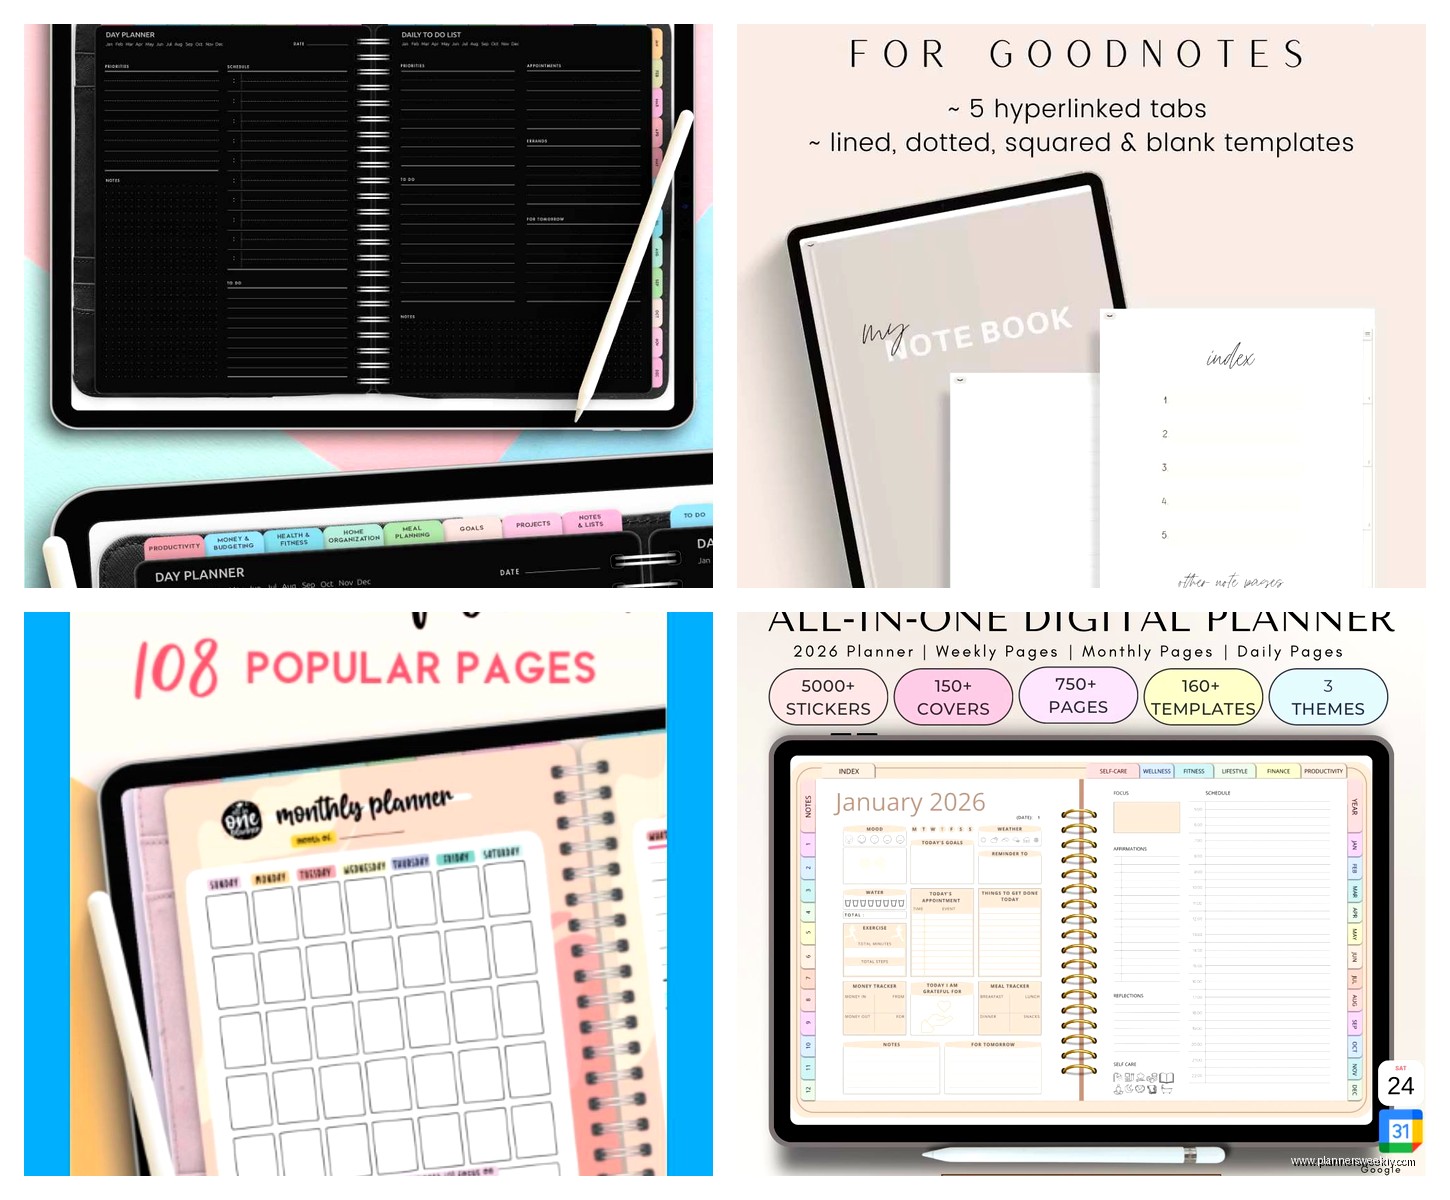
Here’s what I actually use and recommend: PlannerKate on Etsy has undated templates for around $8-12 that are super clean. Not too many colors, good hyperlinks between sections. Oh and another thing about hyperlinks because this is crucial. The better templates have clickable tabs and buttons that let you jump between months, weeks, and daily pages without scrolling forever. Check the product description to see if it mentions “hyperlinked” because scrolling through 365 pages to find August 14th is gonna make you quit digital planning real fast.
I also tried making my own template in Keynote once during a really boring webinar I was supposed to be attending. It’s doable but tedious. You basically design your layout, export as PDF, then import to GoodNotes. The problem is you lose the hyperlinking unless you’re really good with PDF editing software, which I am not.
Actually Setting Up Your Planner
Okay so you’ve imported your template. Now what. First thing I do is customize the cover. Most templates come with a blank cover page or a generic one. Tap the three dots on your notebook, select “Cover & Paper,” and you can change it. Some people get really into this with custom graphics and photos. I just pick a solid color that matches my mood that month because my cat stepped on my iPad once and changed it to hot pink and honestly it was fine.
Paper type matters more than you’d think. GoodNotes gives you options for the paper background, but if you’re using a template, it already has its design built in. What you wanna pay attention to is whether your template has writing space that works with your handwriting size. I write kinda big and learned this the hard way with a minimalist template that had tiny daily boxes. Looked aesthetic, totally unusable for my giant scrawl.
The Pen and Tool Situation
This is gonna sound weird but the pen settings took me forever to figure out. GoodNotes has fountain pen, ballpoint, and brush pen options. Each one feels different with an Apple Pencil. I use ballpoint for everything because it’s most like actual pen on paper and doesn’t have that weird pressure-sensitive thickness variation.
You can customize three pen presets in the toolbar which is clutch. I have mine set to: black ballpoint for writing, a thin gray pen for sketching or underlining, and a pink highlighter. To set this up, tap the pen icon, choose your settings, then tap and hold one of the three preset circles at the top. Select “Save as Preset” and now you can switch between them with one tap instead of adjusting settings every time.
Wait I forgot to mention the eraser. There’s a regular eraser and a “stroke eraser” that deletes your entire pen stroke with one tap. The stroke eraser is amazing when you mess up a whole word, but dangerous when you accidentally tap something you wanted to keep. I turned it off in settings after deleting an entire week of meal planning notes.
Hyperlinks and Navigation
If your template has hyperlinks already, you’re golden. Just tap the linked areas and they’ll take you places. But if you wanna add your own links or your template doesn’t have them, here’s how it works. You select the lasso tool, circle the area you want to make clickable, then tap the three dots and choose “Link.” You can link to another page in the notebook, a different notebook, or even a website.
I added custom links to my monthly overview pages that jump to specific project planning sections I created. It’s honestly a game-changer for client work because I can tap “Client A” on my weekly page and jump straight to their project notes instead of flipping through tabs.
The tab system is also something you should set up early. GoodNotes lets you add tabs to notebooks by tapping the four-squares icon, then the plus sign. You can label them and assign them to specific pages. I have tabs for Monthly, Weekly, Daily, Goals, and Notes. Makes navigation so much faster than scrolling.
Stickers and Elements
Oh man, the sticker rabbit hole. There are entire Etsy shops dedicated to GoodNotes stickers. They’re basically PNG images with transparent backgrounds that you import as “elements” in GoodNotes. I bought a pack of productivity stickers for like $4 that has little icons for “meeting,” “deadline,” “call,” etc.
To use them, you import the sticker file (usually comes as a PDF or you add PNGs to a GoodNotes notebook). Then you use the lasso tool to select a sticker, copy it, and paste it wherever you want in your planner. You can resize by dragging the corners. Pro tip: create a dedicated sticker storage notebook where you keep all your sticker sets. Then you can just switch between notebooks, copy what you need, and paste it into your planner.
Some templates come with built-in sticker pages which is convenient. My current planner has a whole page of checkbox stickers and decorative elements at the back.
Daily Workflow That Actually Works
Here’s how I actually use this thing every day because having a pretty planner means nothing if you don’t open it. I keep GoodNotes in my iPad dock so it’s always accessible. Every morning with coffee, I open to today’s page and write out my top three tasks. That’s it for morning planning.
Throughout the day I add notes during meetings, cross stuff off, add random thoughts. The handwriting recognition is surprisingly good, so later I can search for specific words I wrote. Like last week I needed to find a book recommendation someone mentioned and I just searched “book” in GoodNotes and it pulled up my handwritten note from three weeks ago.
I also use the audio recording feature during client calls sometimes. You tap the microphone icon and it records while you take notes, then links the audio to your handwriting. So you can tap on a note later and hear what was being said when you wrote it. Little creepy maybe but super helpful for detailed project requirements.
Backup and Sync
This stressed me out initially because I didn’t want to lose everything if my iPad died. GoodNotes auto-syncs to iCloud if you have it enabled, which you should. Check in Settings > Your Name > iCloud > GoodNotes and make sure it’s toggled on. Then your planners sync across all your Apple devices.
I also manually export important notebooks as PDFs once a month to my computer. Just in case. You do this by tapping the three dots on a notebook and choosing “Export.” I learned this paranoia from losing an entire semester of grad school notes to a corrupted file back in 2015 and I’m still not over it.
Templates I Actually Recommend
Okay so after testing way too many, here’s what’s worth buying. For daily planning, anything by TheStudiousStudent on Etsy is solid and cheap. For business/productivity, PlannerKate like I mentioned. If you want something more creative and colorful, BlushPrintCo has gorgeous designs but they’re pricier.
There are also free templates on GoodNotes’ official website and Reddit’s r/GoodNotes community. The free ones are hit or miss on quality but good for testing whether you even like digital planning before spending money.
One template mistake I made was buying a super comprehensive system with like 500 pages including budget trackers, habit trackers, meal planners, fitness logs. It was overwhelming and I used maybe 10% of it. Start simple. Get a basic monthly/weekly/daily setup and add specialized pages later if you need them.
Random Tips That Helped Me
The zoom window feature is clutch for detailed writing. Double-tap with two fingers and this little box pops up showing a zoomed-in view of where you’re writing. Game-changer for small spaces.
You can duplicate pages easily by long-pressing a page thumbnail and selecting duplicate. Super helpful when you run out of daily pages or want to reuse a layout.
Shape tool is weirdly useful. Draw a rough circle or rectangle and hold your pencil down at the end of the stroke. GoodNotes auto-corrects it into a perfect shape. Makes drawing boxes for task lists way neater.
Okay I think that covers the main stuff. The learning curve is real for like the first week but then it becomes second nature. My biggest advice is just start using it even if your setup isn’t perfect. You’ll figure out what works for you way faster by actually planning than by watching setup videos on YouTube at midnight, which is definitely not what I was doing last Tuesday while my partner watched The Last of Us in the background.