Digital Productivity, Online planners, Planners
Custom Weekly Planner: Create Your Perfect Schedule
Mar
Okay so I’ve been working with custom weekly planners for like three years now and honestly the whole “create your perfect schedule” thing sounds way more intimidating than it actually is. Last week I had a client cancel so I spent two hours just setting up a new system and here’s what actually works.
Figure Out What You’re Actually Planning For
First thing you gotta do is stop looking at those aesthetic planner photos on Instagram because they’re lying to you. Not like intentionally but those people aren’t showing you the crossed-out days and the weeks they didn’t touch it. I learned this the hard way after buying four different custom planners in 2022 thinking each one would magically fix my scattered brain.
Sit down and actually think about what you need to track. And I mean really need, not what looks cute. Are you tracking work projects? Meal planning? Kids’ activities? Because trying to cram everything into one weekly spread is how you end up with a planner that stresses you out instead of helping.
I use mine primarily for client sessions and content deadlines, so my setup looks totally different from my friend Sarah who homeschools three kids. She needs like five columns per day and I need big time blocks. Neither is wrong, they’re just different.
The Layout Question Everyone Gets Wrong
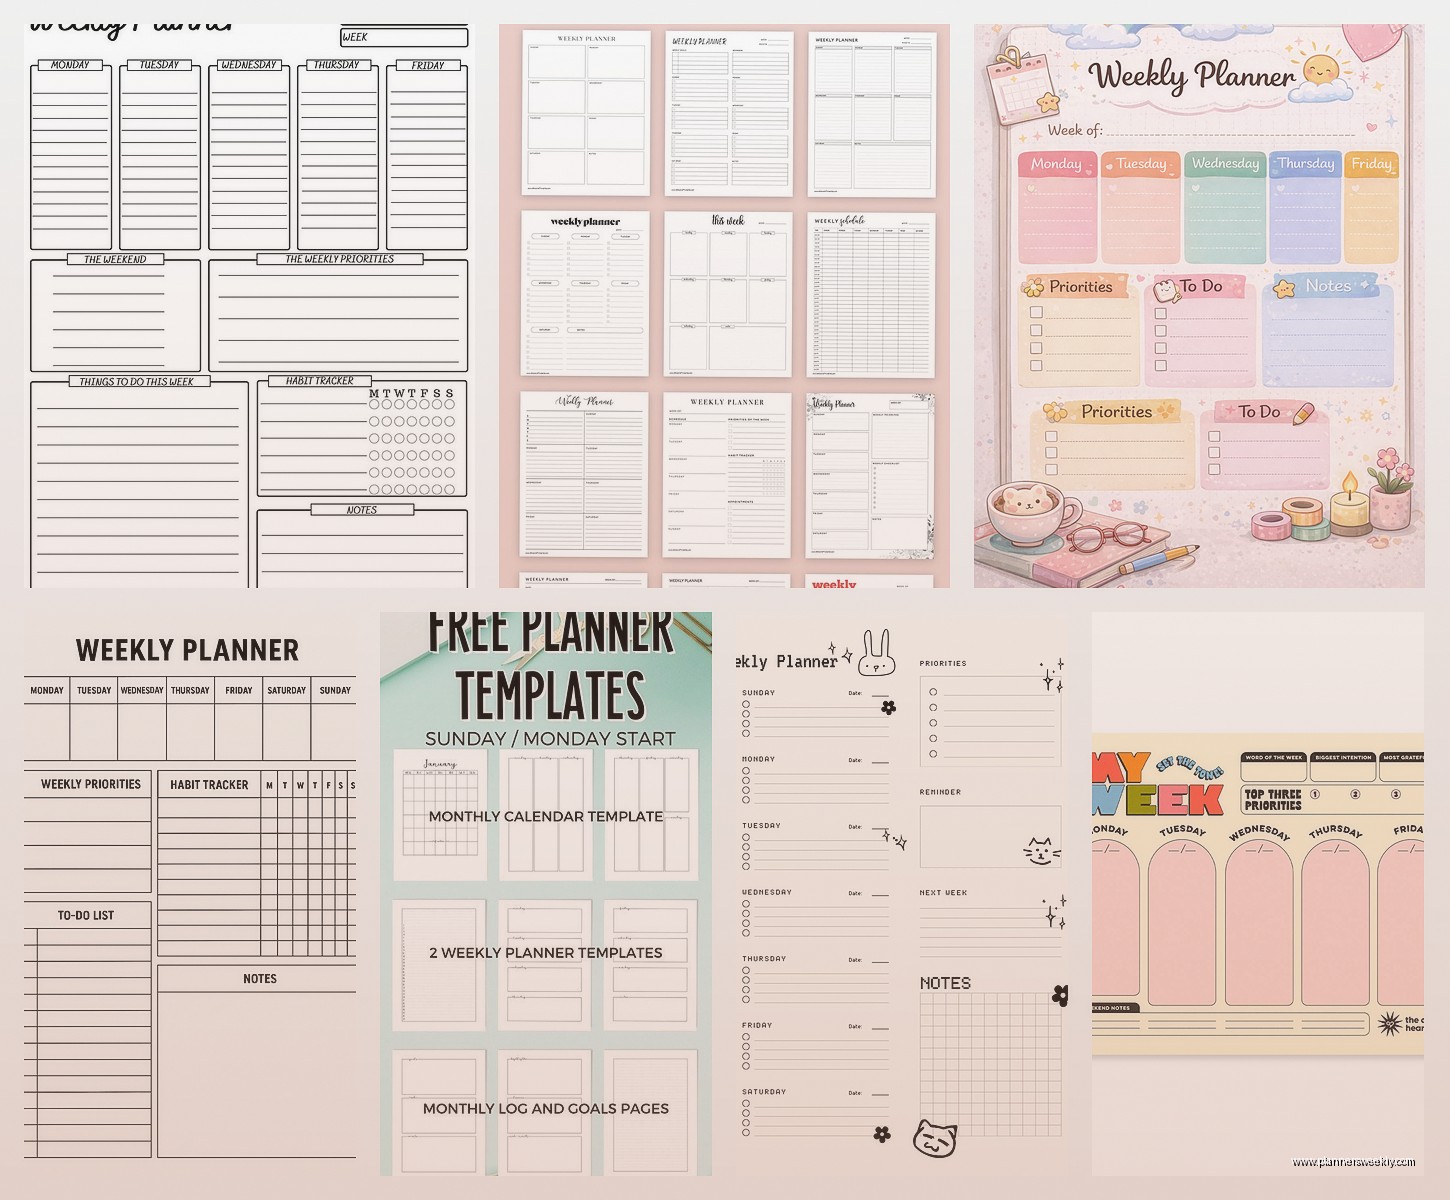
So here’s where people mess up immediately. They pick a layout based on what looks nice instead of how they actually think about time. There’s basically three types and you probably already know which one fits your brain:
- Vertical layouts where each day is a column going down the page
- Horizontal layouts where days stack on top of each other
- Time-blocked layouts with actual hours marked out
I’m a horizontal person because I like seeing Monday through Sunday all at once without turning pages or whatever. But my partner uses vertical because he processes information top to bottom and it just clicks better for him. There’s no right answer here which is annoying because everyone wants me to tell them the “best” layout.
Oh and another thing, if you’ve never used a planner consistently before? Start with the simplest layout possible. I cannot stress this enough. Don’t get the one with twelve sections per day and habit trackers and water intake logs. You won’t use it. Get something basic, use it for a month, then you’ll know what you’re missing.
Time Blocking vs Task Lists
This is where it gets personal because people have strong feelings. Time blocking is where you assign specific hours to tasks like “9-11am: write blog posts” and task lists are just bullet points of stuff to do whenever.
I do a hybrid thing that probably looks chaotic to other people but works for me. Morning time blocks because that’s when I see clients and need structure, then afternoon task lists because my energy is unpredictable and I need flexibility. Tried doing all time blocks for like three weeks last fall and it made me want to throw my planner across the room every time something ran over.
If you have a job with set hours, time blocking makes sense. If you’re juggling multiple roles or have unpredictable days, task lists might save your sanity.
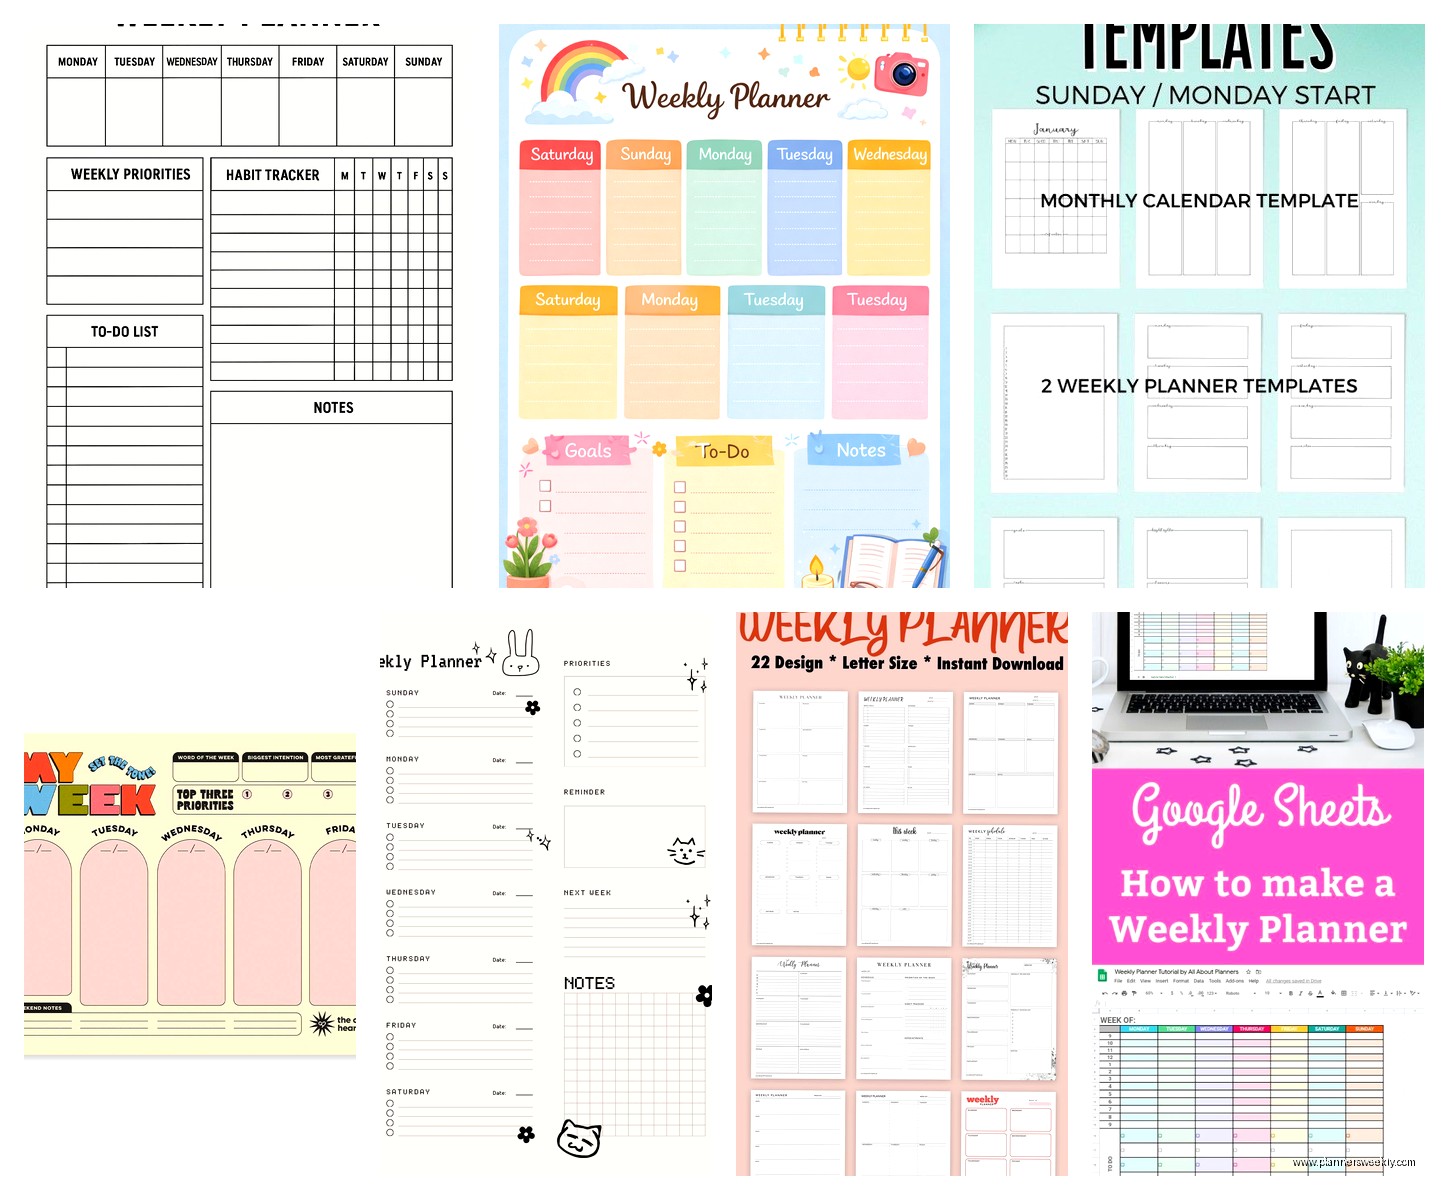
Actually Customizing The Thing
Okay so now we get to the actual custom part. You’ve got options and they range from “buying a pre-made planner and adding stickers” to “designing every page from scratch in Canva” and both are valid.
The easiest route is finding a planner company that lets you choose options. I’ve used Plum Paper and Erin Condren for clients who want something nice but don’t wanna design from scratch. You pick your layout, add sections, choose colors, done. Takes maybe fifteen minutes and you get something that’s 80% perfect which is honestly good enough.
Wait I forgot to mention, if you’re gonna go the custom printed route, order a sample or the smallest size first. I once ordered a full-year custom planner that looked perfect online and when it arrived the time slots were too small for my handwriting. Spent $60 on something I used for two days.
The DIY Digital Route
This is what I do now because I’m picky and also because my needs change every quarter. I design weekly templates in Google Sheets, yes Sheets not Docs, because the grid makes it easier to keep everything aligned.
Here’s my actual process and it’s gonna sound more complicated than it is:
- Open Google Sheets and make the columns whatever width feels right
- First column is time blocks if I want them, or just task categories
- Next seven columns are days of the week
- Add whatever rows I need, usually like 15-20
- Print or save as PDF to use digitally
The beauty of this is I can change it whenever. Added a new client who needs weekly check-ins? Add a row. Stopped doing something? Delete it. With printed planners you’re stuck with the layout for the whole book.
My dog just knocked over my coffee which is exactly why I keep my planner digital now because I’ve ruined two paper planners with spills.
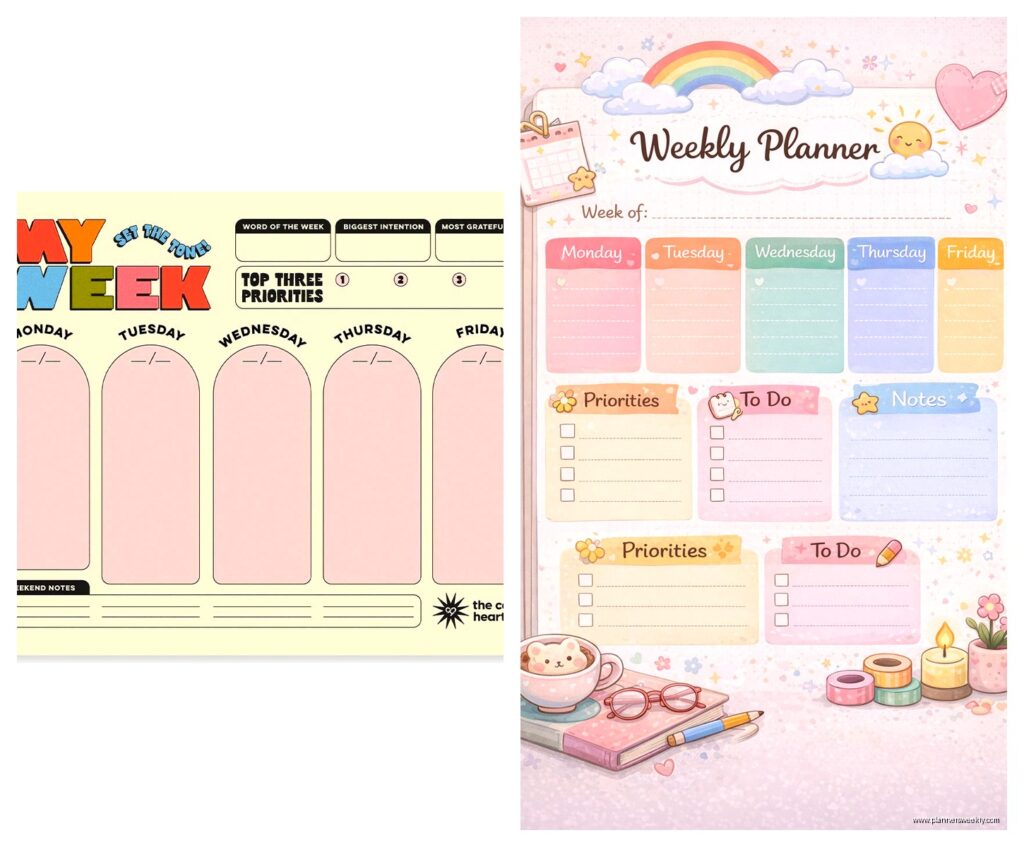
What to Actually Include in Your Weekly Spread
This is where most people overcomplicate things. I see planners with sections for gratitude and affirmations and moon phases and look, if that works for you great, but most people abandon planners because they feel guilty about not filling in every single box.
My bare minimum weekly spread has:
- The actual days with space to write tasks or appointments
- A notes section for random thoughts that don’t fit anywhere else
- Top priorities for the week, like three max
That’s it. Everything else is optional. I added a meal planning section last year because I was wasting money on takeout, and it’s been helpful, but I went like two years without it and survived fine.
The Stuff I Tested That Didn’t Work
Okay so in the interest of saving you time and money, here’s what I tried that flopped:
Habit trackers in my weekly planner just made me feel bad. I’d see the empty boxes and feel guilty instead of motivated. Moved habit tracking to a separate monthly thing and it’s way better.
Color coding by category looked beautiful but took too much time. I’d sit there deciding if something was “personal” or “work” or “household” and then just write it in whatever pen was closest anyway. Now I only use two colors, black for regular stuff and red for deadlines, done.
Hourly time slots from like 6am to 11pm were overwhelming. I don’t need to schedule every single hour and seeing all those empty slots made my weeks look depressing. Switched to just morning, afternoon, evening blocks and it’s much better.
Digital vs Paper and Why It Actually Matters
Everyone asks me this and I hate answering because both work depending on your life. I use digital now but I used paper for years and it was fine.
Paper is better if you’re on screens all day and need a break, if you’re a visual person who needs to see everything at once, or if you just like the feeling of writing things down. There’s actual research about how writing by hand helps memory and I believe it because I still remember tasks better when I handwrite them.
Digital is better if you need to access your planner from multiple devices, if you share schedules with other people, or if you’re like me and constantly tweaking your system. Also if you’re messy, digital means you can erase mistakes instead of scratching things out or using white-out like it’s 1995.
This is gonna sound weird but I actually keep both now. Digital for my main planning and a small paper notebook for daily task lists because something about crossing things off with a pen is more satisfying than clicking a checkbox.
Making It Actually Work Week After Week
Okay so you’ve got your custom planner, it’s perfect, it’s beautiful, now what? Because the planner itself doesn’t do anything, you gotta actually use it consistently and this is where most people fall off.
I do weekly planning every Sunday evening, takes like twenty minutes. I look at what’s coming up, block out my client sessions, note any deadlines, and pick my top three priorities. That’s literally it. Some weeks I’m more detailed, some weeks I just scribble the bare minimum, both are fine.
The key thing is making it part of your routine. I do mine while watching TV on Sunday nights, currently rewatching The Office for the millionth time, and it doesn’t feel like a chore because I’m already sitting on the couch anyway.
Daily I spend maybe five minutes in the morning looking at my planner and five minutes at the end of the day updating it. If you’re spending more than fifteen minutes a day on planner maintenance, your system is too complicated.
When to Redesign Your System
You’re gonna need to change things eventually and that’s normal. I redesign my planner setup about every three months because my work changes or I realize something isn’t working.
Signs you need to adjust your planner:
- You keep forgetting to look at it
- You’re constantly running out of space in certain sections
- Other sections stay empty week after week
- It takes too long to fill out
- You feel stressed when you open it instead of organized
Don’t feel bad about changing things. The whole point of a custom planner is that it adapts to you, not the other way around.
Budget Real Talk
Custom planners can range from free to like $80 depending on what route you take. Here’s the honest breakdown:
Free: Design your own in Google Docs or Sheets, print at home or use digitally. This is what I recommend starting with because you might realize you hate planning and then you’re out nothing.
Under $20: Print shops like Staples can bind printed pages for cheap, or use a basic disc-bound system and print your own inserts. I did this for a year and it worked great.
$30-50: Pre-customized planners from companies like Plum Paper or Rifle Paper Co where you choose layouts and add-ons. Good middle ground if you want something nice but not DIY.
$60+: Fully custom printed planners or fancy disc-bound systems with all the accessories. Only worth it if you know exactly what you want and you’ve tested the system already.
I spent probably $200 total testing different planners before I figured out what worked for me, which sounds like a lot but it was over two years and saved me from buying the wrong thing repeatedly.
Tools That Actually Help
If you’re designing your own planner, these tools are worth knowing about:
Canva has free planner templates you can customize. The interface is pretty intuitive even if you’re not a designer. I use this when I want something prettier than my Google Sheets setup.
Google Sheets or Excel for simple layouts that you can easily edit. Not pretty but functional and free.
Notion if you want something digital and flexible. There’s a learning curve but once you get it, you can create really custom setups. I use this for monthly planning but it’s too fiddly for my weekly stuff.
For printing, I just use my regular home printer and three-hole punch pages to put in a binder. Nothing fancy needed unless you want it to look professional.
Oh and get a good pen if you’re using paper. Sounds obvious but I used cheap pens for months and they’d skip or bleed through and it made planning annoying. Spent $15 on decent pens and it actually made a difference.
The main thing is starting simple and adding complexity only when you actually need it. Most people do the opposite, they start with this elaborate system and then never use it because it’s too much work. Start basic, use it for a few weeks, see what’s missing, add that one thing, repeat. That’s how you end up with a planner that actually works for your life instead of just looking good on your desk.