Digital Productivity, Online planners, Planners
GoodNotes Digital Planner: Complete Setup & Template Guide
Mar
Okay so I just spent the entire weekend setting up GoodNotes planners and here’s what actually works
First thing you gotta do is actually download GoodNotes 6 from the App Store. It’s like $9.99 now instead of the old subscription model they were testing, which honestly is way better because I hate subscriptions for everything. Download that first before you even think about buying templates because otherwise you’ll just have random PDF files sitting in your downloads looking at you.
The setup part is where everyone gets confused and honestly I did too the first time. So you open GoodNotes and it’s gonna ask you to create your first notebook. Don’t panic about this because you can delete it later. I named mine “test” and then forgot about it for three months until I was showing a client how to use the app and there it was, just sitting there.
Getting Templates Into GoodNotes
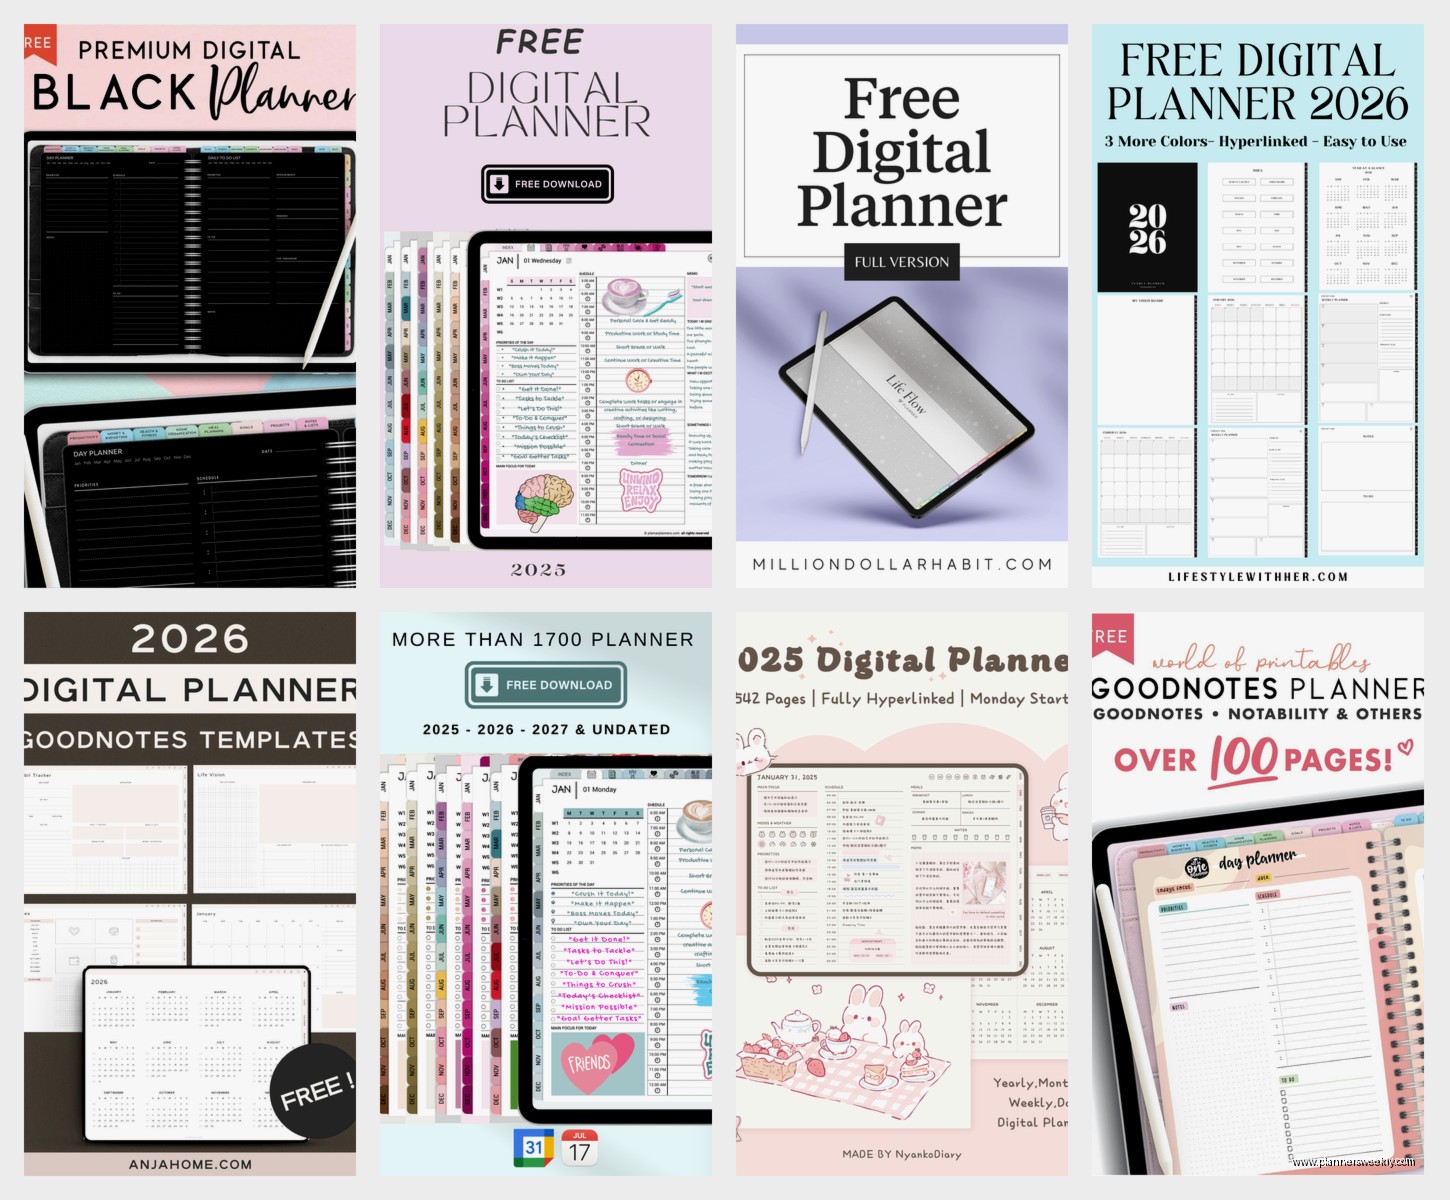
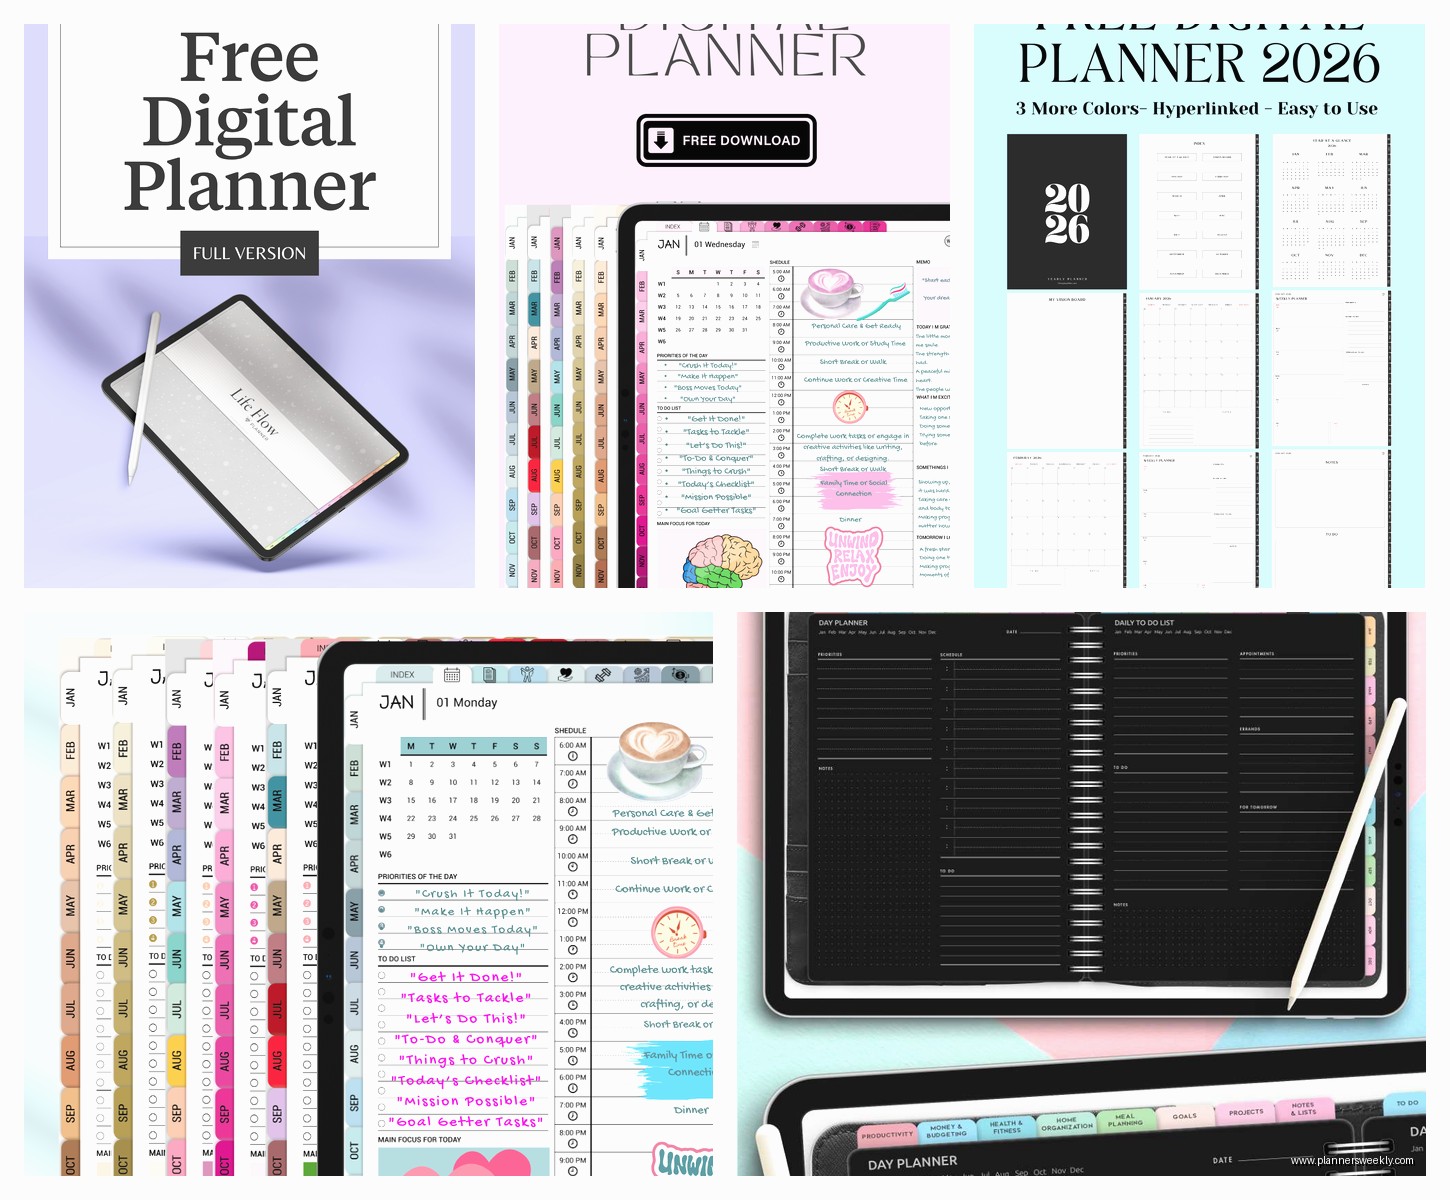
This is gonna sound obvious but you need to actually have a template first. You can buy them from Etsy, Creative Market, or honestly there are free ones on Pinterest if you search “GoodNotes planner free” but the quality is super hit or miss. I’ve tested probably 30 different templates at this point because my dog ate my charger last week and I couldn’t work so I just went down a rabbit hole.
Once you have your template file, it’s usually gonna be a PDF or a GoodNotes file. If it’s a GoodNotes file (ends in .goodnotes), you literally just tap it and it imports automatically. Super easy. PDF files are slightly different and here’s where it gets weird.
For PDFs you have two options. You can import them as a new notebook OR you can add them to an existing notebook. I prefer importing as a new notebook because then each planner is separate. To do this you tap the three dots in GoodNotes, select Import, find your PDF wherever you downloaded it (usually Files app or your email), and boom it’s in there.
Hyperlinks and Why They Matter
Okay so the fancy templates, the ones that cost like $8-15, usually have hyperlinks built in. This means you can tap on “March” in your yearly overview and it jumps straight to March. Same with tabs and navigation buttons. When you first import a hyperlinked template, make sure you test the links before you start writing all over it.
I bought this really pretty minimalist planner last month and NONE of the hyperlinks worked. Had to get a refund which was annoying because the seller took four days to respond. Now I always check the reviews specifically for mentions of hyperlinks working or not.
To test hyperlinks, just tap around on the template pages. If they work, you’ll feel a little haptic feedback and the page will jump. If nothing happens, the template either doesn’t have hyperlinks or they’re broken.
Setting Up Your Actual Planning System
This part took me forever to figure out because everyone does it differently. Some people use one massive planner file with everything. Some people have separate notebooks for work, personal, goals, whatever. I’ve tried both and honestly the separate notebooks thing works better for me but you might be different.
My current setup is four notebooks: Daily Planning, Work Projects, Personal Goals, and Random Notes. The Daily Planning one is my main planner with monthly and weekly spreads. Work Projects is where I dump client stuff and blog post ideas. Personal Goals is basically a journal at this point. Random Notes is chaos, just pure chaos, recipe screenshots and workout routines and notes from that documentary I watched at 2am.
Oh and another thing, you can organize these into folders which I didn’t discover until like month three of using GoodNotes. Just tap and hold on a notebook, select “Move to Folder,” and create a new folder. I have folders for 2024 Planning, Archives, and Templates I Haven’t Used Yet.
Pen Settings That Actually Matter
The pen tool is where you’ll spend most of your time. GoodNotes has fountain pen, ballpoint, and brush pen options. I literally only use ballpoint because it looks the cleanest and doesn’t have weird pressure sensitivity issues. Fountain pen looks pretty but if you write fast it gets blobby.
For pen thickness, I use 0.3 for regular writing, 0.5 for headers, and like 1.0 if I’m trying to fill in a habit tracker or something. The thickness you need totally depends on your handwriting size though. My client Sarah uses 0.5 for everything because she writes tiny.
Color situation: you can customize your pen colors in the settings. I changed mine to match my template colors which sounds extra but it actually makes everything look more cohesive. To do this, go to the pen settings (the little gear icon), tap on a color, and use the color picker to choose whatever you want.
The Lasso Tool Is Your Best Friend
Wait I forgot to mention this earlier but it’s super important. The lasso tool lets you select handwriting or shapes and move them around. This is crucial for when you write something in the wrong spot or want to rearrange your to-do list.
You can also resize, rotate, and copy stuff with the lasso tool. I use it constantly to copy recurring tasks from week to week instead of writing them over and over. Just lasso the text, tap it, select Copy, go to the next page, and paste. Saves so much time.
Stickers and Elements
Okay so stickers are where things get fun but also overwhelming. You can buy sticker packs or download free ones, and they import as PNG files usually. To use them in GoodNotes, you add them as images.
Tap the image tool (looks like a mountain), select your sticker file, and it plops onto the page. You can resize it, move it around, whatever. Some people go crazy with stickers and their planners look like a scrapbook. I use maybe three stickers per week, usually just little checkboxes or priority stars.
There’s also this thing called elements which are basically reusable stickers. You can create your own by lassoing something you drew, copying it, and saving it as an element. I made a little coffee cup doodle once and now I paste it on my page every morning to mark when I actually sat down to plan. Stupid but it works for me.
Templates and Customization
Most templates come with extra pages you can duplicate. Like if your weekly template only gives you 52 weeks but you want to use the same layout for next year, you can duplicate pages. To do this, tap the thumbnail view (four squares icon), tap and hold on a page, select Duplicate, and boom.
I customize my templates a lot actually. Sometimes I’ll add extra text boxes for specific projects or paste in screenshots of inspiration images. The text box tool is under the pen tools and it’s pretty straightforward. You can change fonts, sizes, colors, all that.
This is gonna sound weird but I also white-out sections I don’t use. Like if a template has a meal planning section and I never meal plan, I’ll just draw a white rectangle over it and write something else there. The shape tool works great for this.
Backing Everything Up
You gotta backup your planners because if your iPad dies or gets stolen, you’ll lose everything. GoodNotes auto-syncs to iCloud if you have that enabled, which you should. To check this, go to iPad Settings, tap your name, tap iCloud, and make sure GoodNotes is toggled on.
I also manually export my planners once a month just to be safe. You can export individual notebooks or entire folders as PDFs. Tap the three dots on a notebook, select Export, choose PDF, and send it to yourself via email or save it to Dropbox or whatever cloud storage you use.
Actually Using the Planner Daily
Okay so setup is one thing but actually using it consistently is different. I keep my iPad on my desk open to today’s page. Every morning I write out my top three priorities before I even check email. This took like six weeks to become a habit though, I’m not gonna lie.
For weekly planning, I do it Sunday evenings while watching whatever’s on Netflix. Just finished that new season of the cooking show, you know the one. Anyway, I go through my weekly spread and block out time for client calls, content creation, errands, whatever.
The monthly view I barely use honestly. I thought I would reference it all the time but I really only look at it when I’m planning the next month or checking if I have any big deadlines coming up.
Common Issues I’ve Run Into
Sometimes hyperlinks stop working after you’ve written on a page. This is because you accidentally wrote over the hyperlink area. You can fix this by using layers, which is an advanced feature but basically you can lock the template layer so you only write on a layer above it. I don’t use this because it feels too complicated but some people swear by it.
Palm rejection issues are real if you’re not using an Apple Pencil. I tried using a cheap stylus once and my palm kept making random marks everywhere. Just get the Apple Pencil or the Logitech Crayon, they’re worth it.
Battery drain is another thing. GoodNotes uses a decent amount of battery especially if you have a lot of notebooks with images and stickers. I charge my iPad every night now instead of every few days.
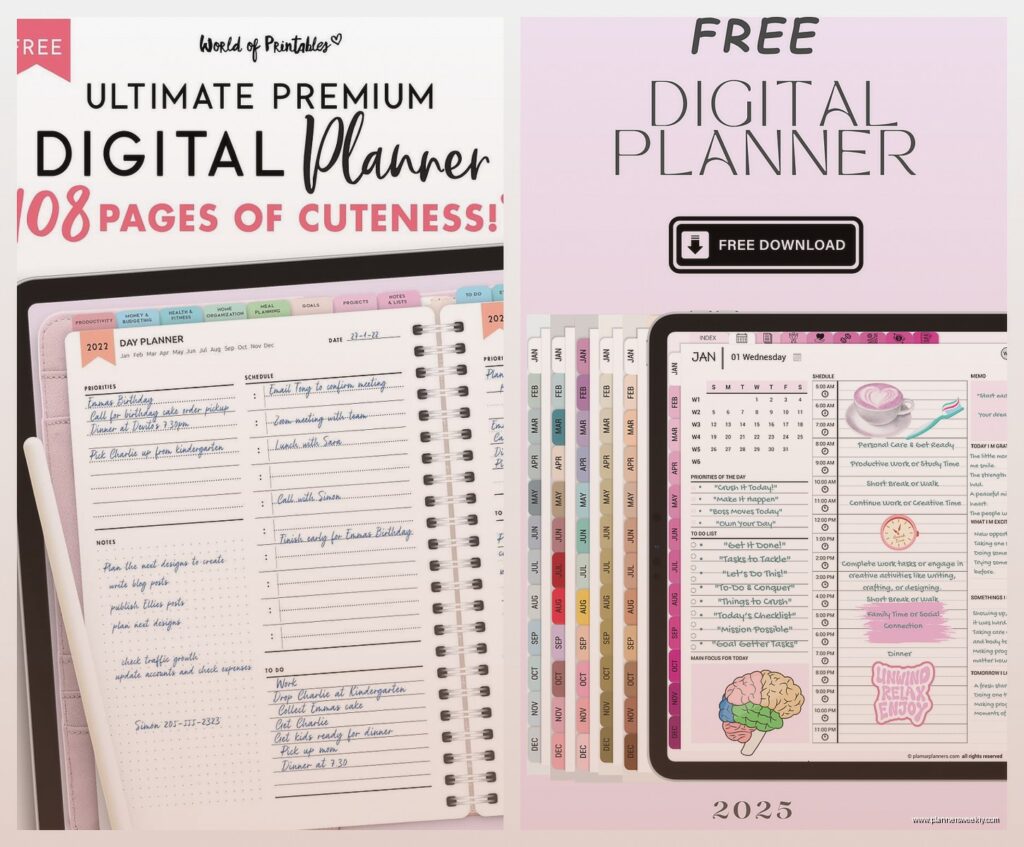
Templates I Actually Recommend
After testing way too many, here are the ones I actually use. For daily planning, the Minimalist Daily template from BlueLetterCo on Etsy is clean and functional. It has time blocking, a priorities section, and notes area. The hyperlinks all work and it comes with monthly and yearly views.
For goal tracking, I use the Yearly Goals template from ProductivePeach. It’s got quarterly breakdowns, monthly reviews, and habit trackers that aren’t overwhelming. Some habit trackers have like 30 different habits to track and who has time for that.
If you want something free to start with, the GoodNotes template library has some basic options. They’re not fancy but they work fine for testing if you even like digital planning before you spend money.
Making It Work for Your Brain
The thing about digital planning is it has to match how you actually think and work. I tried using those super detailed planners with sections for water intake and gratitude and mood tracking and it was just too much. Now I use a simple layout and add what I need as I need it.
You can always add pages mid-planner too. Just tap the thumbnail view, tap the plus sign, and choose blank or import a different template page. I add project planning pages whenever I start something new instead of having them pre-made and sitting empty.
Some people ask me if digital planning is better than paper and honestly it depends. I like that I can search my digital planner for specific notes or tasks. I also like that I can’t lose it or spill coffee on it. But sometimes I miss the tactile thing of paper, so I keep a small paper notebook for brainstorming because it feels different.
Oh wait, one more thing about widgets. GoodNotes has widgets you can add to your iPad home screen so you can quick-access your planner. I have mine set to show my daily page so when I unlock my iPad, boom, there’s my to-do list staring at me. Keeps me accountable or at least makes me feel guilty when I’m procrastinating.