Digital Productivity, Online planners, Planners
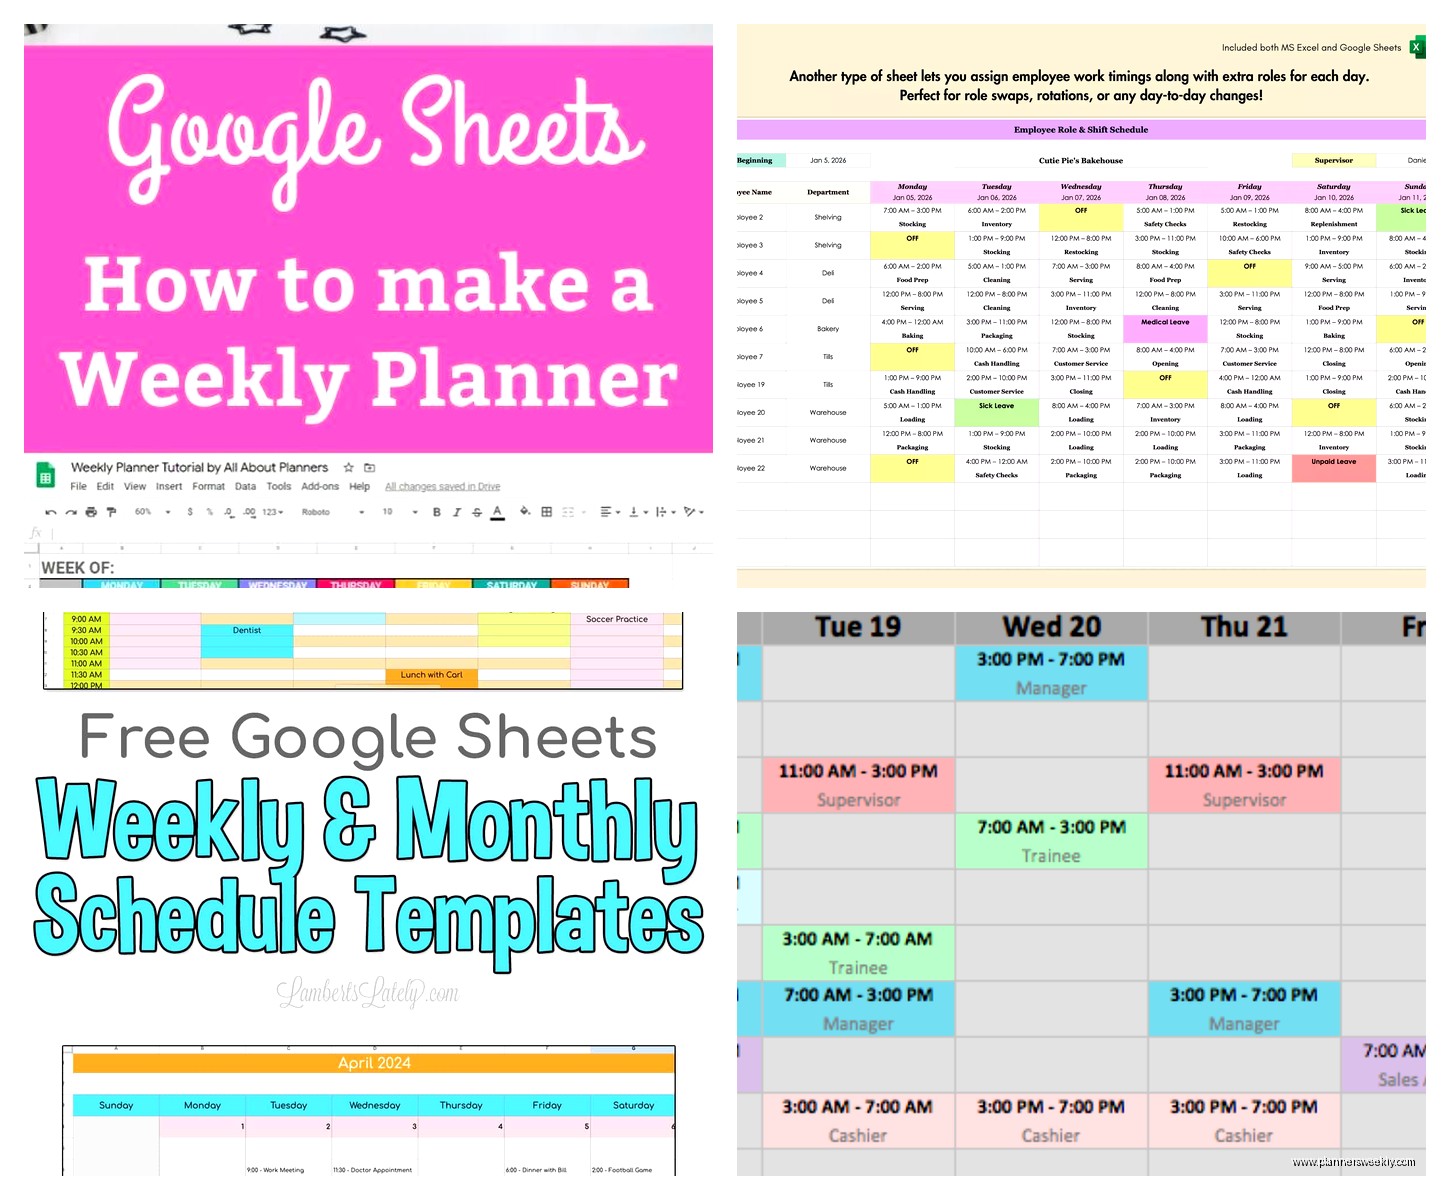
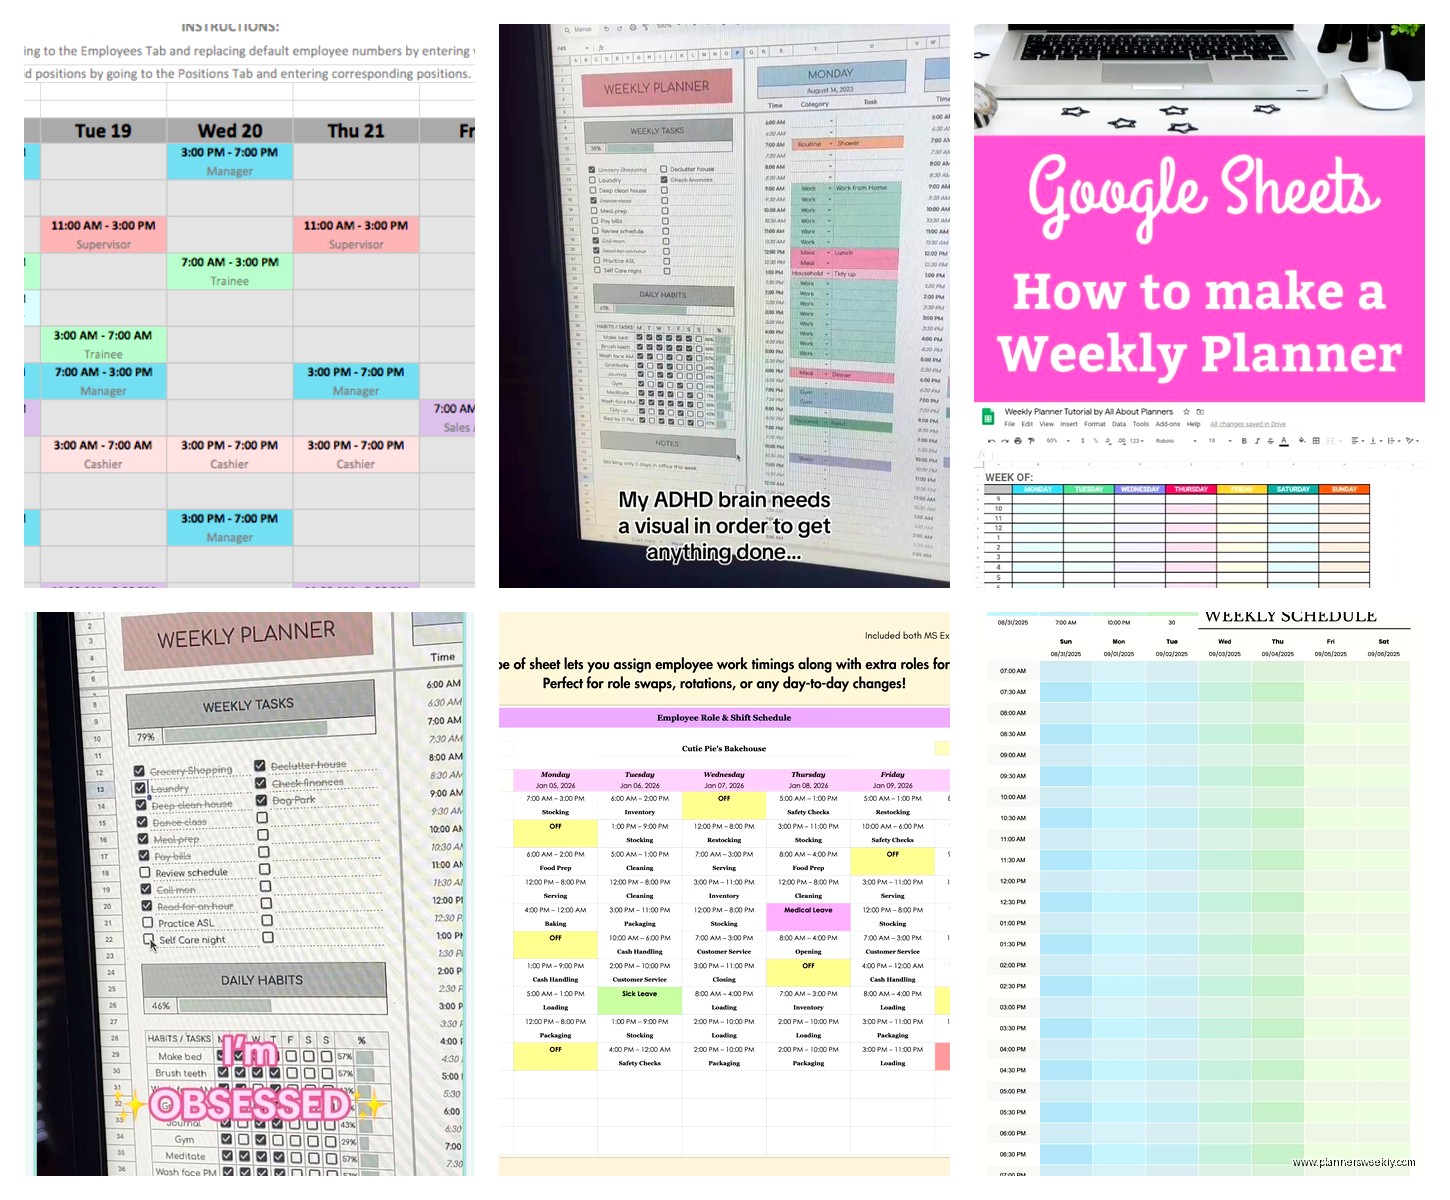
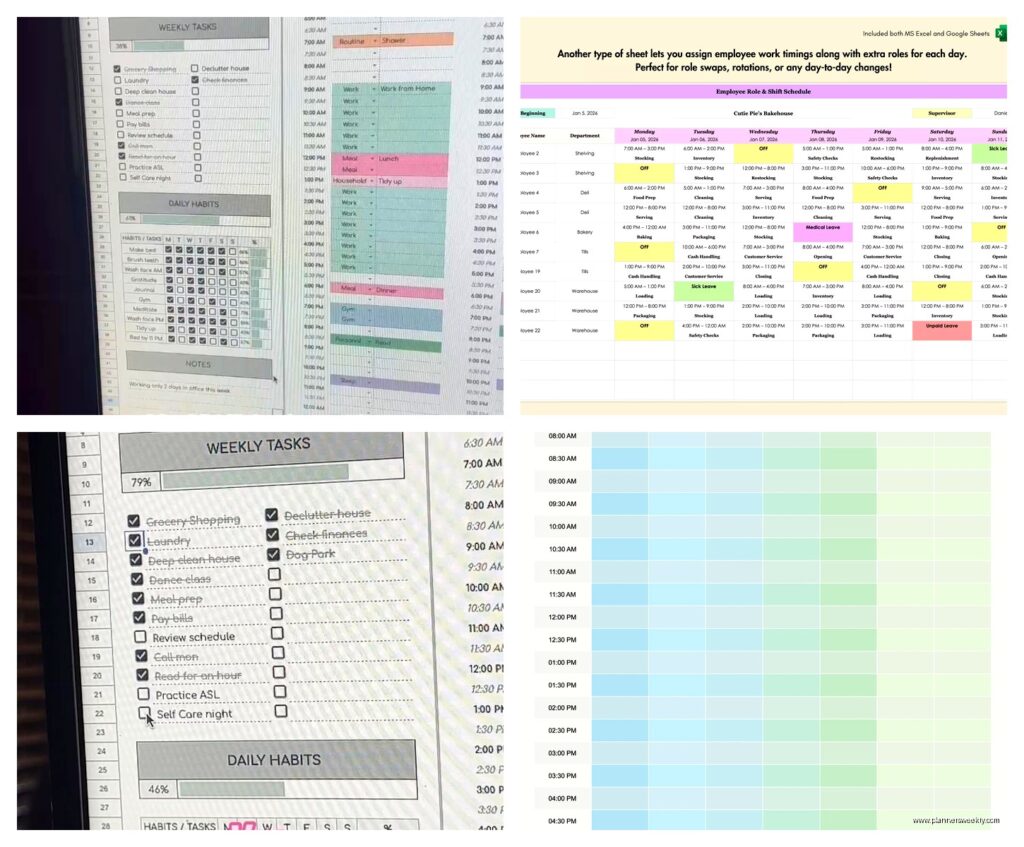
Google Sheets Weekly Schedule: Template Guide & Tutorial
Mar
Okay so I’ve been living in Google Sheets for like three years now and honestly the weekly schedule thing is something I had to figure out the hard way because all the templates online are either too complicated or weirdly ugly.
Starting with the Basic Setup
First thing, don’t use the pre-made templates Google offers. I know that sounds counterintuitive but hear me out – they’re designed for project management teams and have all these extra columns you’ll never touch. Just open a blank spreadsheet and we’ll build it from scratch. Takes maybe 10 minutes and then you actually understand how it works.
So column A is gonna be your time slots. I usually start at 6 AM even though I’m definitely not awake then, but some weeks I have early client calls and it’s nice to have the space already there. Go down in 30-minute or 1-hour increments depending on how granular you need to be. For me, 30-minute blocks work best because I can see when meetings actually end versus when I’m just sitting there zoning out on my phone.
Columns B through H are your days, Monday through Sunday. Type those headers in row 1. Here’s where it gets useful – you wanna freeze that top row so when you scroll down to see your afternoon schedule, you still know what day you’re looking at. Go to View > Freeze > 1 row. Game changer.
The Color Coding System That Actually Works
This is where everyone gets carried away with like 47 different colors and then can’t remember what teal versus turquoise means. I use four colors max:
- Light blue for work tasks and meetings
- Light green for personal appointments
- Light yellow for flexible tasks that can move around
- Light red for deadlines or things I absolutely cannot miss
Notice I said light versions. The bright colors give me a headache after staring at them all day. To color a cell, just select it and click the fill color bucket icon. You can also use Ctrl+Alt+Shift+K to open the color picker faster but honestly I always forget that shortcut.
Oh and another thing – I add a thin border around each day column so they’re visually separated. Makes it easier to scan when you’re half asleep checking what’s happening tomorrow. Select the column, click the borders icon, choose “All borders” but make it the light gray option not the heavy black one.
Making It Actually Functional
So here’s what took me forever to figure out. You don’t just type stuff into the cells randomly. That’s chaos. What I do is keep a running list of tasks in a separate sheet (just add a new tab at the bottom) and then I copy them into the schedule as I plan my week.
Wait I forgot to mention – you should set up data validation for recurring tasks. Like if you have “check email” or “lunch break” that happens every day at the same time. Go to Data > Data validation, and you can create a dropdown list. I have one with my regular activities:
- Morning routine
- Email processing
- Deep work block
- Lunch
- Admin tasks
- Workout
- Evening wind down
This saves SO much typing. My cat just knocked over my coffee while I was setting this up yesterday which is why I’m now paranoid about keeping drinks away from my laptop but anyway.
The Time Block Formula Thing
Okay this is gonna sound complicated but it’s not. You can use formulas to calculate how many hours you’ve allocated to different categories. At the bottom of each day column, I have a cell that counts work hours versus personal time.
The formula looks like: =COUNTIF(B2:B50,”*work*”) but honestly you can also just eyeball it if math isn’t your thing. I only started using this when a client asked me to track my billable hours and I realized I was wildly overestimating how much I actually worked.
Templates I’ve Actually Built and Used
The Basic Weekly View: This is what I described above. Seven columns, time slots down the left, color coded tasks. Takes about 15 minutes to set up fresh but then you just File > Make a copy each week and update the dates.
The Time Blocking Monster: Same structure but I merge cells for tasks that take multiple hours. Like if I’m doing a workshop from 2-5 PM, I’ll select those three hour slots and click the merge cells button. Makes it visually clearer but you gotta be careful because merged cells can mess up formulas later.
The Minimal List Version: Sometimes the grid format is too much visual noise. For lighter weeks, I just do three columns – Time, Task, Notes. No color coding, just a simple list. I switch to this when I’m traveling and don’t wanna fuss with formatting on my phone.
Mobile Considerations Because You’re Gonna Check This on Your Phone
The Google Sheets app is… fine. Not great, not terrible. The main issue is the screen size obviously. What I do is keep the time column narrow (like 60 pixels) and use abbreviations for recurring tasks. “EM” for email, “DW” for deep work, etc.
Also, this is gonna sound weird but I duplicate the current day column at the far left so I can see today’s schedule without scrolling horizontally. So column A is times, column B is TODAY (whatever day it is), then columns C through I are the full week. I just copy and paste the relevant day into that B column each morning. Takes 5 seconds and saves me from squinting at tiny text trying to swipe to the right day.
Conditional Formatting for the Overachievers
If you wanna get fancy, you can set up conditional formatting to automatically color cells based on keywords. Go to Format > Conditional formatting. Set it up so any cell containing “meeting” turns light blue, anything with “deadline” turns light red, etc.
I resisted this for a long time because it seemed unnecessary but then I had a week where I accidentally double-booked myself three times and I was like okay fine, automation it is. Now if I type “call with” it auto-colors as a work task and I can immediately see if I’m cramming too many calls into one day.
The rule setup is: Format cells if > Text contains > “meeting” > then pick your color. You can stack multiple rules and they’ll all apply.
Sharing and Collaboration Features
Click the Share button in the top right if you need to coordinate schedules with someone else. You can set it to “Anyone with the link can view” if you just want someone to see your availability, or give them edit access if you’re planning something together.
I share a version with my assistant but I have a separate “personal” sheet that’s just for me because she doesn’t need to know about my therapy appointments or whatever. You can hide sheets by right-clicking the tab at the bottom and selecting “Hide sheet” – just don’t forget you did that or you’ll think you lost data.
The Weekly Planning Ritual
Every Sunday night (or Monday morning if I’m being real about my procrastination), I spend 20 minutes filling in the week ahead. I keep a running list of projects and deadlines in a separate doc – actually I should probably write about my whole task management system sometime but that’s a different thing.
I start by blocking out the non-negotiables: meetings that are already scheduled, appointments, my workout times because if I don’t schedule exercise it doesn’t happen. Then I fill in project work blocks, trying to batch similar tasks together. Like all my writing happens in the morning when my brain works, admin stuff happens after lunch when I’m in a post-food slump anyway.
Oh and I color-code based on energy level sometimes too. Not instead of the category colors but like, I’ll add a comment to cells (right-click > Insert comment) noting if something is high-energy or low-energy work. That way if I wake up feeling exhausted I can shuffle things around to the low-energy tasks.
Common Mistakes I Made That You Can Avoid
Over-scheduling every minute: Leave white space. Your day will not go exactly as planned, I promise. I used to block out every 30-minute slot and then feel like a failure when life happened. Now I leave at least 2 hours unscheduled each day for random stuff that comes up.
Not accounting for transition time: If you have a meeting ending at 2 PM, don’t schedule something at 2 PM. Give yourself 15 minutes at least. I learned this the hard way after showing up late and frazzled to like six video calls in a row.
Making it too pretty: This isn’t an art project, it’s a functional tool. I spent way too long in the beginning picking the perfect fonts and colors when I should’ve just been using the thing. Stick with Arial or the default font and move on with your life.
Not updating it when plans change: If something gets canceled or moved, update the sheet immediately. Past me would just mentally note the change and then wonder why Tuesday felt so chaotic – it’s because I was following an outdated schedule.
Advanced Features That Might Be Overkill But Are Cool
You can link cells to Google Calendar using add-ons. There’s one called “Calendar Sync” that’s free for basic use. It’ll pull in your calendar events automatically so you don’t have to manually type meetings. I tried this for a month and it was neat but also I found it pulled in too much random stuff and cluttered my view. Your mileage may vary.
There’s also a way to set up automatic time stamps for when you complete tasks using =NOW() but honestly that’s more tracking than I personally need. Some people love data tracking though so if that’s you, go for it.
Checkboxes are actually useful though. Insert > Checkbox gives you a little box you can click when something’s done. I use these for my daily recurring tasks so I can see at a glance what I’ve completed. They don’t carry over week to week which is actually good because it forces you to start fresh.
Printing It Out Because Sometimes Paper Wins
I know we’re talking about Google Sheets but sometimes I print the week view and stick it on my wall. File > Print, adjust the settings to fit to one page width, and make sure “Show gridlines” is checked so the structure is visible.
The printed version is nice for those moments when you’re away from your computer but need to reference what’s happening Thursday. Also my eyes get tired from screens and having a paper backup means I can plan without more screen time.
Troubleshooting the Annoying Stuff
Cells not staying the size you want: Double-click the column or row border to auto-fit, or manually drag it and Google Sheets usually remembers. If it keeps resetting, you might have some formula or data causing it to resize. Check for extra spaces or hidden characters.
Colors looking different on phone versus computer: Yeah this happens. The mobile app renders colors slightly differently. Pick colors that are distinct enough that even if they shift a bit, you can still tell them apart.
Sheet loading slowly: If you have a ton of formulas or conditional formatting rules, it can lag. I keep my weekly schedules pretty simple and archive old weeks to a different spreadsheet file once a month to keep things speedy.
Accidental deletions: Use File > Version history to restore if you mess something up. Google Sheets auto-saves constantly so you can usually find a version from before you broke everything.
The whole system isn’t perfect but it’s flexible enough that I’ve stuck with it for years now while trying and abandoning like fifteen different apps. Sometimes simple and customizable beats fancy and rigid, you know?