Digital Productivity, Online planners, Planners
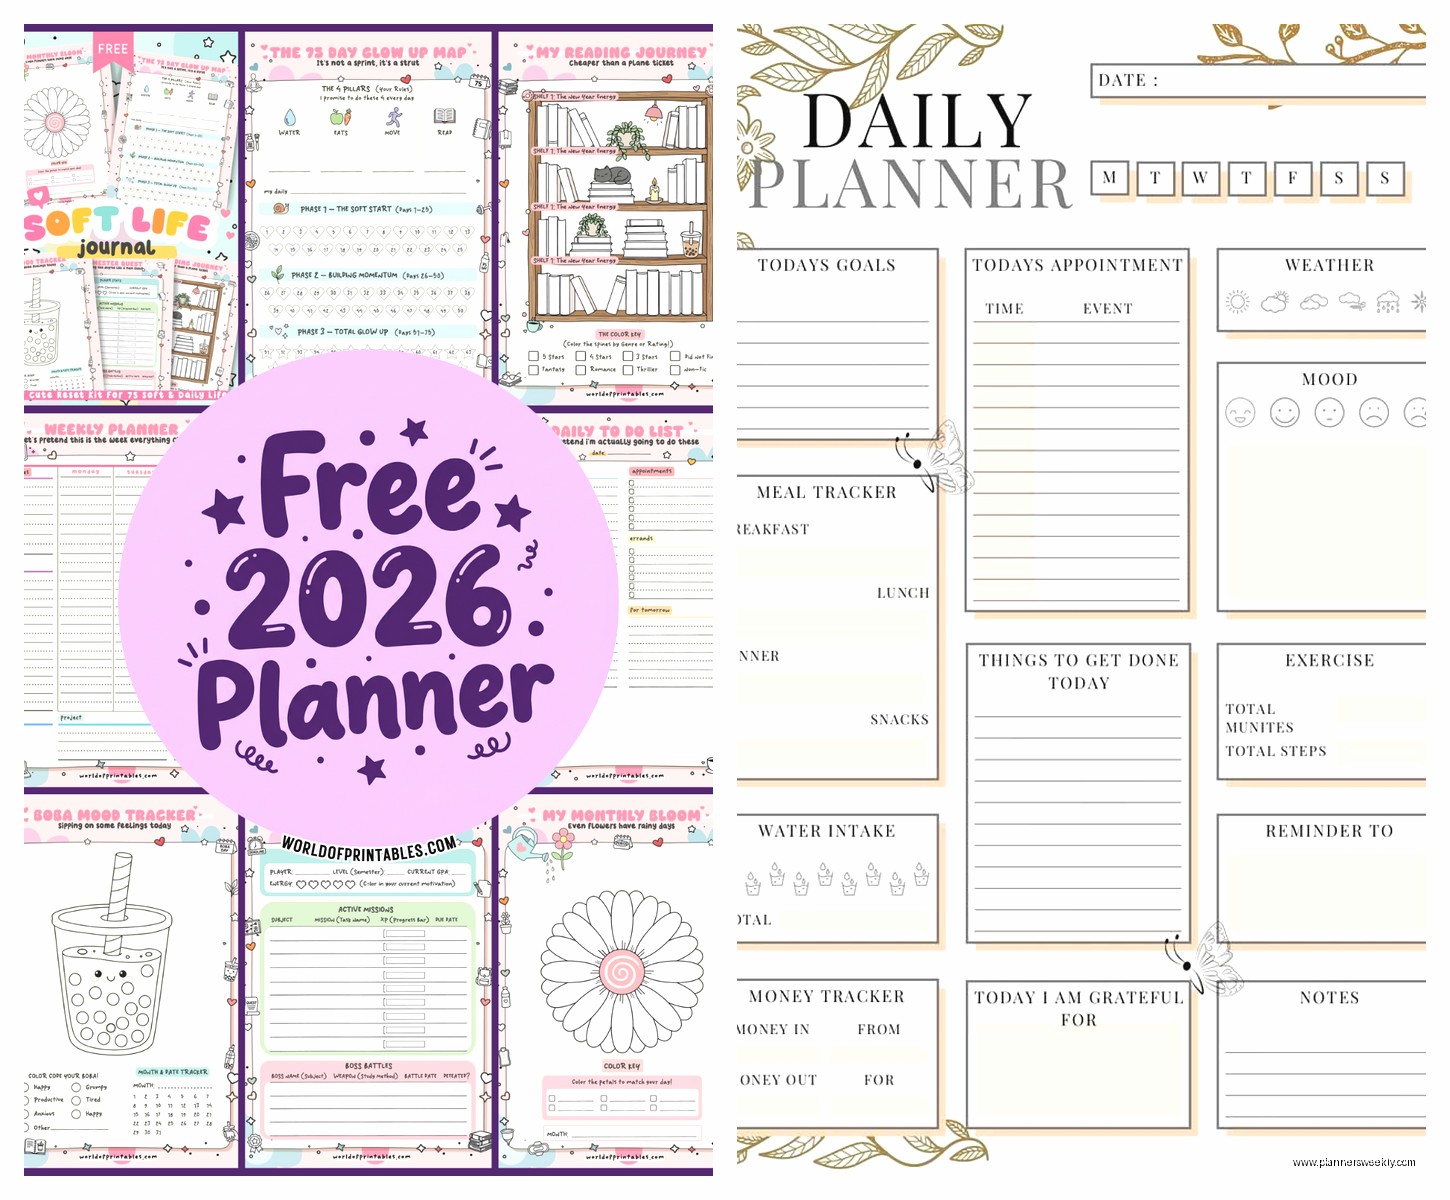
Printable Daily Planner: Free Templates & Designs
Apr
Okay so I’ve been testing printable daily planners for like three months now because honestly my whole bullet journal thing wasn’t working and I needed something I could just… print and use without spending 45 minutes drawing headers every Sunday night.
The free templates situation is actually way better than it used to be. Like back in 2019 you’d find these basic black and white grids that looked like someone made them in Microsoft Word in 2003, but now there’s actually decent stuff out there if you know where to look.
Where to Actually Find Good Free Templates
Canva is probably your best starting point. I know everyone talks about Canva for Instagram posts or whatever, but their planner template section is genuinely useful. You can customize colors and fonts before downloading, which sounds minor but when you’re staring at the same planner layout every single day, having it not be boring corporate blue matters more than you’d think.
The trick with Canva is to search “daily planner” but then filter by free only because otherwise you’ll fall down this rabbit hole of gorgeous templates that cost like $12 each and suddenly you’ve spent $60 on digital files. Been there.
Oh and another thing – Etsy has tons of free printables if you search “free daily planner printable” but you gotta be careful because some sellers will advertise as free then the download link takes you to their email list signup and THEN you get a different planner than what was pictured. Not saying don’t use Etsy, just… read the reviews first.
The Layouts That Actually Work
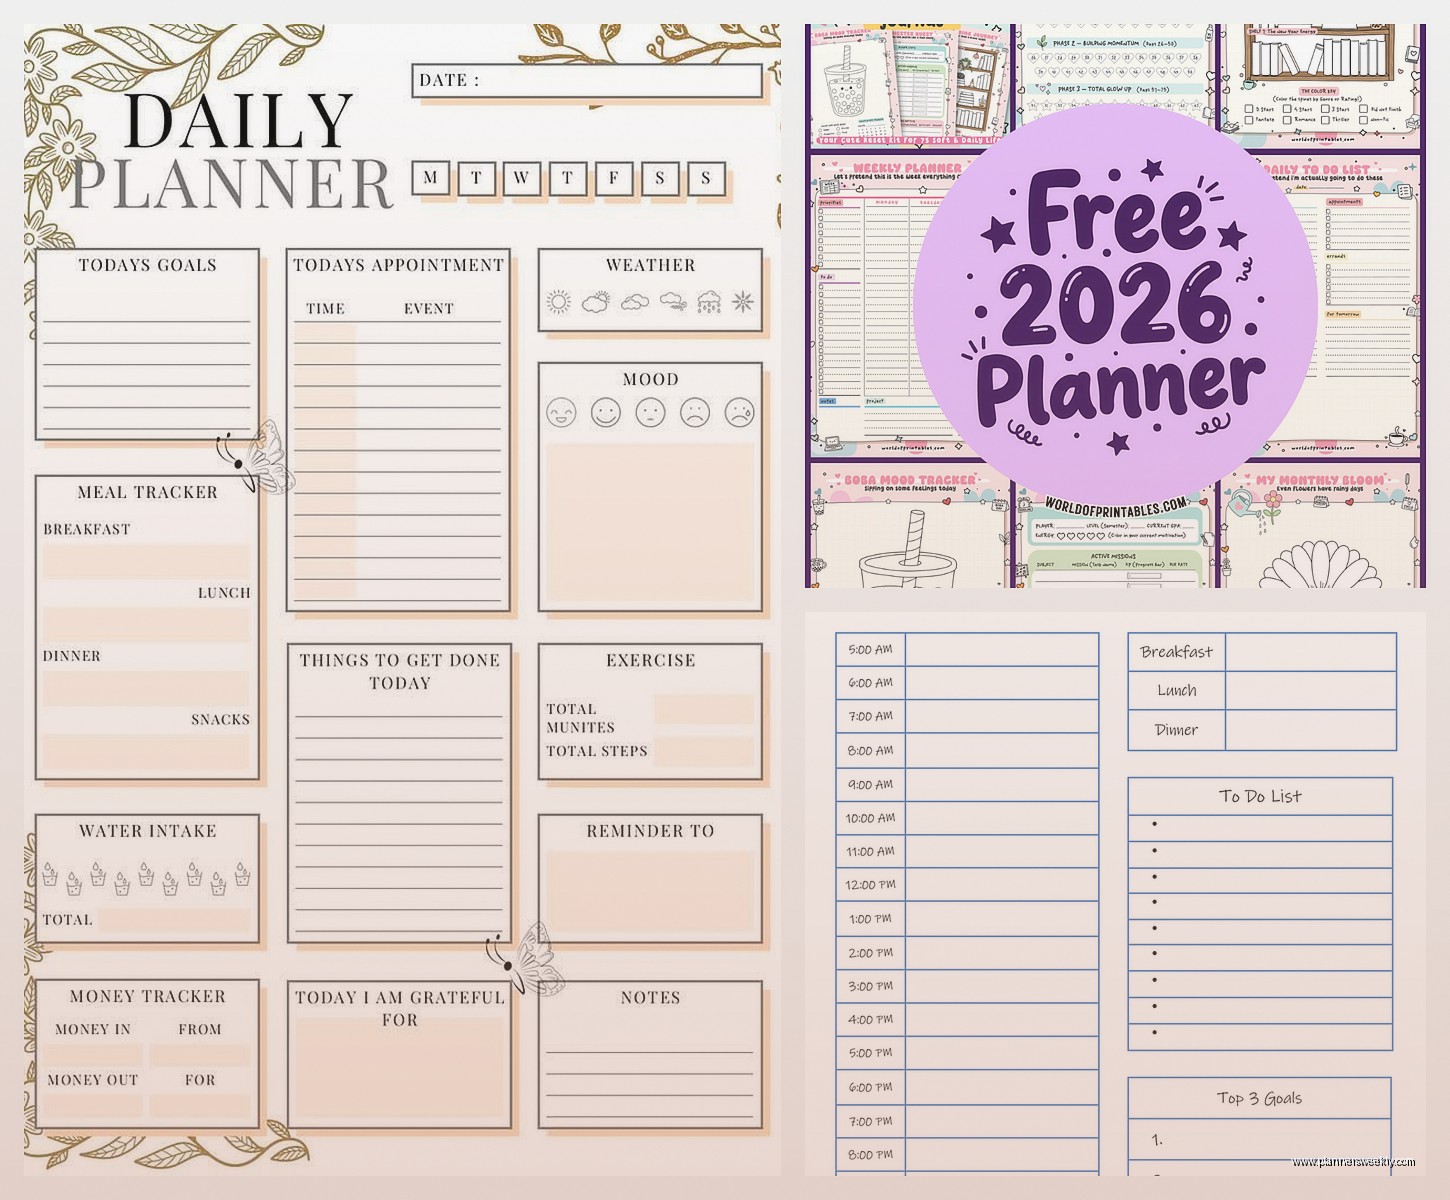
I tested like fifteen different layout styles and here’s what I figured out – the hourly time-blocked ones only work if you actually have a schedule. I know that sounds obvious but I kept trying to force myself into these 6am to 9pm hourly planners when realistically my days are way more fluid than that.
The half-hourly ones? Even worse. Too much pressure. Every blank slot felt like a failure by 2pm.
What actually worked for me was this hybrid style that has:
- A small section at the top for your top 3 priorities
- A time-blocked section but only from like 9am to 6pm in hourly chunks
- A separate running to-do list on the side
- Notes section at the bottom
This layout lets you time-block your important stuff but also dump random tasks in the side list without them cluttering your actual schedule. Game changer honestly.
Paper Quality Stuff Nobody Talks About
So this is gonna sound weird but the paper you print on matters SO much more than the template design. I printed the same planner on regular copy paper and then on 32lb paper and it was like night and day.
Regular copy paper (20lb) is fine if you’re using pencil or basic ballpoint pens, but if you’re a gel pen person or god forbid you like highlighters, it bleeds through and makes the back of the page unusable. Which means you’re essentially wasting half your paper.
32lb paper is thicker and costs maybe $15 for a ream but it lasts forever and actually feels nice to write on. I get mine from Amazon, the Hammermill brand works great.
Also – and I learned this the annoying way – if you’re printing in color, make sure your printer settings are on “best” quality not “draft” because draft mode makes all the colors look washed out and depressing. My first batch looked like sad hospital forms.
Binding Methods That Don’t Suck
You can’t just print pages and expect them to stay organized, trust me. I tried the binder clip method for like two weeks and pages were everywhere, falling behind my desk, getting coffee stains.
Here’s what actually works:
A simple three-hole punch and a binder. I know it sounds boring but it’s functional and you can add or remove pages easily. Get the 1-inch binders not the huge 3-inch ones, they’re less bulky.
If you want something more portable, those disc-bound systems are pretty good. You can buy a hole punch on Amazon for like $25 that punches the special disc holes, then get a small disc-bound notebook. It lies flat which is amazing for actually writing, and you can rearrange pages.
Wait I forgot to mention – some people swear by spiral binding at office supply stores. It’s like $3 per book and looks professional, but you can’t add or remove pages after, so you gotta commit to the whole month at once.
The Templates I Actually Use Regularly
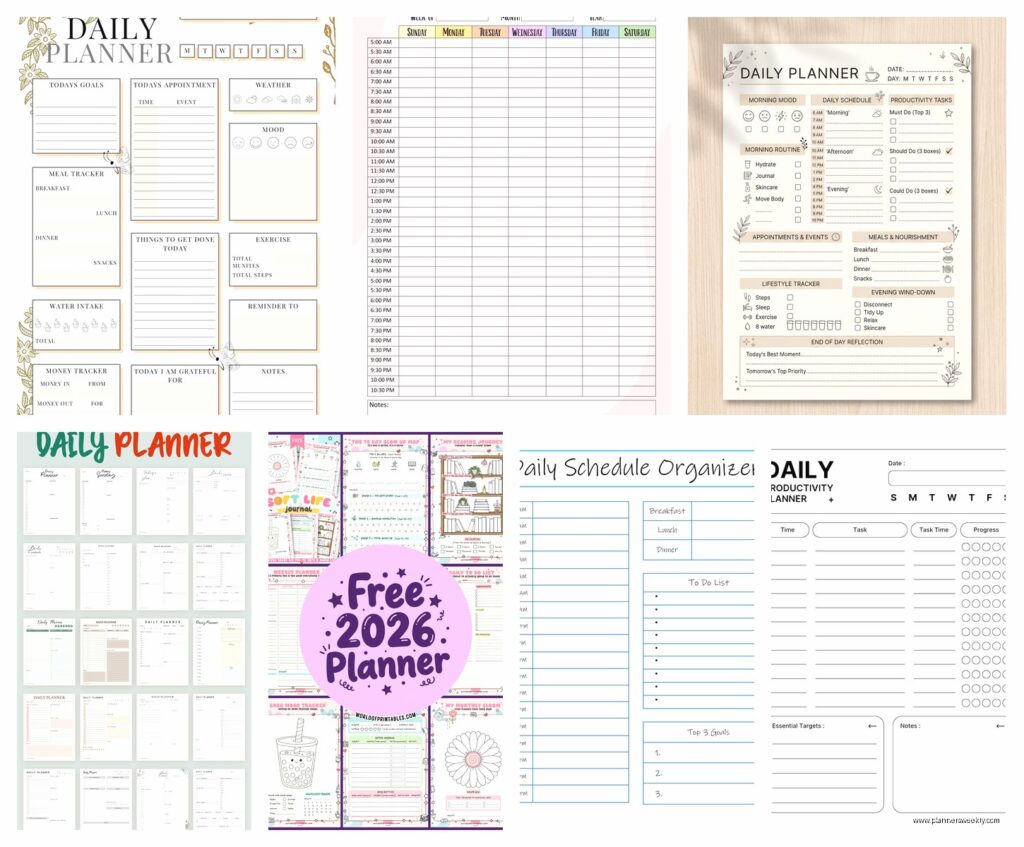
Okay so after all that testing, I rotate between like three different templates depending on what my week looks like.
The Structured Day Template: This one has hourly blocks from 8am-6pm, a top priorities box, and a meal planning section on the side. I use this when I have a lot of meetings or time-sensitive stuff. It keeps me from overbooking myself because I can literally see I only have 2 hours between the dentist and that client call.
The Flexible Day Template: Just three main sections – Morning, Afternoon, Evening. Each section has blank lines for tasks. Way less pressure than hourly blocking but still gives structure. I use this on creative work days or weekends when I have stuff to do but no set schedule.
The Brain Dump Template: This is basically a modified Cornell notes style page. Big section for tasks and thoughts, smaller column on the right for categories or priorities, summary section at the bottom. My therapist actually suggested this format for high-anxiety days and it genuinely helps.
Customization Things That Made a Difference
Once you download a template, you can customize it before printing and honestly this is where the magic happens.
I add a small habit tracker box in the corner of mine. Just six tiny circles for my daily non-negotiables: water, movement, vitamins, reading, no phone before 8am, and… okay I only consistently hit like four of these but having them there helps.
You can also add inspirational quotes if that’s your thing but personally they just made me feel guilty when I was having a bad day and some quote was telling me to “choose joy” or whatever. So I deleted those.
Oh and another thing – some templates have gratitude sections and I thought those were cheesy until I actually used one for a month. It’s kinda nice having that reminder to think of something good, even on days when everything feels like a disaster. My cat knocked over a full glass of water onto my laptop last Tuesday and I still managed to write “grateful the laptop survived” so.
Printing Strategies for Broke People
Real talk: printing daily planners every single day adds up fast. Ink costs are insane.
Here’s what I do – I print a week at a time, double-sided. Saves paper and I can still see my whole week at a glance if I lay them out.
If you have access to a work printer… I mean, I’m not saying steal from your company, but a few planner pages here and there probably isn’t gonna bankrupt them. Just saying.
Libraries also have free printing usually, though there might be a page limit. My local library does 10 free pages per day which is enough for two weeks of double-sided dailies.
The most economical option though? Get a black and white laser printer. The upfront cost is like $150-200 but toner lasts literally forever compared to inkjet cartridges. I calculated it once when my client canceled and I had extra time – my cost per page dropped from like 15 cents to 2 cents by switching to laser.
Color vs Black and White Real Talk
Everyone wants the pretty colored planners with the pastel headers and color-coded sections. I get it, they photograph better for Instagram or whatever.
But practically speaking? Black and white is fine. Actually it’s better in some ways because you can add your own color with highlighters or colored pens exactly where YOU want it, not where the template designer decided to put pink.
I do print one color page per week though – my weekly overview page. That one I like having in color because it helps me visually distinguish it from my daily pages. Everything else is grayscale.
Digital Annotation if You’re Into That
Okay so this is a weird hybrid approach but hear me out. You can print blank templates, write on them throughout the day, then at night scan them into an app like GoodNotes or Notability if you want a digital backup.
I started doing this after I lost an entire week of planners during a move and had zero record of what I’d accomplished. Now I take quick phone photos of my completed pages and they auto-backup to Google Photos. Takes 30 seconds, saves a lot of anxiety.
Some people skip printing entirely and just use the PDFs directly in note-taking apps with an iPad and Apple Pencil. That’s valid but personally I need physical paper to actually process things. Something about the tactile experience of crossing things off with an actual pen.
What Didn’t Work For Me
Those minimalist super-clean templates with tons of white space? Looked gorgeous but I’d end up doodling in all the blank spaces instead of actually planning. Too much open space is apparently a problem for my brain.
The overly decorated ones with floral borders and script fonts? Gave me a headache to look at every day. They’re pretty for like one week then they feel cluttered.
Planners with meal planning, fitness tracking, water intake, mood tracking, and budget sections all on ONE page? Too much. Way too much. I’d look at it and immediately feel overwhelmed. Better to have separate trackers for that stuff.
The “ideal day” templates that start at 5am? Yeah no. I’m not waking up at 5am to journal and meditate and meal prep. If that’s you, great, but most of these templates seem designed for people who don’t exist in reality.
My Current Rotation System
What I landed on after all this testing is printing three types of pages:
Weekly overview on Sunday night – this is color, this is pretty, this is my roadmap.
Daily pages for Monday through Friday – black and white, structured format with time blocks.
Weekend pages – flexible format, no time blocks, just sections and lists.
I keep them all in a small binder that lives on my desk. Old completed weeks go in a folder in my filing cabinet, mostly so I can reference them if I need to remember when I did something.
Wait I should mention – I also keep a few blank pages in the back of my binder for true brain dump moments. Sometimes you just need to write without structure and that’s fine.
Printer Settings That Actually Matter
This is boring but important: print in “actual size” not “fit to page” because fit to page will shrink your template slightly and then your hole punches won’t line up right. Learned that the hard way.
If your template is A4 size (European) and your printer is US Letter, you’ll need to adjust or you’ll get weird margins. Most templates come in both sizes though, check before downloading.
Two-sided printing is your friend but make sure you select “flip on long edge” not “flip on short edge” otherwise your pages will be upside down on the back. Did this for an entire week once before I noticed.
Honestly Just Try Stuff
The whole point of free printable planners is you can test different layouts without commitment. Don’t like hourly blocking? Print a different style tomorrow. Need more space for notes? Find a template with bigger note sections.
I probably printed and tested thirty different templates before finding my current rotation, and I still switch things up occasionally when my schedule changes or I get bored.
The planner that works for someone else might be completely wrong for you and that’s fine. This isn’t about finding the “perfect” system, it’s about finding what actually gets you to use the damn thing consistently.
Also nobody’s planner looks Instagram-perfect in real life. Mine has coffee stains, crossed-out tasks that got moved to the next day, random phone numbers written in margins, and smudged ink from when I was writing too fast. That’s what actually using a planner looks like.