Digital Productivity, Online planners, Planners
Printable Weekly Planner: Free Templates & Designs
Apr
Okay so I just spent like three hours yesterday testing every free weekly planner template I could find because honestly my old system was falling apart and I needed something that actually works. And my cat kept sitting on my keyboard which made this whole process way more complicated than it needed to be.
Where to Actually Find the Good Free Templates
Right so Canva is gonna be your first stop. I know everyone talks about it but there’s a reason – they’ve got probably 500+ weekly planner templates and most are actually free. You don’t even need the paid version for the basic ones. Just search “weekly planner” in their template section and filter by free. The catch is you gotta download them as PDFs which means you can’t edit them after unless you go back into Canva but honestly that’s fine for most people.
Template.net has a bunch too but half of them require signing up for their trial which is annoying. I did find like 3 really solid ones there that were actually free with no strings attached. The minimalist weekly spread one is really clean if you’re into that aesthetic.
Microsoft Office templates are surprisingly good? Like I wasn’t expecting much but they have this whole library if you have Word or Excel. The Excel ones are interesting because you can actually customize the dates and it auto-fills stuff. Took me a minute to figure out but once you get it it’s pretty efficient.
Google Docs Templates
Oh and Google Docs has a template gallery that nobody seems to know about. Click on the template gallery when you open a new doc and scroll down. They’ve got maybe 10 weekly planner options. Not as pretty as Canva but way easier to edit and customize if you want to add your own sections or whatever.
What Actually Makes a Weekly Planner Work
So after testing like 20 different layouts last week here’s what I figured out. The really important stuff isn’t about how cute it looks – though that helps if you’re gonna actually use it.
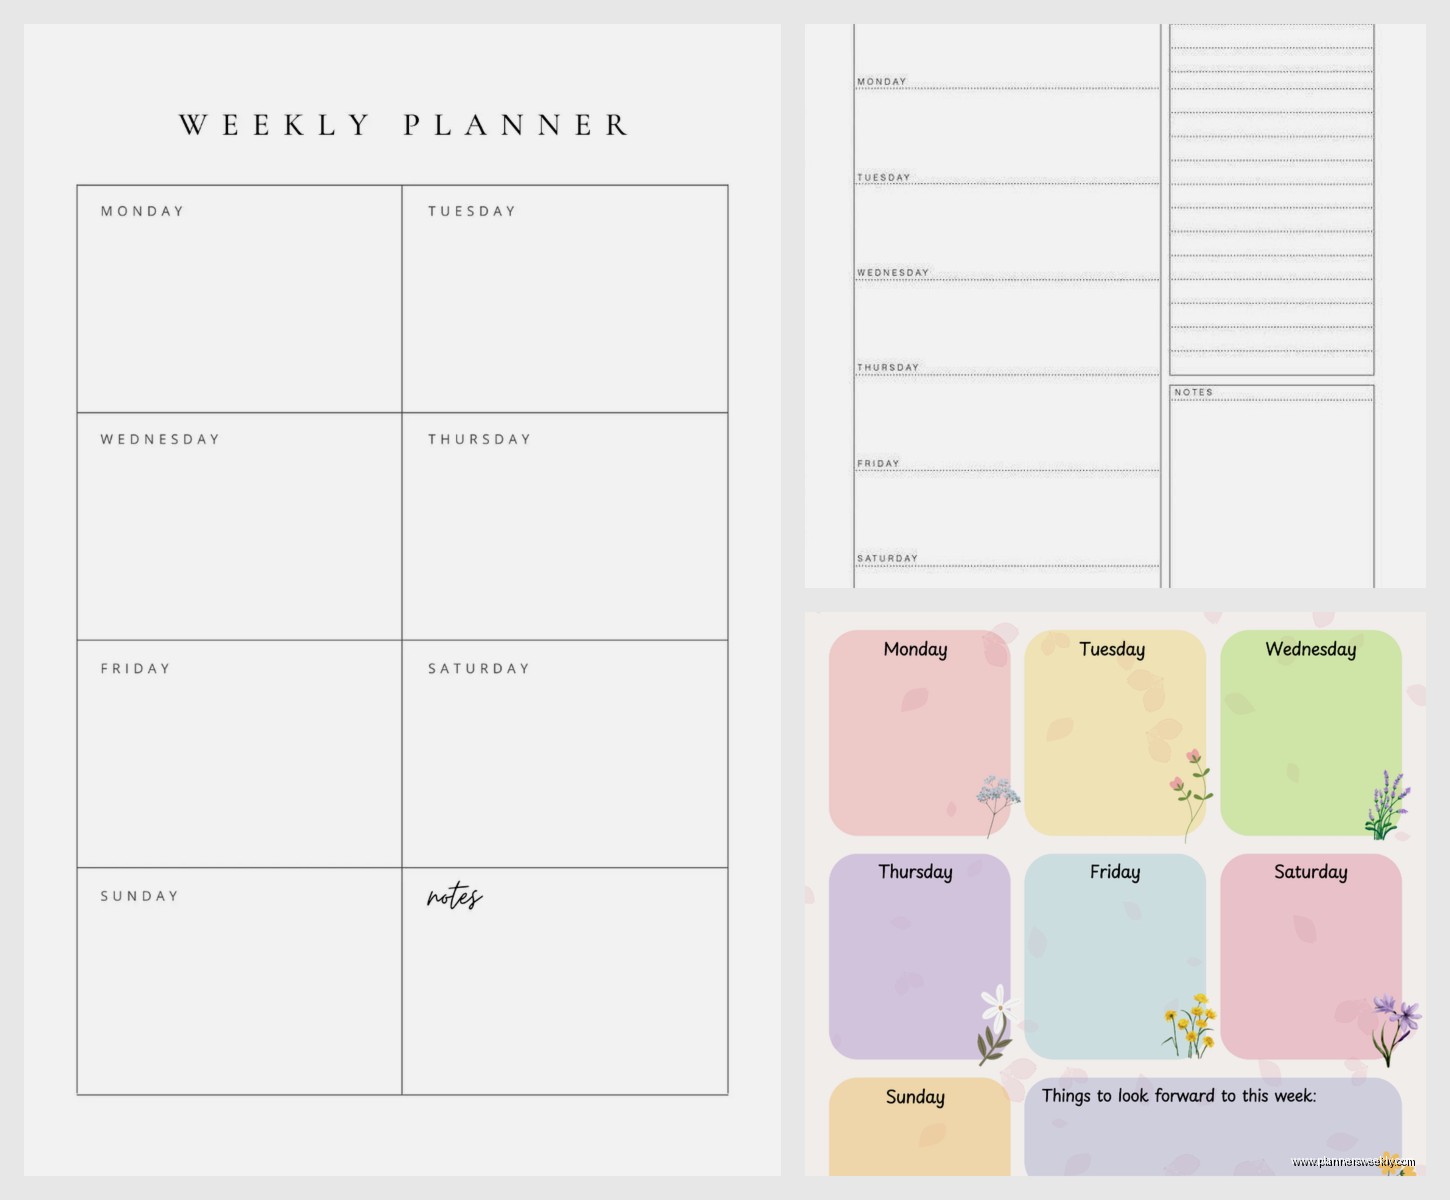
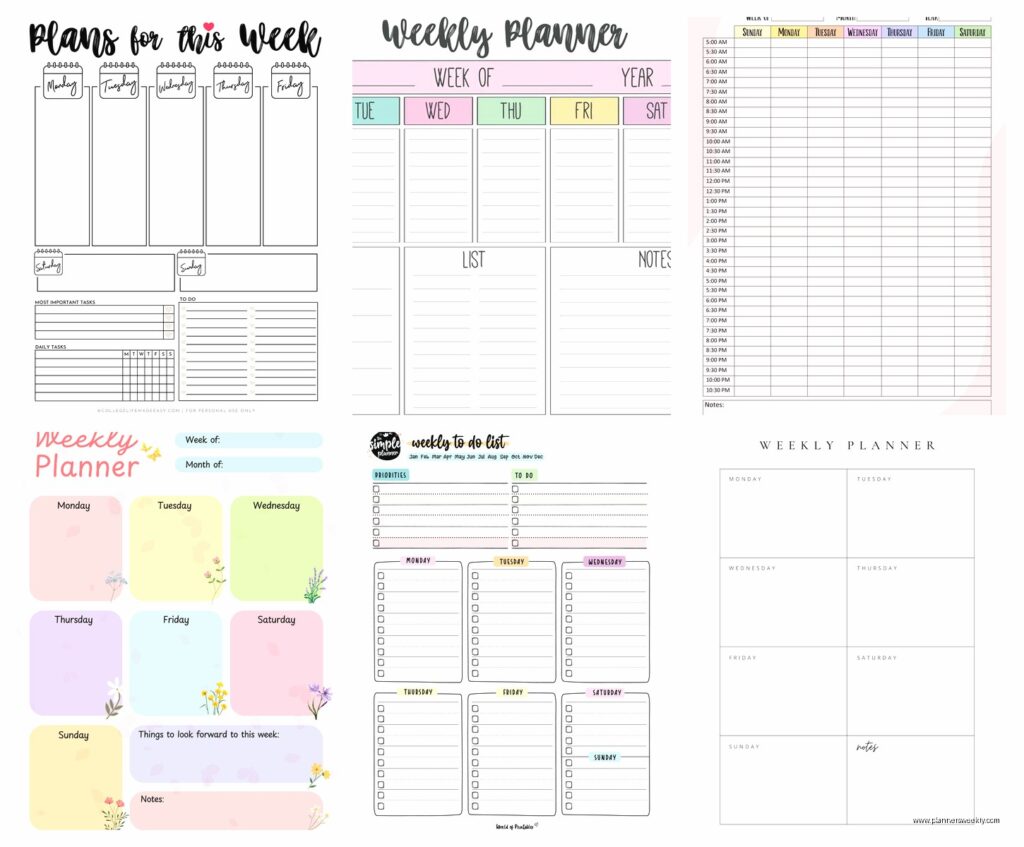
Time blocks versus open sections. This is huge. Some templates have hourly time slots from like 6am to 9pm. Others just have blank space for each day. I thought I wanted time blocks because I’m a productivity coach and that seemed more “professional” but actually? The open sections work better for most people. Unless you’re scheduling back-to-back meetings all day you don’t need to see every single hour.
The hybrid ones are good though. Like Monday through Friday have time blocks for work hours and then Saturday and Sunday are just open. Found a really good one like that on Canva called “Professional Weekly Schedule” or something.
Layout Configurations That Don’t Suck
Vertical versus horizontal layout matters more than you’d think. Vertical means Monday is at the top and Sunday at the bottom – you’re scrolling down the page. Horizontal means all seven days go across in columns.
I prefer horizontal because you can see the whole week at once without flipping pages but it only works if you’re printing on regular letter size. If you’re doing A4 or half-letter sizes the vertical ones are better because the columns get too narrow otherwise.
Wait I forgot to mention – check what size the template is designed for before you download it. Some are optimized for A4 (European size) and look weird when you print on US letter size. The margins get all messed up.
The Specific Templates I Actually Use Now
Okay so after all that testing here’s what’s currently working for me and my clients.
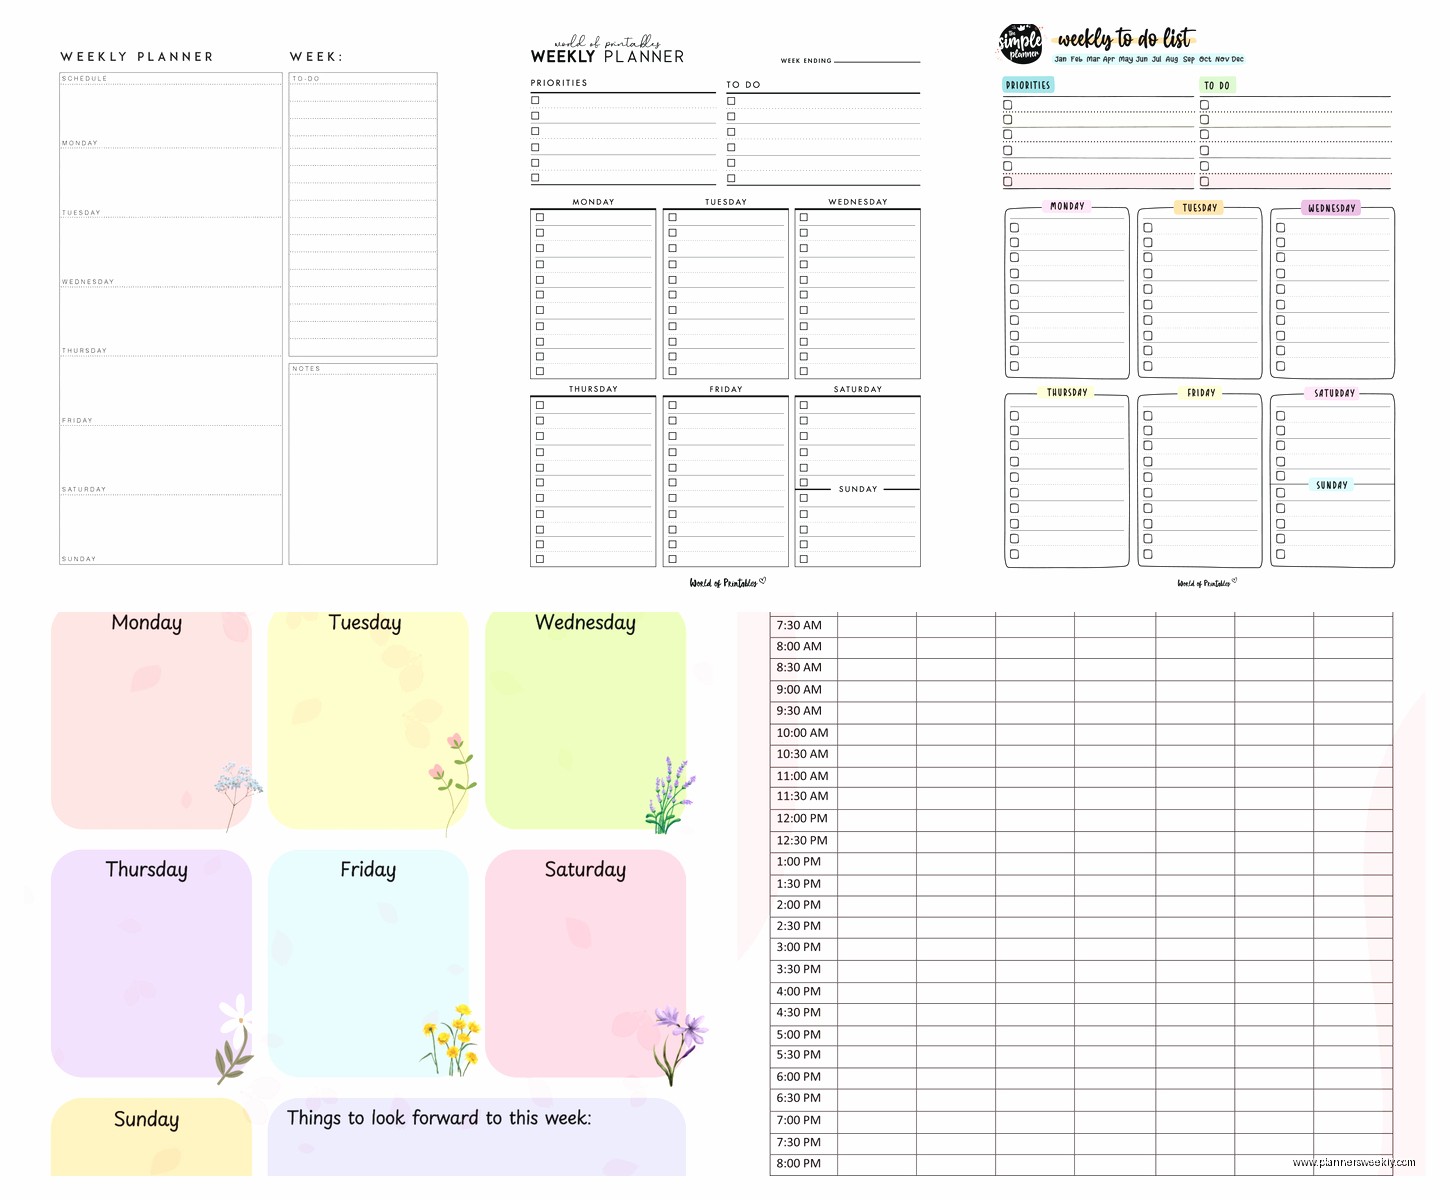
For the detailed planners: There’s this one on Canva called “Pastel Weekly Planner” that has sections for goals, priorities, notes, and then the weekly spread. It’s not too cutesy but still looks nice. The layout is vertical with each day getting like 3 inches of space which is enough for most people’s daily tasks.
For minimalists: Template.net has one that’s literally just seven boxes and the dates. That’s it. No decorations no sections no nothing. My client Sarah uses this one and swears by it because she says too many sections stress her out. Fair enough.
For people who want time blocking: Microsoft has this Excel template called “Weekly Schedule” that’s got 30-minute increments from 7am to 7pm. You can type right into the cells and it saves your data. The only annoying thing is you gotta manually update the dates each week but takes like 30 seconds.
The Meal Planning Combo Ones
Oh and another thing – if you meal plan at all get one that has a meal section built in. I resisted this for so long because I was like “I don’t need that cluttering my planner” but actually having it right there means I actually plan meals instead of ordering takeout every night.
Canva has several with meal planning sections. The “Weekly Meal Planner and Schedule” one is good – half the page is your schedule and half is meal planning with a grocery list section. Sounds chaotic but the layout actually makes sense when you use it.
How to Actually Customize These Things
So most people download a template and just use it as-is which is fine but you’re missing out. Even the free versions let you do basic customization.
In Canva you can change colors and fonts even on free templates. Just click on any element and the color palette pops up. I always change mine to match my notebook color because I’m weird like that but it genuinely helps me remember to use it.
For the Word and Google Docs ones you can add or delete sections super easily. Like if there’s a “water intake” tracker or whatever and you don’t care about that just delete that row. Or add a row for whatever you actually need to track.
This is gonna sound weird but I add a “wins” section at the bottom of every weekly planner now. Just a small box where I write down good things that happened each day. Started doing this in March and it’s honestly made a bigger difference than any productivity hack.
Printing Settings That Matter
Okay so nobody talks about this but your printer settings can make or break these templates. Always print a test page first on regular paper before you use your nice paper or whatever.
Set it to “actual size” not “fit to page” in your print settings. Fit to page will shrink everything slightly and then your careful planning about section sizes gets messed up.
If you’re printing double-sided make sure you select “flip on long edge” otherwise the back page will be upside down. Learned this the hard way after wasting like 10 sheets of good cardstock.
The Paper Situation
Speaking of paper – regular printer paper is fine but it’s thin enough that ink bleeds through if you use gel pens or markers. I use 32lb paper which is heavier and costs maybe $2 more per ream. Makes a huge difference if you’re actually writing on these every day.
Some people swear by cardstock but honestly that’s overkill unless you’re planning to laminate it or something. Too thick for most planners.
My client Rachel prints hers on dot grid paper and it’s actually genius? The dots help her keep her handwriting neat but they’re subtle enough that they don’t interfere with the template design. You can buy printable dot grid paper on Amazon for like $12 for 100 sheets.
Binding Options If You’re Making Multiple Weeks
If you’re printing multiple weeks to make like a monthly or quarterly planner you gotta think about binding. Binder clips are the easiest – just clip the whole stack together. Looks kind of corporate though.
I use a hole punch and put mine in a simple 3-ring binder. Takes an extra minute per page but then you can easily add or remove weeks. Plus you can add other stuff like goal sheets or reference pages.
Some people get fancy with disc binding systems or spiral binding but that requires buying equipment. Not worth it unless you’re really into planner stuff as a hobby.
Digital Versus Print Debate
Wait I should mention – you can also use these templates digitally instead of printing them. Like download the PDF and annotate it on your iPad or tablet.
I tried this for two weeks because I thought it would save paper. Didn’t stick with it. Something about physically writing things down works better for my brain. But my client Tom does the digital thing and loves it because he can easily copy tasks from week to week and he’s always on his tablet anyway for work.
If you’re gonna use them digitally get a template that has actual form fields or use something like GoodNotes where you can write on PDFs. Just opening it in Preview or whatever and trying to type on it doesn’t really work.
The Sections That Actually Get Used
After watching clients use various templates for months here’s what sections actually matter versus what just takes up space.
Priority tasks for the week: Everyone uses this if it’s there. Having 3-5 big things you need to accomplish helps so much with focus.
Daily task lists: Obviously essential. But they don’t need to be huge. Like 5-7 tasks per day max is realistic. Templates with space for 20 tasks per day are just setting you up to feel bad.
Notes section: Used way more than I expected. Random thoughts, things to remember, phone numbers, whatever. Having a dedicated space for this keeps your actual schedule cleaner.
Habit trackers: Hit or miss. Some people love them and check off their water intake or whatever religiously. Other people ignore them completely. If you’ve never successfully tracked habits before don’t pick a template with a huge habit section.
Gratitude or reflection prompts: Mostly ignored honestly. I thought these would be popular but most people just skip past them. The exception is the wins section I mentioned earlier – that one seems to stick better.
What You Can Skip
Templates with weather sections are pointless. Just look at your phone.
Motivational quotes at the top take up valuable space and you stop noticing them after day two.
Overly detailed budget trackers don’t belong in a weekly planner. That stuff needs its own dedicated sheet.
Free Design Resources If You Wanna Make Your Own
Okay so funny story – I got frustrated with existing templates a few months ago and tried making my own. It’s actually not that hard if you use the right tools.
Canva lets you start from a blank page and just add text boxes and lines. Their “elements” section has tons of free shapes and dividers you can use. Takes maybe 30 minutes to create a basic weekly layout once you get the hang of it.
Google Drawings is free and surprisingly capable. Less pretty than Canva but you have more control over exact sizing and spacing.
For simple layouts honestly Excel or Google Sheets works great. Just set up cells as your day boxes and adjust the row heights. Not fancy but highly functional.
Printing Services If Your Printer Sucks
My printer died last month and I had to use FedEx Office to print my weekly planners for like three weeks. Cost about $0.50 per page for color or $0.15 for black and white. Not terrible if you’re only printing one week at a time.
Staples has similar pricing and you can upload files to their website and pick them up same day usually.
If you’re printing a bunch at once though just buy a cheap printer. Got a Brother laser printer for $120 and it’s already paid for itself compared to the print shop.
Making It Actually Stick
The real trick with any planner system is using it consistently which I know sounds obvious but like…most people print these beautiful templates and use them for three days.
Put it somewhere you’ll actually see it. On my desk doesn’t work for me because my desk gets buried under papers. I keep mine on a clipboard hanging on the wall next to my desk.
Fill it out at the same time every day. I do Sunday evening for the week overview and then 5 minutes every morning for that day’s details. My client Jennifer does hers at night before bed. Doesn’t matter when just make it routine.
Don’t restart on Monday if you mess up. Just pick up wherever you are. This was huge for me – I used to abandon planners mid-week if I missed a few days but now I just keep going.
Anyway that’s basically everything I’ve learned from testing way too many free weekly planner templates. The Canva ones are probably your best bet to start with because there’s so many options and they’re actually free without weird catches. Pick one that has the sections you’ll realistically use and don’t worry about it being perfect.