Digital Productivity, Online planners, Planners
Weekly Calendar with Time Slots: Best Hourly Templates
Apr
Okay so I’ve been testing hourly planners for like three months now because honestly my schedule was a disaster and those vague daily to-do lists weren’t cutting it anymore. The game changer is actually having time slots staring at you because then you can’t pretend that writing an article will “just take an hour” when it actually needs three.
The Basic Formats You’ll Actually Use
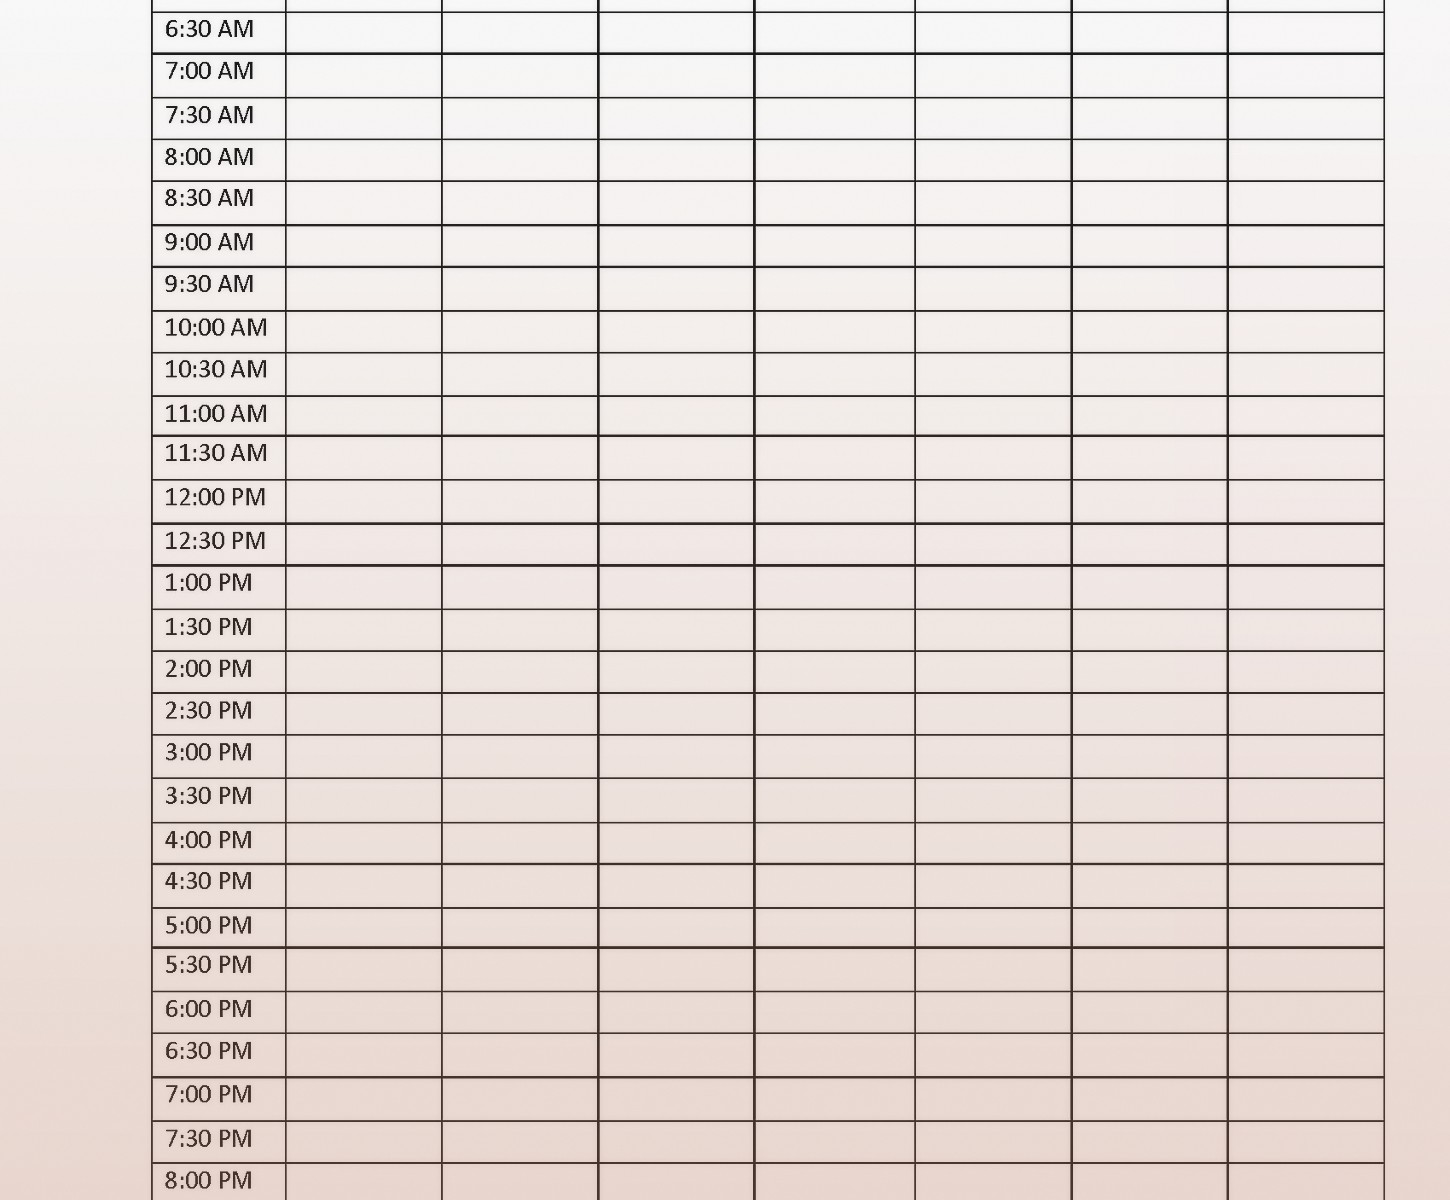
The 30-minute increment templates are what I reach for most. They run from like 6am to 10pm usually, which sounds excessive but here’s the thing – you don’t have to fill every slot. I thought I would feel pressured to schedule every half hour but actually seeing the blank spaces shows me where I’m wasting time scrolling or “researching” which is usually just me falling down rabbit holes about fountain pens I don’t need.
The hourly ones (60-minute blocks) work better if your tasks are chunky. Like if you’re doing client calls or writing sessions or deep work stuff. I use these on days when I have back-to-back meetings because trying to fit a 90-minute workshop into 30-minute slots just looks messy and stresses me out visually.
15-Minute Slots Are Actually Ridiculous
Unless you’re a doctor or lawyer billing by the quarter hour, skip these. I tried one for two weeks and it was just… too much. Every time I looked at it I felt like I was behind. My dog needed to go out and suddenly I’d “wasted” two slots. Not worth the mental load.
Digital vs Paper and Why I Use Both
So I’m gonna contradict myself here but I keep both a digital hourly calendar (Google Calendar with the day view) and a paper weekly spread with time slots. The digital one is for stuff that actually has fixed times – meetings, appointments, the Pilates class I keep saying I’ll go to. The paper one is for task blocking where I’m assigning my work to specific hours.
The paper version lives in my planner and looks like a grid. Monday through Sunday across the top, then time slots down the left side. I use one from Passion Planner that has 7am to 9pm in 30-minute increments. But honestly you can print these free from like a dozen websites.
Templates I’ve Actually Tested
The vertical weekly layout is where each day gets its own column and time runs down the page. This is what most printed planners use. It’s good for seeing your whole week at a glance but the columns get narrow if you write big like me. I’m using one right now that’s 8.5×11 and it’s… fine. Could be wider.
Horizontal daily spreads where you have one day per page with hourly blocks running across – these are better if you have a ton of appointments or tasks per day. Takes up more paper though. I tested this format during a really busy client launch month and it was perfect because I could actually write full task descriptions instead of abbreviating everything into hieroglyphics.
Oh and another thing – the two-page weekly spreads where the week is split across facing pages. Monday through Wednesday on the left, Thursday through Sunday on the right. This is my current favorite for planning because it lays flat and I can see almost the whole week without flipping pages. The brand I’m using is Clever Fox but there’s cheaper versions on Amazon.
What Time Range You Actually Need
Most templates start at 6am or 7am. I thought I needed the 6am start because I’m “gonna wake up early and be productive” but let’s be real – I don’t need to schedule 6am to 8am because that’s always the same routine. Coffee, emails, scrolling news I shouldn’t be reading.
Starting your hourly blocks at 8am or 9am makes way more sense for most people. Your template should end around 9pm or 10pm unless you’re a night owl who actually works late. I am not that person no matter how much I pretend.
The Weekend Question
Some templates shrink the weekend columns or remove time slots entirely for Saturday and Sunday. I get why – weekends are supposedly flexible – but I actually need the structure MORE on weekends or I just drift through the day and accomplish nothing. So I look for templates that give weekends equal space.
Color Coding That Actually Works
Okay so I tried the whole color-coding thing where different task types get different colors. Work is blue, personal is green, exercise is orange, whatever. It looked pretty on Instagram but was annoying in practice because I’d spend time deciding “is grocery shopping personal or household management” and just… who cares.
What DOES work is highlighting your non-negotiable appointments in one color (I use yellow) so you can immediately see where your day has fixed constraints. Everything else just gets written in pen. Simple.
Time Blocking Techniques That Don’t Suck
The basic method is assigning specific tasks to specific time slots. Revolutionary, I know. But here’s what I learned – you gotta include buffer time. If a task will take 90 minutes, block two hours. I kept running over and then everything after lunch was shifted and by 3pm my whole schedule was useless.
Also block your energy not just your time. I do creative work in morning slots and admin stuff in afternoon slots because that’s when my brain works for those things. I tried forcing article writing into 2pm slots for a week and everything I wrote was garbage.
Wait I forgot to mention – you should probably block “email processing” as actual time slots instead of just “checking email whenever.” I do 30 minutes at 9am and 30 minutes at 3pm and otherwise I don’t look at it. This is gonna sound extreme but it’s the only way I stopped being interrupt-driven all day.
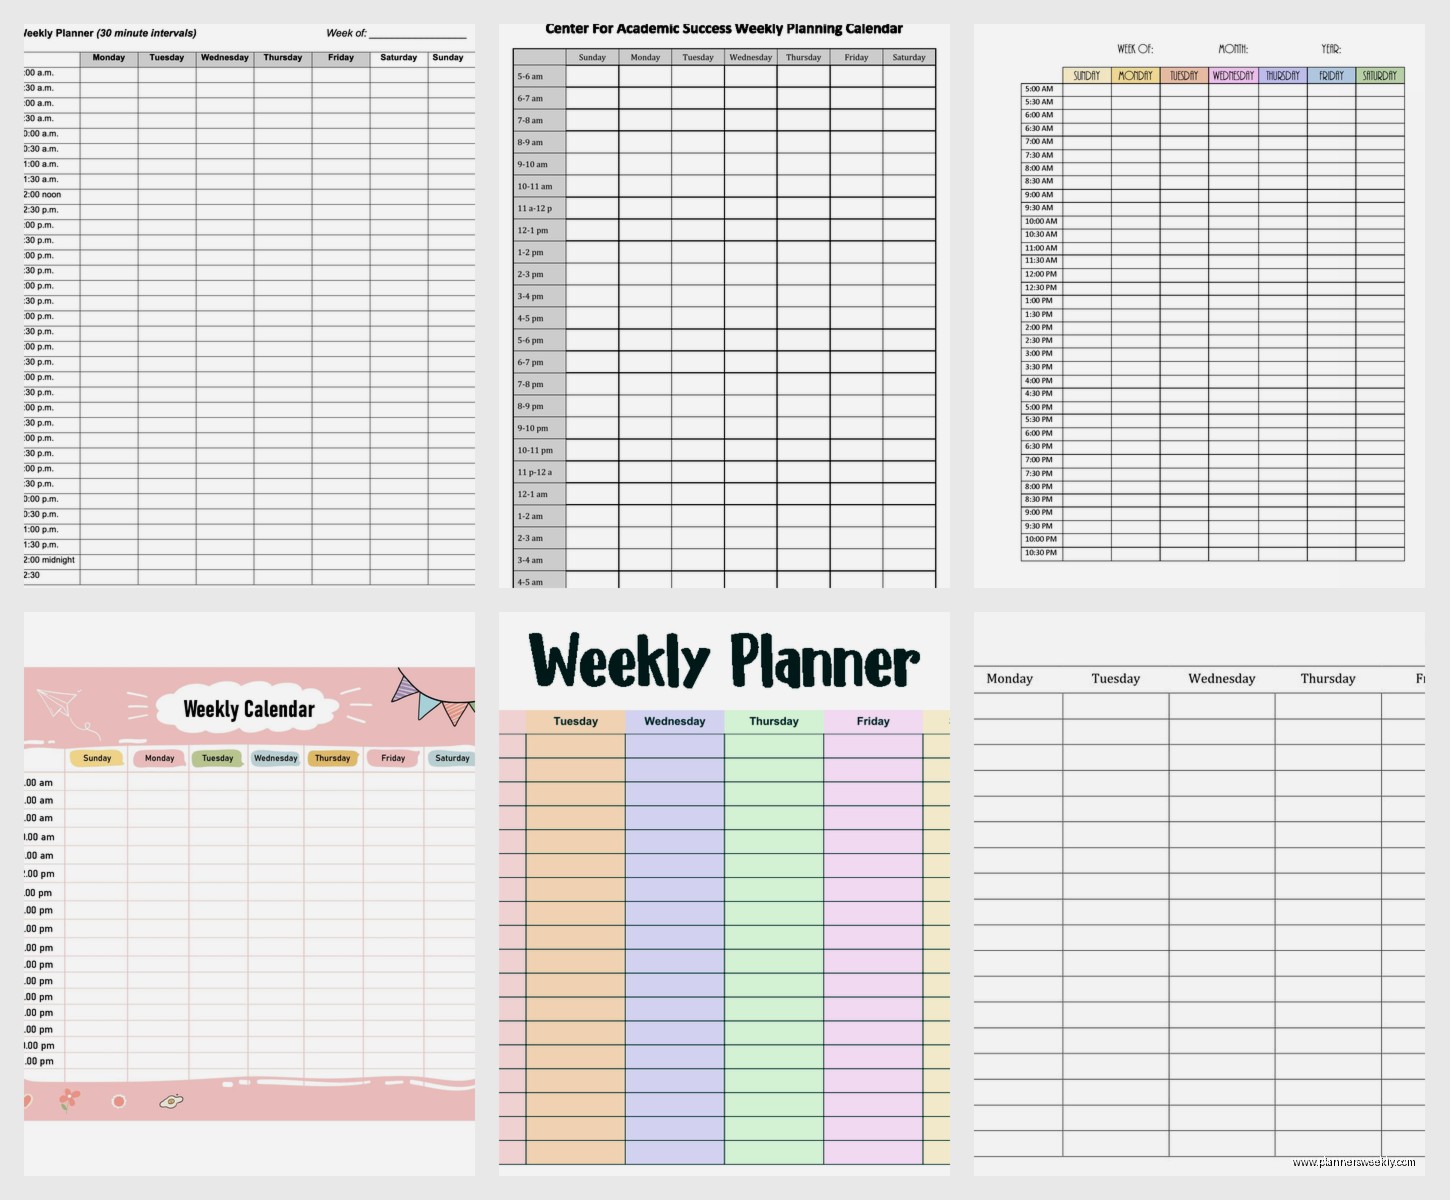
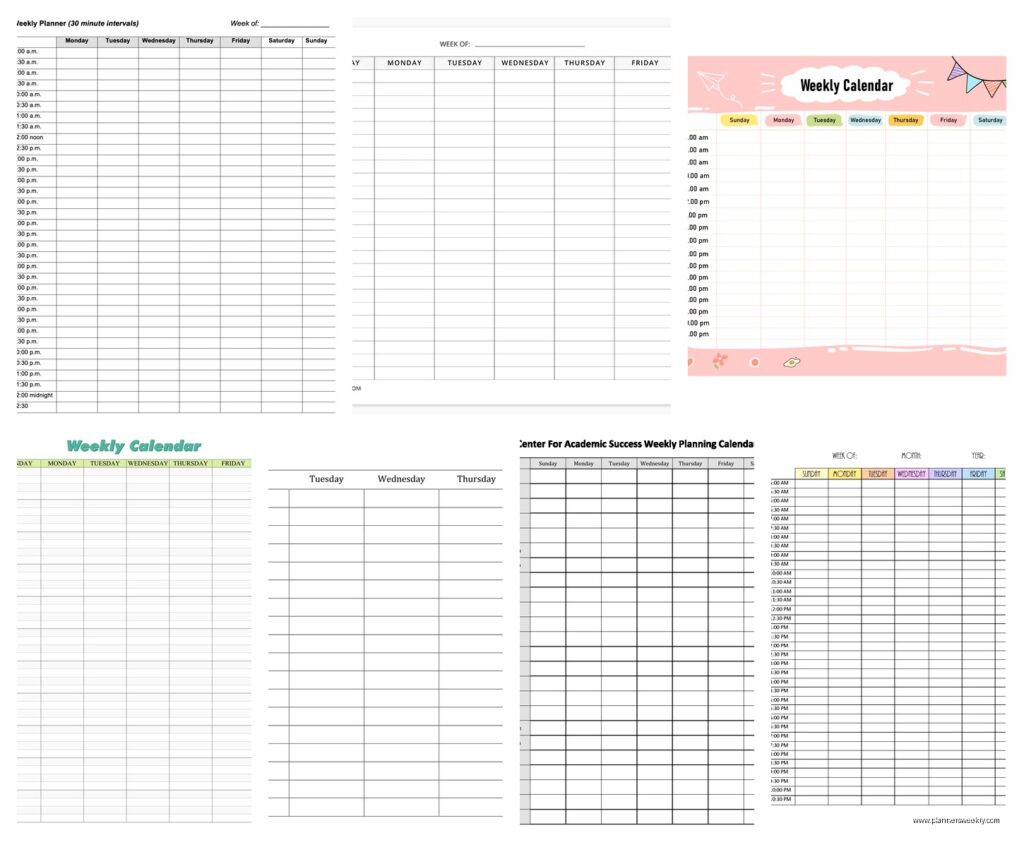
Free Printables vs Paid Planners
There’s like hundreds of free weekly hourly templates online. I’ve downloaded at least 30. The quality varies wildly. Some are beautifully designed but the time slots are too small to write in. Others have great spacing but ugly fonts that make me not want to use them (yes I’m shallow about fonts).
The best free ones I’ve found are from:
- 101 Planners – they have a ton of variations and you can customize the time range before downloading
- Vertex42 – basic Excel templates you can modify
- Scattered Squirrel – cute designs if you’re into that
Paid planners are worth it if you want the whole system – nice paper, binding that lays flat, maybe some extra sections for notes or goals. I use a Clever Fox planner that cost like $27 and it’s held up for six months of daily use. The paper doesn’t bleed through which matters if you use felt tip pens like I do.
Digital Templates and Apps
For digital people there’s Notion templates that are actually really flexible. You can set up a weekly database with time slots and it’ll repeat automatically. I tested this for a month but I kept forgetting to open Notion? Like out of sight out of mind.
Google Sheets works too if you just want a simple grid you can access anywhere. My friend uses a Google Sheet template she updates every Sunday for the week ahead. Not pretty but functional.
The actual calendar apps (Google Calendar, Outlook, Apple Calendar) work great for this if you create “tasks” as calendar events. The day view basically becomes your hourly template. I do this for my fixed appointments but I still prefer paper for planning my flexible work blocks.
How to Actually Fill These Things Out
Sunday evening or Monday morning, block out your fixed commitments first – meetings, appointments, anything with a set time. Then look at your task list and estimate how long things will actually take (add 25% to whatever you first think because we’re all optimistic idiots about time).
Assign those tasks to specific time slots based on when you have availability and when your energy matches the task type. Don’t pack it completely full. Leave some empty slots for the inevitable “urgent” thing that comes up or for when tasks run long.
The mistake I kept making was scheduling tasks back-to-back with no breathing room. Like a meeting from 10-11am and then starting a writing block at 11am. In reality I need 10 minutes after meetings to decompress and pee and refill my coffee. So now I add 15-minute buffers after meetings and my schedule actually works.
The Rolling Update Method
This is gonna sound weird but I update my hourly template throughout the day. If something takes longer than planned, I cross out the next block and adjust. If I finish early, I move the next task up. The template isn’t a rigid constraint, it’s a flexible framework.
Some productivity people will tell you to stick to your schedule exactly but that’s how you end up feeling like a failure by noon when real life happens. The point is having intention about your time, not creating a prison schedule.
Specific Template Recommendations
If you’re buying a physical planner, the Passion Planner Weekly format is solid. It has Sunday through Saturday with hourly slots from 7am to 9pm, plus a small section for weekly goals and a good things list. The compact size fits in most bags.
For printables, the basic vertical weekly template from 101 Planners is my go-to. It’s clean, the time slots are readable, and you can print it on regular printer paper. I print four weeks at a time and keep them in a binder.
The Clever Fox Weekly Planner is what I’m using now for client work. It’s undated so you fill in the dates yourself, which I actually like because I don’t feel guilty about blank weeks when I was traveling or whatever. It has hourly slots from 6am to 8pm and space for priorities and notes.
If you want something minimalist, look for templates that are just a grid with no decorative elements. I have one that’s literally just lines and labels and sometimes that’s exactly what I need – no visual clutter, just function.
Common Problems and Fixes
Problem: The time slots are too small to write in.
Fix: Print at a larger size or use abbreviations and symbols. I have a key – star for urgent, circle for flexible timing, arrow for “this moved to tomorrow.”
Problem: You never look at it after making it.
Fix: Keep it somewhere you can’t ignore. Mine sits next to my keyboard. Some people take a phone photo of their weekly plan so it’s always accessible.
Problem: Everything takes longer than you planned.
Fix: Start multiplying your time estimates by 1.5 and see if that’s more accurate. Also maybe you’re getting distracted – I had to admit I was “working” for three hours but actually only focusing for 90 minutes.
My cat just knocked over my water bottle so there’s that. Anyway.
The Hybrid System I Actually Use
Current setup that’s working: Digital calendar (Google) for anything with a fixed time or that involves other people. Paper weekly hourly template for task blocking my work hours. Daily notepad for the actual task list details and notes.
The weekly template is my “big picture” view. The daily notepad is where I get into the weeds. They work together. I tried doing everything in one system multiple times and it never stuck.
Starting Simple
If you’ve never used an hourly template before, don’t go all in with color coding and detailed task breakdowns and habit tracking. Just start with blocking your work hours into chunks – morning creative work, midday meetings, afternoon admin, whatever matches your life.
Use it for a week and see what actually happens versus what you planned. That gap between intention and reality is where you learn about your actual time usage. I discovered I was scheduling way too many tasks per day and setting myself up to feel behind constantly.
After two weeks you’ll know if you need smaller or larger time increments, whether you need weekends included, if digital or paper works better for you. There’s no perfect template, just the one you’ll actually use consistently.
And honestly some weeks I don’t use it at all because life is chaotic or I’m traveling or I just can’t deal with structure. That’s fine too. It’s a tool not a commitment.