Digital Productivity, Online planners, Planners
Social Media Planner Google Sheets: Template & Guide

Mar
Okay so I’ve been living in Google Sheets for social media planning the past three months because honestly the fancy paid tools were eating my budget and I needed something that just… worked. And here’s what I figured out after way too many late nights tweaking formulas while my cat knocked pens off my desk.
Setting Up Your Basic Structure
First thing – you need columns. Like, the right columns or you’re gonna be scrolling sideways forever. I start with Date, Platform, Post Type, Content/Caption, Visual Asset, Status, and Posted Link. That’s your baseline. Some people add Engagement columns but honestly I found that made me obsess over numbers at 2am so I stopped.
The Date column needs to be formatted as actual dates, not text. Click the column, go to Format > Number > Date. This matters because you’ll want to sort later and if it’s text everything gets weird. I learned this the hard way when all my posts got jumbled and I almost posted a Halloween thing in January.
For Platform I use data validation – that dropdown thing. Select the column, Data > Data validation, then List of items. Type in: Instagram, Facebook, Twitter, LinkedIn, TikTok, whatever you actually use. Makes everything consistent instead of having “IG” and “Instagram” and “insta” all mixed up.
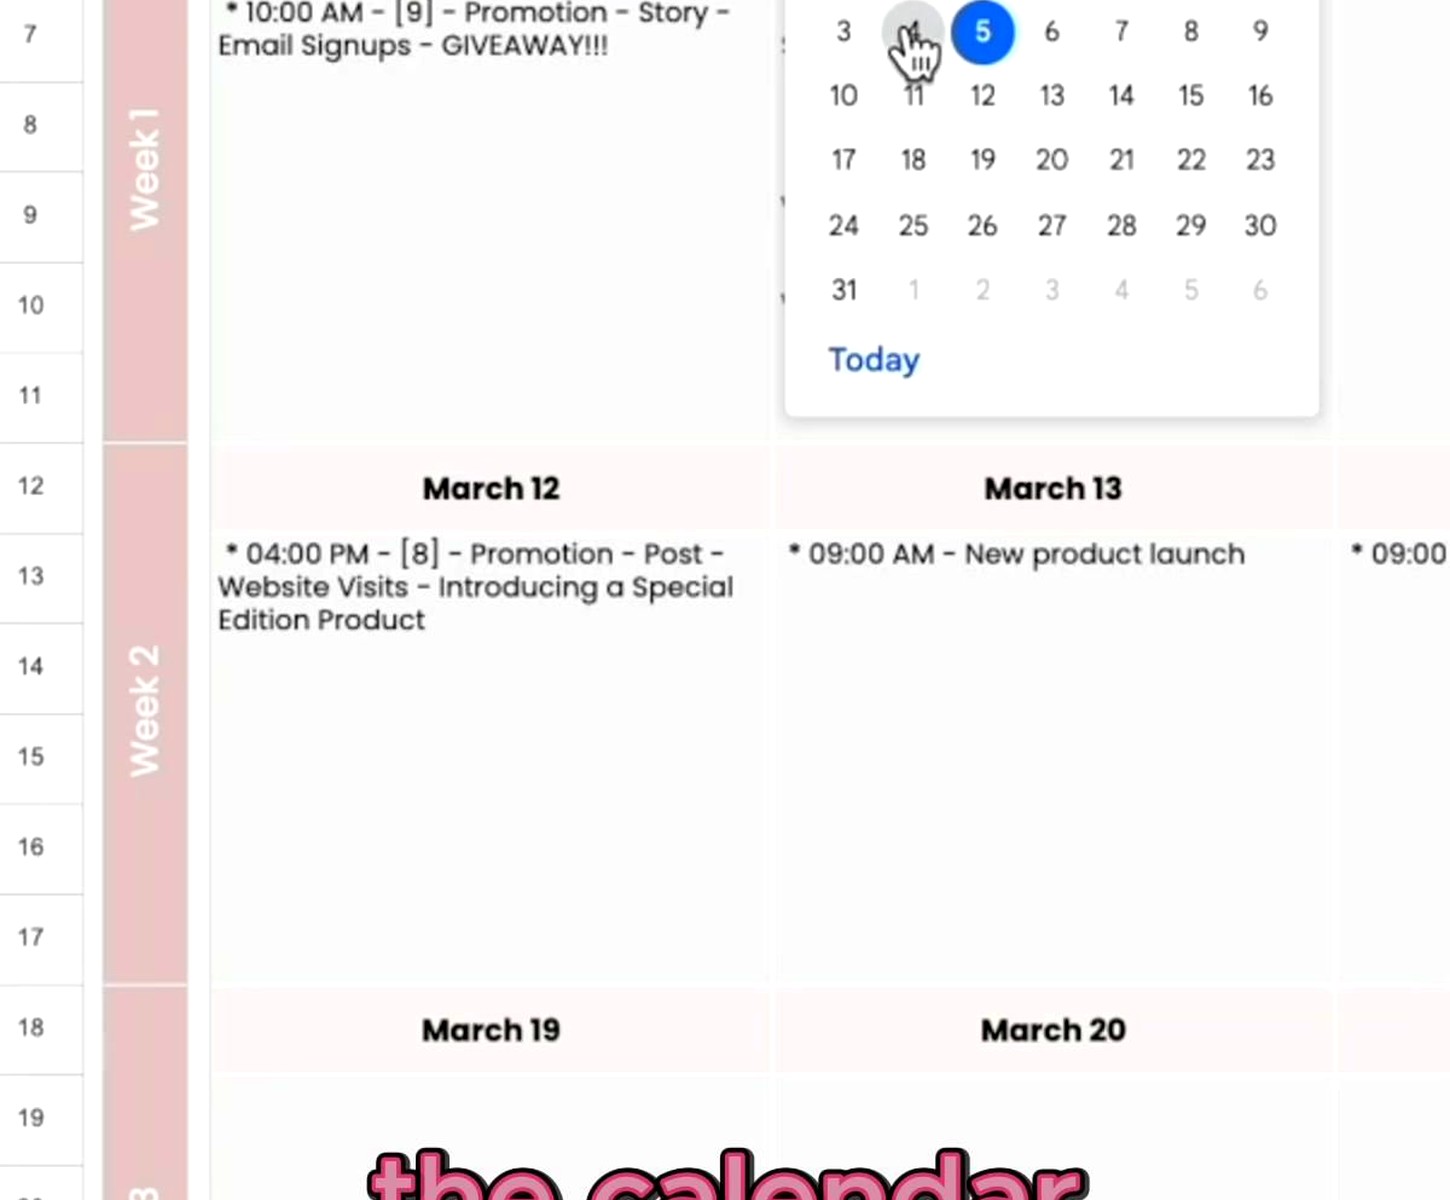
The Calendar View That Actually Helps
Wait I forgot to mention – you want TWO sheets in one file. The first one is your master list where everything lives. The second is a monthly calendar view because sometimes you need to see the whole month at a glance, you know?
For the calendar view, I create a grid that looks like an actual calendar. Days of the week across the top, weeks going down. Then I use conditional formatting to highlight which days have posts scheduled. It’s not perfect but it’s way better than nothing.
The formula I use pulls from the master sheet. In each calendar cell I put something like: =FILTER(MasterSheet!C:C, MasterSheet!A:A=DATE(2024,3,15)) where C is your content column and A is your date column. Adjust the date for each cell obviously.
Color Coding Without Going Overboard
This is gonna sound weird but don’t go crazy with colors. I made my first planner look like a rainbow exploded and it was just… distracting. Now I use four colors max. Red for overdue/urgent, yellow for drafted but not scheduled, green for posted, gray for planned future stuff. That’s it.
You can automate this with conditional formatting. Select your Status column, Format > Conditional formatting. Set up rules like “if cell contains ‘Posted’ then green background.” Makes it visual without making you manually color things.
Content Bank Section
Oh and another thing – add a third sheet for content ideas. This is separate from your actual schedule. Just a running list of post ideas, captions you thought of randomly, hashtag sets that work, that kind of thing. I have columns for Idea, Category, Best Platform, and Priority.
When you’re planning your week you can pull from this instead of staring at a blank cell trying to think of something to post. My client canceled last Tuesday so I spent an hour just dumping every content idea I’d been thinking about into this sheet and now I’m set for like two months.
The Formula Stuff That’s Actually Useful
Formulas sound scary but there’s only a few you really need. First one: counting posts per platform. In a cell somewhere off to the side put =COUNTIF(B:B,”Instagram”) where B is your platform column. This tells you if you’re posting way more on one platform than others.
Second useful formula: days until next post. If your date is in column A and you’re in row 5, put =A5-TODAY(). Shows you how many days out that post is. Helps when you’re planning ahead and lose track of what week you’re even in.
For tracking if you’re posting consistently, I use =COUNTA(FILTER(A:A, A:A>=TODAY(), A:A<=TODAY()+7)) to count posts in the next 7 days. If that number is zero you know you gotta schedule something.
Link Tracking Without the Headache
The Posted Link column is huge for tracking what actually went live. After you post something, paste the direct link there. Later when you need to reference an old post or see what performed well, you have the actual link instead of trying to scroll through your profile forever.
I also add a Notes column for things like “this one got tons of saves” or “people asked about pricing” so I remember context later. It’s messy but useful.
Making It Work for Multiple Accounts
If you’re managing more than one account – which honestly most of us are – add an Account column right after Platform. Then your filter views (we’ll get to those) can separate everything cleanly.
Or you can use separate sheets within the same file, one per account. I tried both ways and honestly it depends on if the accounts are related. My productivity blog and stationery review accounts are in one sheet because there’s overlap. But a client’s business account gets its own file entirely.
Filter Views Are Your Friend
Okay so this feature changed everything for me. Filter views let you create saved filtered versions without actually changing the underlying data. Click Data > Filter views > Create new filter view.
I have filter views for: Instagram only, This week’s posts, Unposted content, Posts needing graphics. You can switch between views with the dropdown and it’s SO much cleaner than trying to manually filter every time.
To set one up, create the filter view, then click the filter icons that appear in your header row. Choose what you want to see. Like filter the Status column to only show “Drafted” or filter the Date column to show only this week.
The Asset Management Problem
Here’s something that tripped me up – where do you store the actual images and videos? Google Sheets can’t hold files. What I do is keep everything in a Google Drive folder with subfolders by month. Then in my Visual Asset column I either describe what it is (“product flat lay photo”) or paste a link to the file.
Some people use a separate column for the Drive link which is probably smarter but I’m lazy. If the visual is already posted somewhere I’ll link to that instead of the Drive file.
Wait I forgot to mention – you can actually insert images into cells. Insert > Image > Image in cell. But this makes your sheet SO SLOW if you have a lot of posts. I only do this for the current week’s posts so I can see them at a glance.
Batch Planning Days
The way I actually use this thing is I have one day a week – Fridays usually – where I fill in the next two weeks. I duplicate the row format (select the row number, copy, paste) so all my formulas and formatting stay consistent.
Then I fill in dates, pull ideas from my content bank sheet, assign platforms. I don’t write all the captions right away because that’s exhausting, just the topic or angle. The actual caption writing happens a day or two before posting.
My Status column goes: Idea > Drafted > Scheduled > Posted. So during batch planning everything starts at Idea or Drafted. Then as I move through the week I update statuses.
Hashtag Research Sheet
Oh another sheet to add – hashtag sets. I got tired of researching hashtags every single time so now I have a sheet with different sets for different content types. Like “product showcase hashtags,” “behind the scenes hashtags,” “educational content hashtags.”
Each set is 10-15 hashtags. I just copy and paste the relevant set into my caption. Way faster than thinking about hashtags every time, and you can track which sets seem to work better.
Sharing and Collaboration
If you’re working with a team or VA, the Share button is top right. You can give people edit access or just view access. I give my virtual assistant edit access but use the Version History feature (File > Version history) to check if anything got accidentally deleted.
You can also protect certain ranges if there’s stuff you don’t want others changing. Select the cells, right click, Protect range. Useful for your formula cells so nobody accidentally breaks them.
Mobile Access Reality Check
The Google Sheets app works okay for checking your schedule but editing on mobile is honestly annoying. I mainly use mobile to mark things as Posted after I publish them. For actual planning I’m on my laptop.
You can add the sheet to your home screen for quick access. Open it in mobile Chrome, tap the three dots, “Add to Home screen.” Then it’s right there like an app.
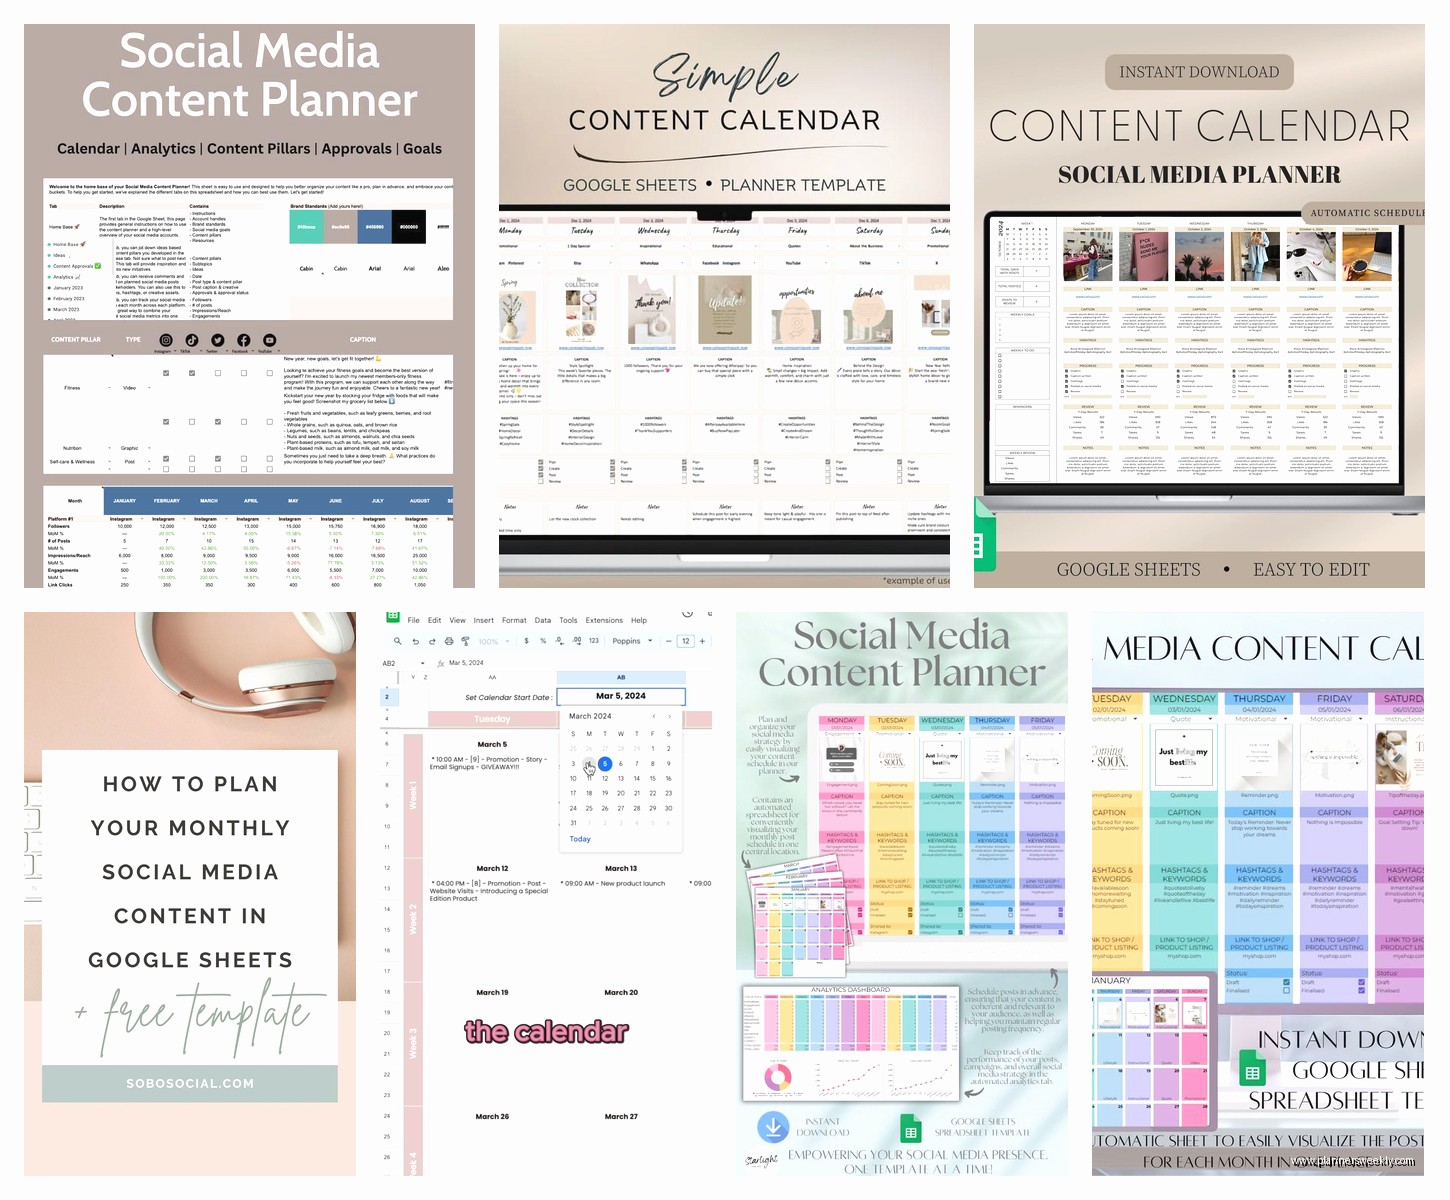
Templates I Actually Use
There are fancy templates out there but honestly most are overcomplicated. I started with a basic one from someone’s blog and stripped out like half the columns because I wasn’t using them.
The things that matter: date, platform, content, status. Everything else is extra. Add extras only if you’ll actually use them. I had an “Engagement Goal” column for two weeks and never once filled it in so it’s gone now.
One template thing that IS useful – conditional formatting rules already set up. If you find a template with the color coding done, that saves time. Otherwise you’re setting up all those rules yourself which is tedious.
Backing Everything Up
Google Sheets autosaves which is great but I still download a backup once a month. File > Download > Microsoft Excel. Just in case something weird happens with my Google account or whatever. It’s saved me once when I accidentally deleted a bunch of rows and didn’t realize until past the undo window.
The downloaded version doesn’t have the formulas working the same way but at least you have the data.
What Doesn’t Work
Trying to track detailed analytics in here – don’t do it. It gets messy fast and there are better tools for that. This is for planning and scheduling tracking, not performance analysis.
Also complex automations with Google Apps Script… possible but probably overkill unless you’re a spreadsheet wizard. I looked into it, got confused, decided the manual way was fine actually.
Oh and linking to actual scheduling tools like Buffer or Hootsuite – you can paste the link to your scheduled post but there’s no integration. This is separate from those tools. Some people use this for planning then move content into their scheduler. I post manually because I’m controlling like that but you do you.
The thing about Google Sheets is it’s free and flexible and you can make it whatever you need. My version looks nothing like what I started with six months ago because I keep adjusting. Start simple, add stuff as you realize you need it, remove stuff that’s just clutter. That’s really the whole strategy.