Digital Productivity, Online planners, Planners
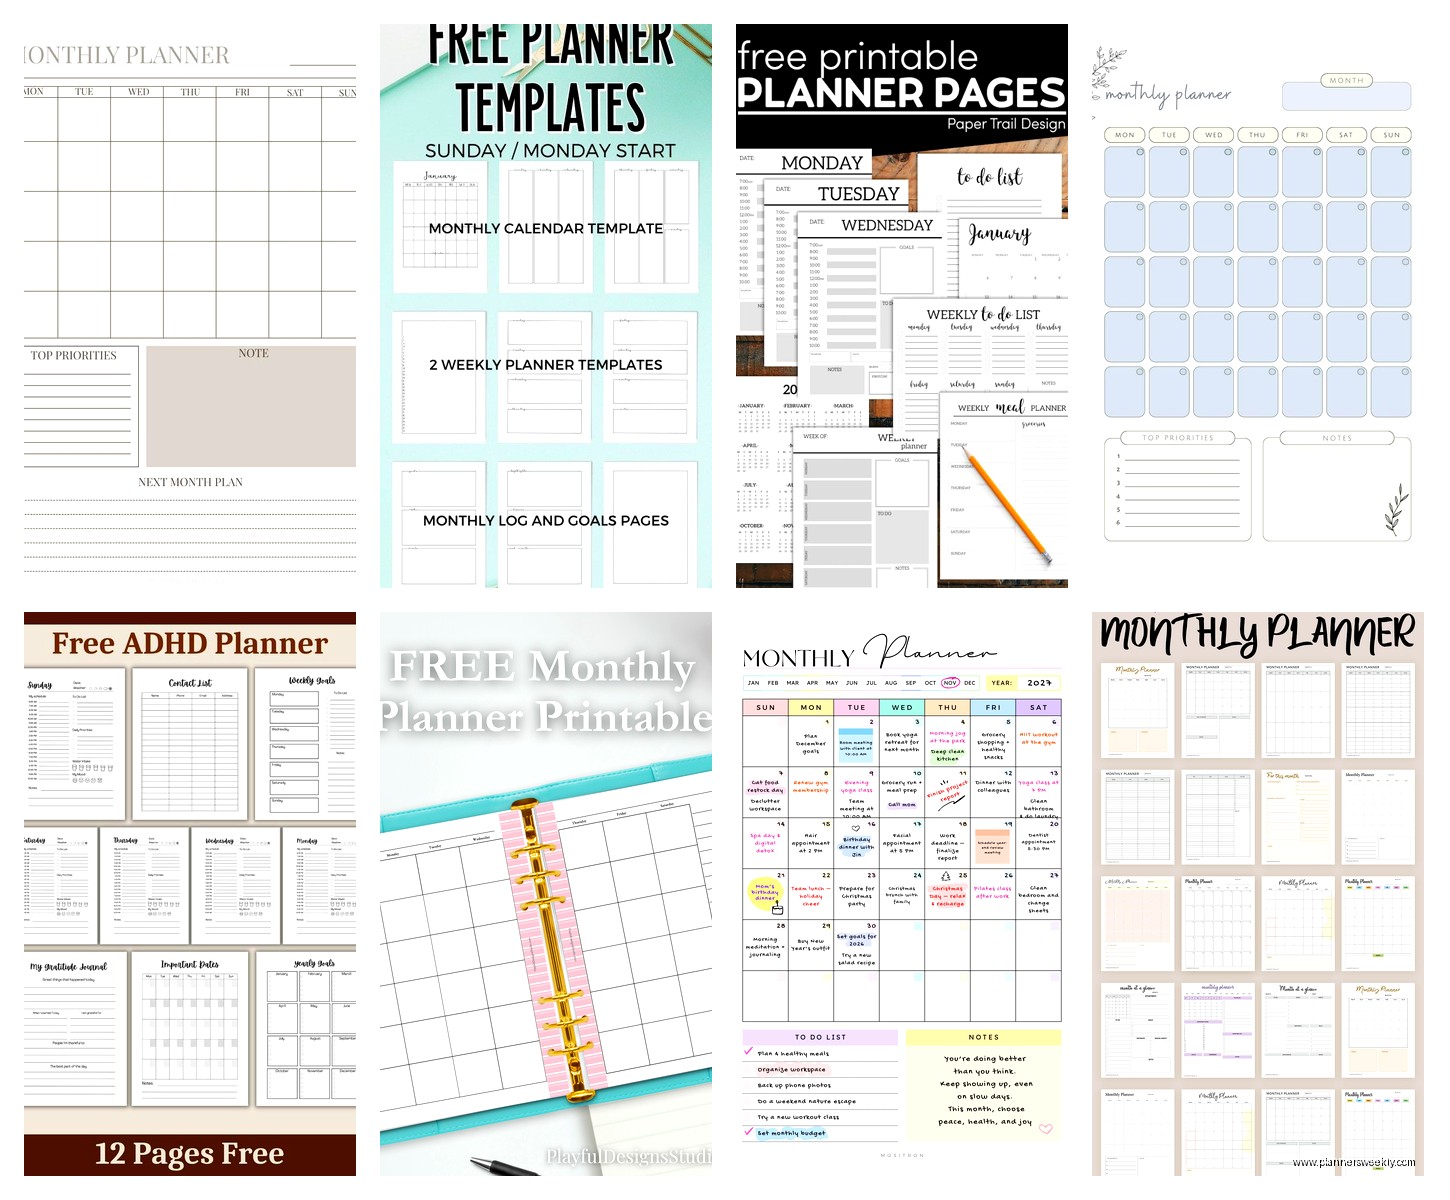
Custom Monthly Planner: Create Your Perfect Calendar
Mar
Okay so I’ve been down this custom planner rabbit hole for like three months now and honestly it started because my regular planner just wasn’t cutting it anymore. I kept buying these pre-made ones thinking “this year will be different” and then by February I’d have half the pages blank because the layout made zero sense for my actual life.
First Figure Out What You Actually Track
Here’s the thing nobody tells you – you gotta spend like a week just writing down everything you currently track or WISH you tracked. I did this while binge-watching that new Netflix show (the one with the murders?) and it was eye-opening. I had client meetings, meal planning, water intake, when I posted blog content, package tracking for all the stationery I order… it was chaos.
Make a list on your phone right now. Seriously just open Notes and every time you think “I should write that down” this week, add it to the list. You’ll probably end up with like 30 things and that’s fine because then you narrow it down to what you ACTUALLY need vs what sounds productive but you’ll never do.
For me it ended up being: appointments, content deadlines, habit tracking for like 4 things max, meal planning, and a running list of stationery to review. That’s it. Everything else was just me pretending I’d become a person who tracks their daily water intake in 15 different colors.
Pick Your Format and This Actually Matters
So you’ve got basically three routes here and they’re all valid depending on your situation.
Digital custom planners – I use Notion for this and yeah I know everyone either loves or hates Notion but hear me out. You can literally drag and drop different blocks to create exactly what you need. I’ve got a template that has my monthly calendar view at the top, then weekly breakdown sections, then my habit tracker on the side. The best part is you can duplicate it every month and adjust if something’s not working.
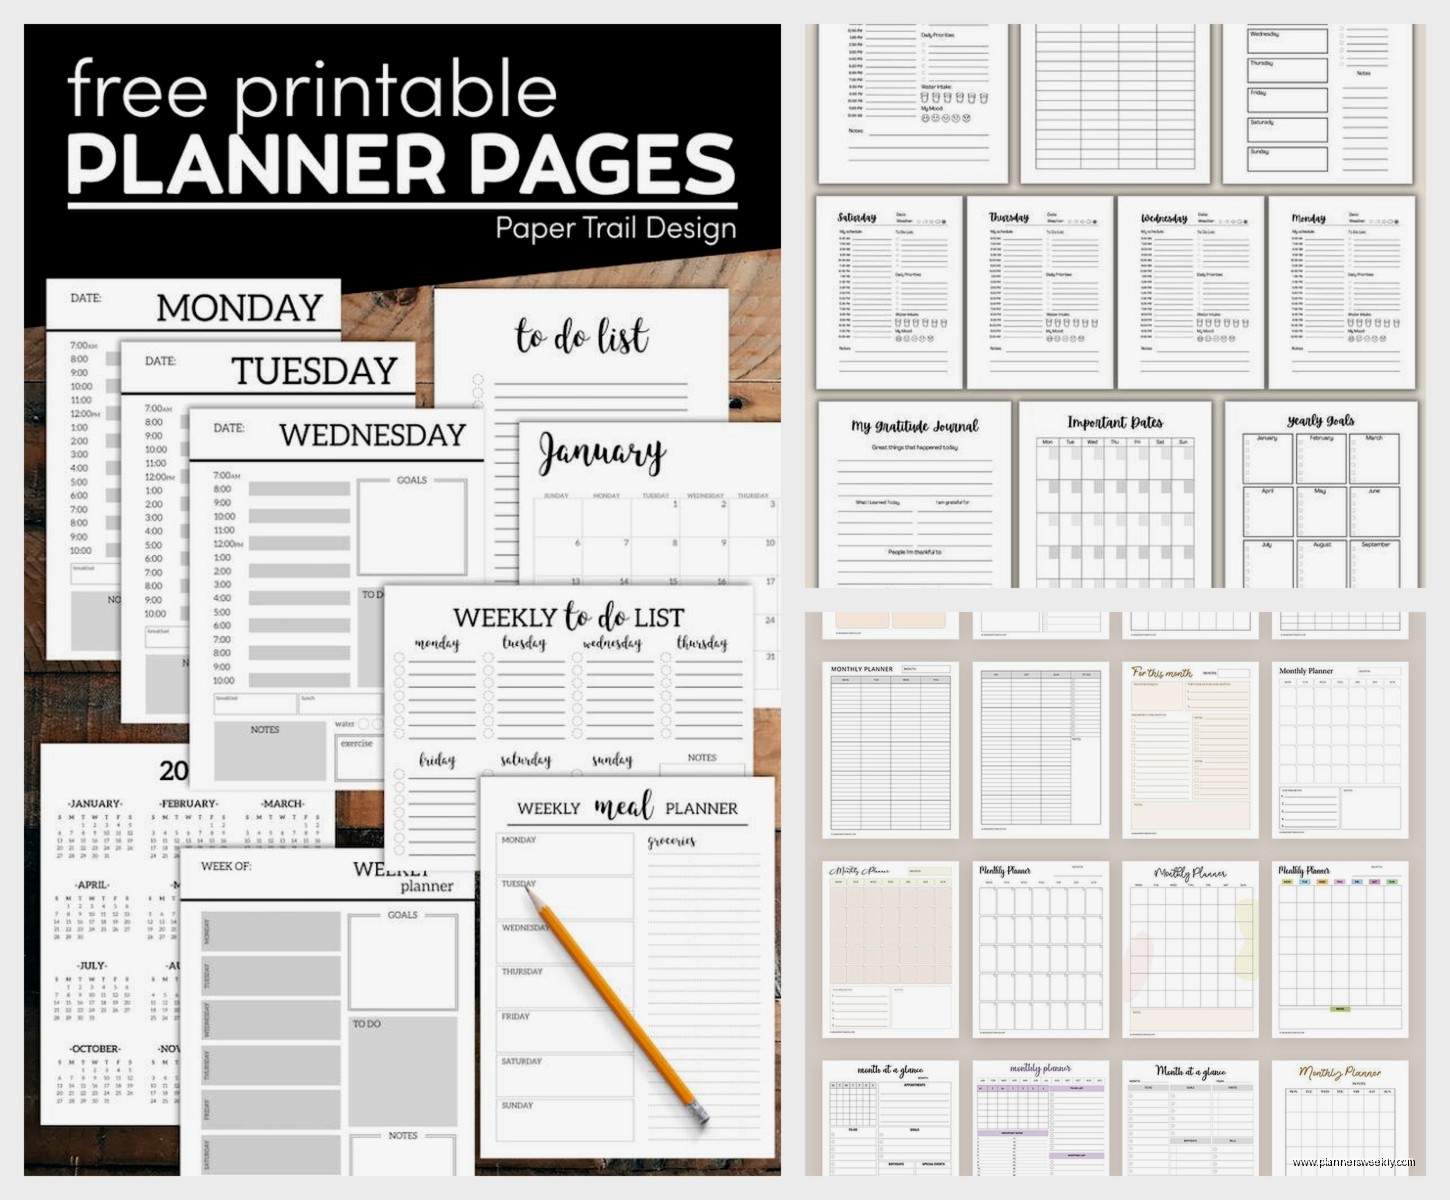
GoodNotes is another option if you’ve got an iPad. You can create custom templates or buy them on Etsy (there’s this seller… wait let me find the name… okay I can’t remember but search “custom monthly planner template GoodNotes” and you’ll find tons). The handwriting feel is pretty close to paper which matters if you’re like me and think better when you’re physically writing.
Print-at-home planners – This is actually my favorite method lately. I design mine in Canva because I’m not a designer and Canva holds your hand through everything. They have monthly planner templates you can start with and then just customize the heck out of them.
I literally spent my entire Saturday two weeks ago setting up templates for the next six months. My cat knocked over my coffee halfway through which was great timing. But once you’ve got your master template, you just duplicate it and change the dates. Print on good paper though – I use 32lb paper from the office supply store, not regular printer paper, because it doesn’t bleed through when you use markers.
Custom printed planners – Places like Mixbook or even local print shops will print bound planners from your designs. More expensive obviously but if you know you’ll actually use it and you want it to last the whole year, it might be worth it. I did this once and the binding was chef’s kiss but then I realized I wanted to change my layout in March and couldn’t, so there’s that tradeoff.
Layout Options That Actually Work
Okay so funny story, I tested like twelve different monthly layouts thinking I needed something revolutionary and you know what worked best? Pretty much the standard grid. But here’s where you customize it.
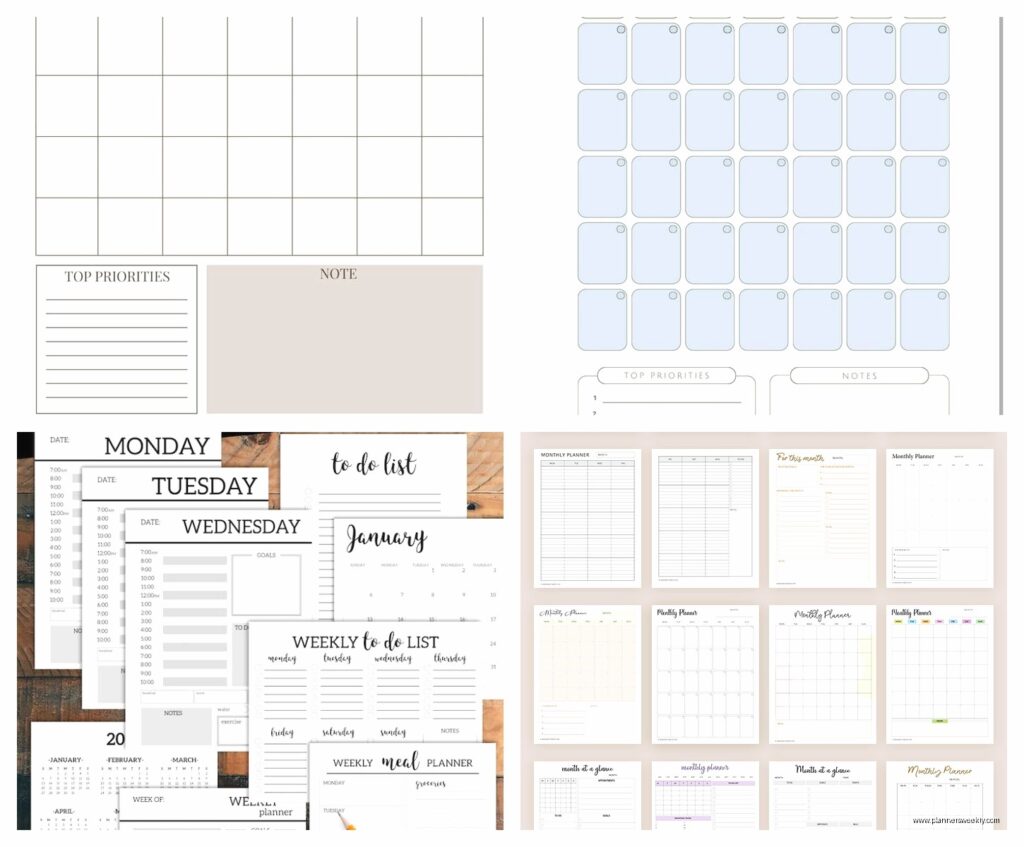
The monthly grid itself – Make the boxes actually big enough to write in. Standard planners have these tiny boxes that fit like one word. I make mine about 2 inches square when printed. Yeah it takes up more paper but you can actually use it.
Add these sections in each daily box: a small checkbox area at the top for your top 3 tasks, then the rest is open. Some people like time blocking within each day but that made me feel suffocated. You might be different.
The side panels – This is where it gets personal. I have a vertical strip on the left side of my monthly spread that has:
– Goals for the month (just 3)
– Habits I’m tracking with tiny boxes for each day
– Important dates highlighted
– A notes section
On the right side I do a running task list that isn’t date-specific. Like “email that brand about collaboration” doesn’t need to be on a specific day but I need to see it.
Color coding that won’t make you insane – I tried doing elaborate color systems and gave up after week one every single time. Now I use three colors max: work stuff is blue, personal is green, and urgent things get a red dot. That’s it. My brain can’t handle more than that while also trying to be productive.
Tools You’ll Actually Need
If you’re going digital, just your device and the app. Done.
For print-at-home, here’s my actual setup:
– Canva Pro subscription (worth it, the free version is too limited)
– Good printer or access to one – I use the library printer honestly because my home printer is garbage
– 32lb paper or cardstock
– A hole punch if you’re putting it in a binder, or those binding combs from Amazon (like $15 for a starter kit)
– Honestly that’s it, don’t overcomplicate it
The Design Process Nobody Explains
Open Canva and search for monthly calendar templates. Pick one that’s close to what you want. Now here’s what you’re gonna modify:
Change the size of the date boxes – click on the grid and drag it bigger. You might need to adjust the whole canvas size. I use 8.5×11 because that’s standard printer paper but some people like 8.5×14 legal size for more room.
Add your side panels – just use the rectangle tool and create boxes where you want them. Add text boxes inside for headers. I keep mine simple: “Goals,” “Habits,” “Notes.”
Insert your habit tracker – this can be a simple grid with days across the top and habits down the side. Or little circles to check off. I do circles because checking them off feels more satisfying than like, coloring in squares.
The dates – you can manually type these in each month or use Canva’s calendar elements that auto-populate. I manually type them because I’m picky about fonts and sizing.
What I Include That Makes It Actually Useful
A brain dump section – At the bottom of every monthly page I have a section called “Random Thoughts” because ideas hit at weird times and if I don’t write them down immediately they’re gone forever. This saved me last week when I remembered a review deadline while meal planning.
Reflection prompts – Okay this is gonna sound weird but I put three questions at the top of each month: What went well last month? What do I want to do differently? What’s one thing I’m looking forward to? Takes two minutes to answer and actually helps me adjust my planning.
A separate goals page – Before each monthly spread, I have one page that’s just that month’s bigger picture. Projects I want to finish, habits I’m focusing on, maybe a reading list or shows I wanna watch. It’s not on the daily calendar because that gets cluttered but having it on the page before means I see it every time I flip to the month.
Budget tracker – I added this recently and it’s just a simple section listing expected expenses for the month and a running total of what I’ve actually spent. Nothing fancy but it keeps me from getting surprised by my credit card bill.
Common Mistakes I Made So You Don’t Have To
Making it too complicated out of the gate. My first custom planner had like eight different sections per day and I used it for three days before giving up. Start minimal and add things as you realize you need them.
Not leaving white space – cramming everything onto one page makes it overwhelming to look at. If you need two pages for your monthly spread, use two pages.
Trying to make it Instagram-worthy – unless you’re actually planning to post it, don’t waste time on elaborate designs. Function over aesthetic. Mine looks pretty basic and I use it every single day.
Forgetting to date it – sounds obvious but I’ve printed entire months and forgotten to add the actual dates. Now I do dates first, everything else second.
Testing Your Layout Before Committing
Print just one month first. Use it for two weeks. Make notes in the margins about what’s annoying you or what’s missing. Then adjust your template before printing more. I went through four iterations before landing on my current setup.
Also test it with your actual routine. If you work night shifts, a standard 9-5 layout won’t work. If you meal plan on Sundays, make sure there’s space for that. My client canceled last month so I spent an hour comparing different layouts side by side with my actual schedule and that’s when I realized I needed way more space on Mondays than other days.
Making It Sustainable
Set a reminder to design next month’s pages during the last week of the current month. I do this every 25th or so. Takes about 20 minutes once you’ve got your template down.
Keep a running list of adjustments you want to make. I have a note on my phone called “Planner Changes” and whenever something bugs me, I add it there. Then when I’m designing the next month, I reference that list.
Don’t feel locked into your design forever. I change mine slightly every few months as my needs shift. That’s literally the whole point of custom – it evolves with you.
Print in batches if you’re doing print-at-home. I print three months at a time. More than that and my needs change, less than that and I’m printing too often.
The whole process gets faster the more you do it. First month took me like 3 hours to set up. Now it’s maybe 30 minutes to adjust dates and print. You figure out your shortcuts and what actually matters vs what’s just decoration.