Digital Productivity, Online planners, Planners
Google Sheets Work Schedule Template: Complete Guide

Mar
Okay so I’ve been deep in Google Sheets work schedules for like three weeks now because half my clients kept asking about them and honestly? It’s way more flexible than those fancy scheduling apps once you know what you’re doing.
Starting from the actual template gallery
First thing – Google has templates already built in but they’re kinda hidden. When you open Sheets, there’s that template gallery at the top. Click “Schedule” and you’ll see a few options. The basic work schedule one is… fine? But honestly I always start with a blank sheet because their templates are weirdly rigid.
Here’s what I did last Tuesday when my morning client canceled – I built like five different versions to see which layout actually worked. The winner was this super simple grid that you can customize however you want.
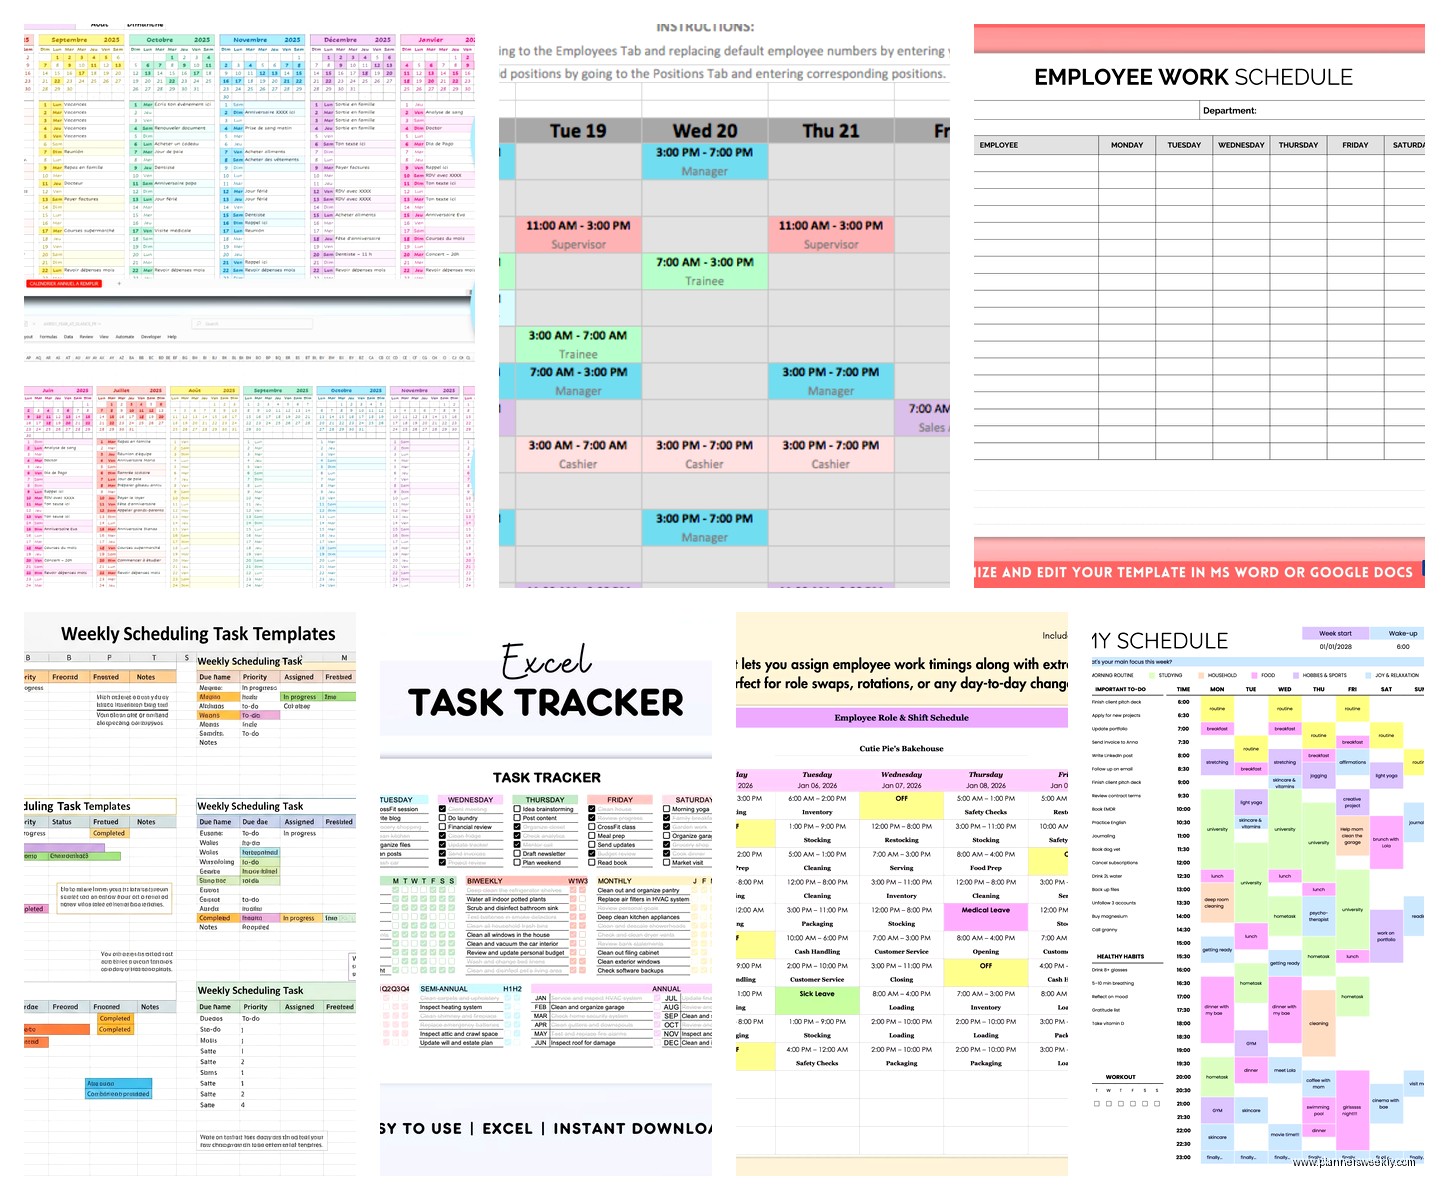
The basic structure that actually works
Column A is your employee names or shift types depending on how you’re using it. Then across the top row starting at B1, you put your days of the week or dates. Some people do Monday through Sunday, but I’ve found if you’re planning more than a week out, putting actual dates (like “Dec 2” “Dec 3”) makes way more sense because you can see it at a glance.
In each cell where name meets day, you put the shift time. I use this format: “9am-5pm” or “OFF” or “9-5” depending on how formal you need it. You can also just put hours like “8hrs” if that’s all that matters.
Making it not look terrible
The formatting is where Sheets actually shines over Excel honestly. Select your header row and make it bold, maybe give it a background color. I always use this light blue (#cfe2f3 if you care) because it prints well and doesn’t hurt your eyes on screen.
Freeze that top row so when you scroll down through a bunch of employees, you still see the days. Go to View > Freeze > 1 row. Also freeze column A the same way so names stay visible when you scroll right. This seems obvious but I forget it half the time and then get annoyed.
Oh and another thing – alternate row colors make it SO much easier to read. Select your whole data range, then Format > Alternating colors. Pick one of their presets or customize it. I like a very light gray for alternating rows.
The conditional formatting trick nobody tells you
This is gonna sound complicated but it’s not I promise. You can make cells automatically change color based on what’s in them. Like if someone’s scheduled for a night shift or overtime or whatever.
Select the range where your shift times go. Format > Conditional formatting. Then set up rules like:
– If text contains “OFF” make it red background
– If text contains “NIGHT” make it dark blue
– If text contains “ON-CALL” make it orange
I set this up for a healthcare client and she literally told me it saved her like 2 hours a week because she could instantly see coverage gaps. The visual scan is just faster than reading every cell.
Actually useful formulas
Okay so you probably want to track total hours right? At the end of each row (or below each column) you need sum formulas but here’s the thing – you can’t sum “9am-5pm” because that’s text not a number.
Two approaches here. Either you have people enter just the number of hours (like “8” instead of “9-5”) which is cleaner for calculations but less informative, OR you create a separate hidden column where you manually enter hours as numbers and sum those.
I usually do the second one because managers wanna see the actual times. So like if your schedule is in columns B through H, I put a hidden hours column after each day. Column I has the hours for Monday, column J for Tuesday, etc. Then at the end I have a =SUM(I2:O2) or whatever to total the week.
To hide those helper columns: select them, right click, “Hide columns.” They’re still calculating in the background but don’t clutter your view.
The COUNTIF formula for shift coverage
Wait I forgot to mention – if you need to see how many people are working each day, use COUNTIF at the bottom. Like in the row below all your employees, put:
=COUNTIF(B2:B20,”<>OFF”)
That counts how many cells in that range don’t say “OFF” which basically means how many people are scheduled. You can adjust the range for however many employees you have. This is super helpful for retail or restaurant schedules where you need minimum coverage.
Making it work for different schedule types
The basic grid works for most situations but I’ve customized it a bunch of ways:
For shift work with multiple shifts per day – instead of one cell per day, I split it into columns for Morning/Afternoon/Night. So you’d have “Mon AM” “Mon PM” “Mon Night” etc. Takes up more horizontal space but gives you way more detail.
For project-based scheduling where you’re tracking what people are working on not just when – I add another row under each person’s name for the project/task. So like row 2 is “Sarah – Hours” and row 3 is “Sarah – Project” and they’re merged across. Then you can see both at once.
My dog just knocked over my water bottle so that was fun… anyway.
The dropdown menu game changer
This is honestly the best tip I’ve got. Instead of typing shift times over and over, create a dropdown list.
Select all the cells where you’ll enter shifts. Data > Data validation. For criteria, choose “List of items” and type your common shifts separated by commas. Like: “9am-5pm, 10am-6pm, 2pm-10pm, OFF, VACATION”
Now you just click and select instead of typing. Cuts down on typos and makes data way more consistent. Plus you can add conditional formatting to those exact terms and it’ll always work.
Sharing and permissions because this gets messy
When you share the sheet, you gotta think about who can edit what. If you give everyone edit access, someone WILL accidentally delete a formula or mess up the formatting. Trust me I learned this the hard way.
Instead, share with “Commenter” access to most people. Then protect the ranges that have formulas. Select the cells with formulas, right click, “Protect range.” You can set it so only you can edit those cells. Everyone else can still view and comment but can’t break your calculations.
Or if people need to input their availability, use a separate tab for that. Tab 1 is the master schedule (protected), Tab 2 is where employees can mark when they’re available. You can reference that data in your master schedule.
The template I actually use now
After testing a bunch, here’s my standard setup:
Column A: Employee names (frozen)
Row 1: Dates for the week (frozen, colored header)
Main grid: Shift times with dropdowns
Column after the dates: Weekly total hours
Bottom row: Daily coverage count
Then I have three conditional formatting rules:
– Red for OFF/vacation
– Yellow for partial days
– Green for overtime (over 40 hours)
I keep this as a template in my Drive and just make a copy whenever I need a new schedule. File > Make a copy. Takes like 10 seconds to set up a new week.
The mobile situation
Google Sheets app on your phone is… okay for viewing schedules but editing is kind of annoying. The dropdowns work fine but formatting is harder. I usually tell people to make updates on desktop but everyone can check their schedule on mobile easily enough.
One thing that helps – if you’re primarily viewing on mobile, make your font bigger. Like 12pt instead of 10pt. And don’t make your schedule super wide with tons of columns because horizontal scrolling on phone is terrible.
Print settings that don’t suck
If you need to print these (some break rooms still use paper schedules apparently), you gotta adjust settings. File > Print, then:
– Set it to Landscape orientation
– Choose “Fit to width” so it doesn’t cut off
– Make sure “Show gridlines” is checked so cells are visible
– Repeat header rows if it spans multiple pages
I was watching The Bear while figuring this out last week and honestly the kitchen scheduling scenes made me appreciate how important clear schedules are. Like lives depend on this stuff in some industries.
Advanced stuff if you’re feeling ambitious
You can link multiple sheets together if you’ve got multiple locations or departments. Use IMPORTRANGE to pull data from other sheets. Syntax is kinda weird but basically:
=IMPORTRANGE(“spreadsheet_url”, “Sheet1!A1:G20”)
This lets you have a master overview that pulls from individual location schedules. I set this up for a retail client with 4 stores and it was honestly really satisfying when it worked.
Also Google has this notification thing where you can set up email alerts when cells change. Not super intuitive to find but it’s under Tools > Notification rules. You can get notified when someone edits the schedule which is helpful if you’re managing a team.
The backup strategy
Google autosaves everything which is great but sometimes you want version history. File > Version history > See version history shows you every change with timestamps. You can restore old versions if someone messes something up.
I also just… make a copy at the end of each week and rename it with the date range. So I have “Work Schedule Dec 2-8” “Work Schedule Dec 9-15” etc. Takes up more Drive space but gives you a clear archive.
Common mistakes I see constantly
People merging cells for no reason and then wondering why their formulas don’t work. Don’t merge cells in your data range, just don’t.
Not using data validation and then getting inconsistent entries like “off” “OFF” “Off” “not working” which breaks your COUNTIF formulas.
Making the schedule too complicated. Like adding 15 different color codes and symbols. Keep it simple or nobody will maintain it.
Forgetting to communicate when the schedule changes. The sheet updates but people don’t check constantly. I usually pair the sheet with a quick Slack message or email like “schedule updated for next week, check the sheet.”
Oh and one more thing – if you’re doing rotating schedules or repeating patterns, you can copy paste entire weeks at once. Select the whole week, Ctrl+C, then paste it into the next week’s columns. Adjust dates and you’re done. Way faster than rebuilding from scratch.
The template’s only as good as the system around it honestly. You need a process for who updates it, when it gets updated, how changes are communicated. But as far as the actual Sheets part goes, this setup has worked for like 20+ clients now so it’s pretty solid.