Digital Productivity, Online planners, Planners
Digital Planner Maker: Create Custom Digital Planners
May
Okay so I’ve been deep in the digital planner maker rabbit hole for like three months now because half my clients kept asking me which one to use and I realized I had no good answer. So here’s what I actually found after testing basically all of them.
The Ones That Actually Work
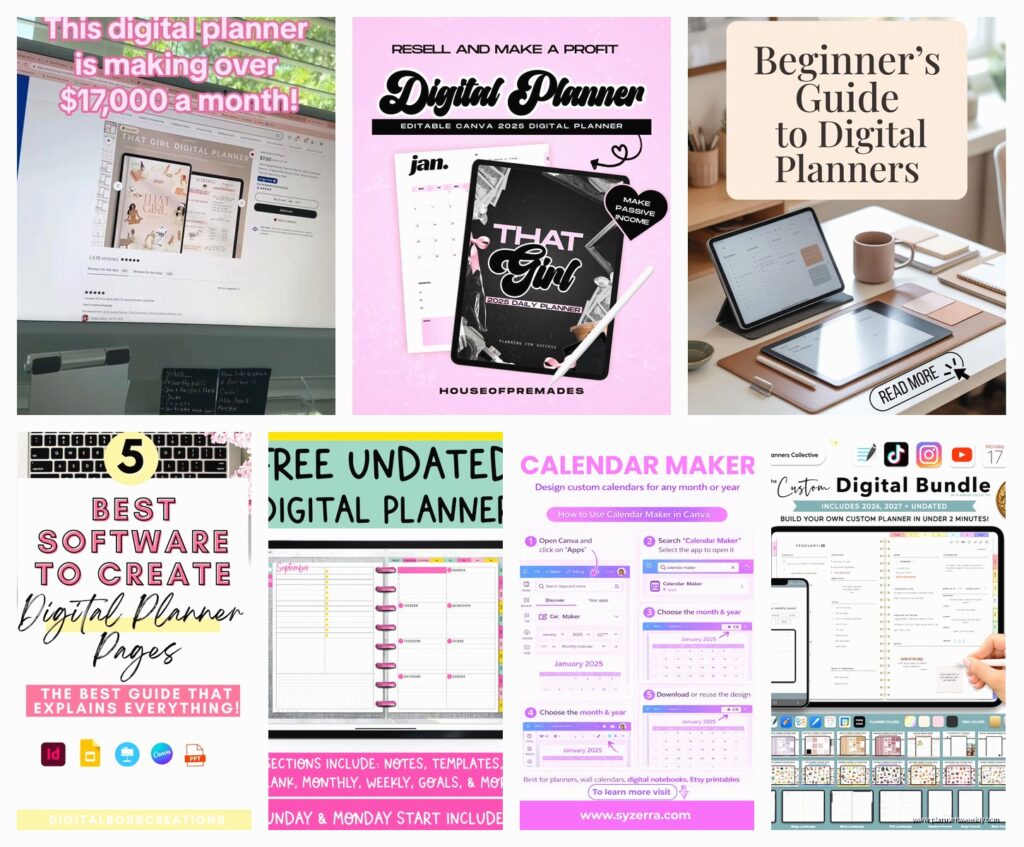
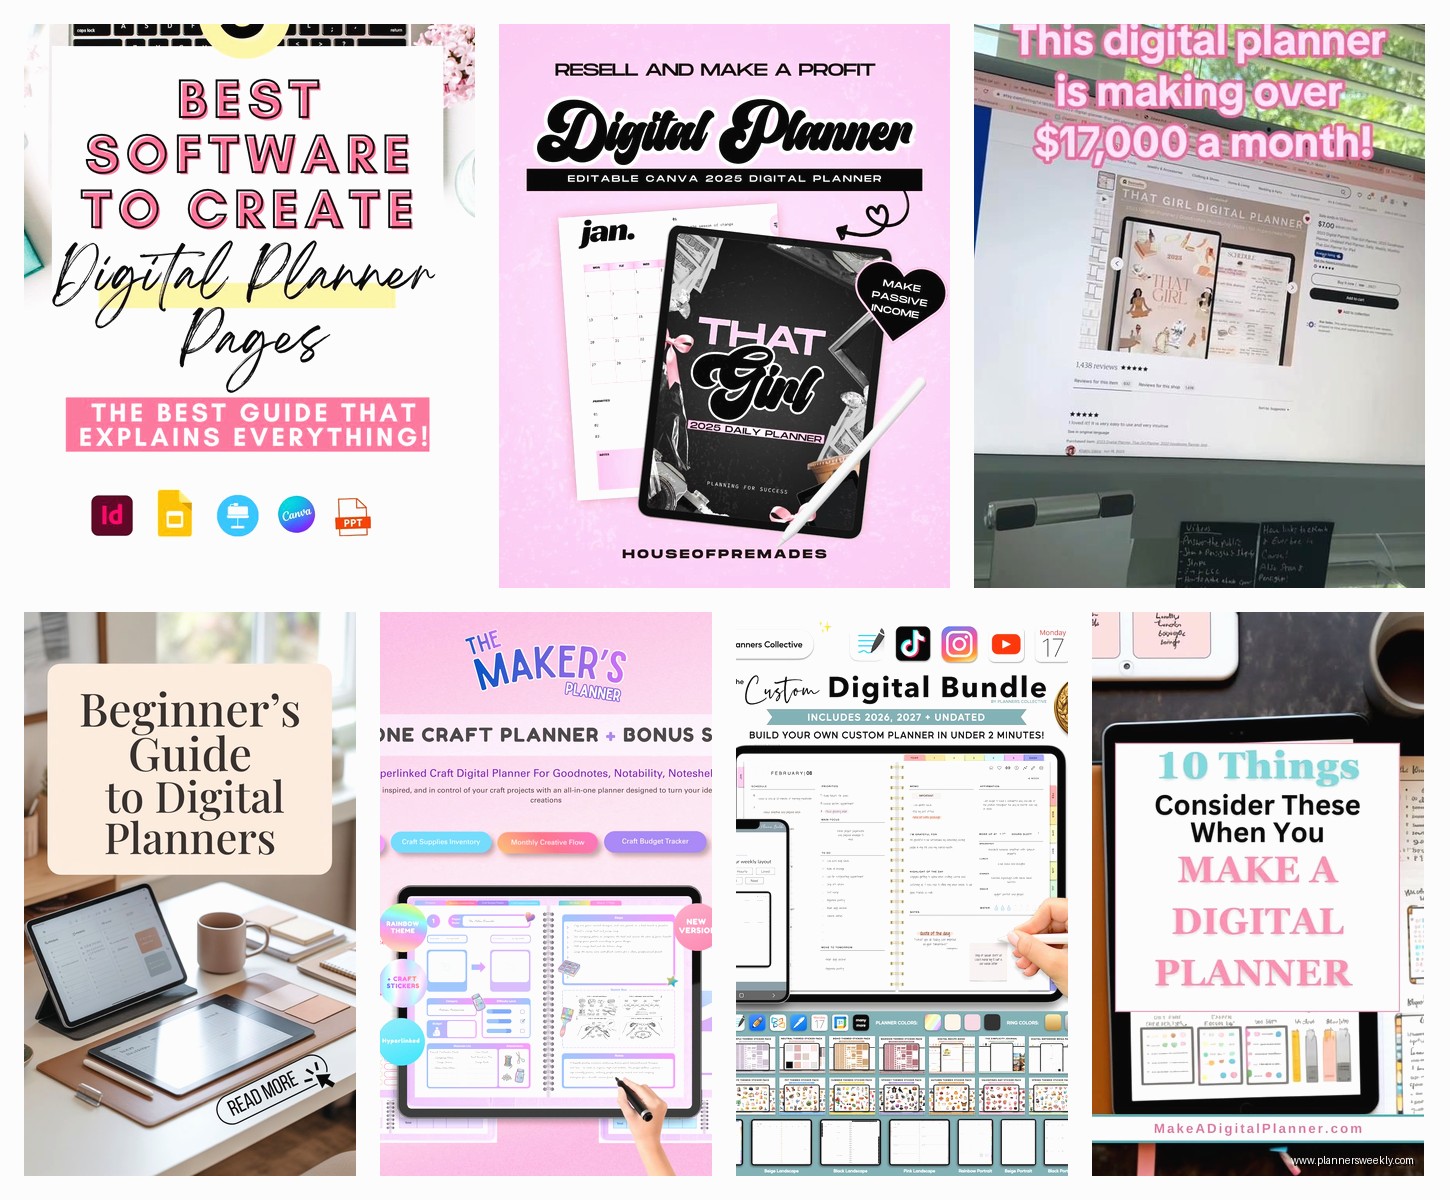
Canva is probably where you’re gonna start and honestly? Not mad about it. I know everyone and their mom uses Canva now but there’s a reason. The free version gets you pretty far if you’re just making planners for yourself. I made my first digital planner there while watching that baking show on Netflix (you know the British one where they’re all nice to each other?) and it was shockingly easy.
The hyperlink feature is what makes it work for digital planners. You create buttons or tabs, then link them to different pages. Took me forever to figure out the right way to export though – you gotta do PDF interactive or the links don’t work. Learned that the hard way after sending a 50-page planner to a client with zero functioning buttons.
Oh and another thing – their templates are actually decent starting points. Search “digital planner” in their template library and you’ll find hundreds. Some are terrible, some are genuinely useful. I usually grab one I like and then customize it because starting from a blank page at 11pm is how you end up with nothing.
The sizing thing everyone gets wrong
Your planner needs to be sized for tablets. Most people use iPads so I stick with these dimensions: 1620 x 2160 pixels for portrait (that’s the standard iPad size). Landscape would be 2160 x 1620 but honestly most people prefer portrait for planners. Trust me on this – I made a landscape one once and got so many complaints.
If you’re selling these or making them for clients who might use different devices, you gotta think about aspect ratios. The 4:3 ratio works for most tablets. Don’t make it letter size like a printed planner because it looks weird on screens.
When You Need More Features
PowerPoint is gonna sound weird but hear me out. If you already have Microsoft Office, PowerPoint is secretly amazing for this. Better hyperlink management than Canva honestly. You can create actual buttons, link to specific slides, and the grid system makes alignment so much easier.
I switched to PowerPoint for my more complex planners – the ones with like 200 pages and tons of navigation. You can duplicate slides faster, the master slide feature means you don’t have to recreate headers on every single page, and exporting to PDF keeps all your links intact.
Set your slide size custom to those iPad dimensions I mentioned. Then you’re just designing slides like normal but thinking of each slide as a planner page. My dog kept stepping on my keyboard while I was making my first one in PowerPoint and somehow created the best navigation system I’ve ever made. Accidents happen I guess.
Keynote if you’re on Mac
Same concept as PowerPoint but prettier if we’re being honest. The design tools are more intuitive and it handles transparency better. I use this when I’m making planners with lots of decorative elements or when I want that really polished look.
Export as PDF with best quality settings. Check that “print each stage of builds” is OFF or you’ll end up with duplicate pages for every animation you accidentally added.
The Actual Design Process Nobody Talks About
Okay so here’s what actually works. Start with your navigation structure before you design anything pretty. Seriously. I wasted two entire days making gorgeous pages before realizing my navigation made no sense and I had to redo everything.
Most digital planners need these core pages:
- Cover page with your main navigation buttons
- Monthly overview pages (12 of them obviously)
- Weekly spread pages (52 or however many weeks)
- Daily pages if you’re feeling ambitious (I usually skip these because it’s too many pages)
- Extra pages like goal tracking, habit trackers, notes sections
- Back buttons on EVERY page so people can navigate back
The back button thing is crucial. I see so many digital planners where you can click forward but then you’re stuck. Put a home button and a back button on every single page. Usually I put them in the same spot so users know where to look.
Hyperlinks are gonna make you wanna scream
This is the part that takes forever. You have to manually create and link every single button. In Canva you select the element, click the link icon, choose “page” and select which page it goes to. Do this for every navigation element on every page.
Pro tip that saved me hours: create one perfect page with all your navigation buttons linked correctly, then duplicate it for all your other pages. Change the content but keep the navigation structure. Way faster than linking buttons on 100+ individual pages.
Wait I forgot to mention – test your links constantly. Export a PDF after every few pages and actually click through it on your iPad or tablet. Finding broken links after you’ve finished 80 pages is a special kind of hell.
Making It Actually Usable With Stylus Pens
If people are gonna write on these planners digitally you need to think about layers and how PDF annotation works. This is where most people mess up including me initially.
Your planner should have writing spaces that are clearly defined. I usually use light gray boxes or lines to show where people can write. When they open it in GoodNotes or Notability or whatever annotation app they use, they can write over your design.
Don’t make backgrounds too busy or colorful in writing areas. Learned this when my client complained she couldn’t read her own handwriting over my beautiful floral background. Oops. Keep writing spaces simple – white or very light colors only.
Text boxes vs writing space
This confused me forever. In your planner maker software, you might add text boxes for labels and headers. That’s fine. But the spaces where users will write need to be empty (or have subtle lines/grids). Don’t put actual text boxes there thinking people will edit them – PDF annotation doesn’t work that way.
When someone opens your PDF planner in an annotation app, they’re writing on top of your design like it’s a piece of paper. They’re not editing the actual PDF elements. Keep that in mind while designing.
The Apps You Actually Need To Recommend
Your planner is only as good as the app people use it with. I always tell people to use GoodNotes on iPad – it’s like $8 and handles digital planners better than anything else I’ve tested. The palm rejection is good, it has different pen types, and you can organize multiple planners in one place.
Notability is the other solid option. Little more expensive I think? But some people prefer it. The handwriting-to-text feature is cool if you need that.
For Android tablets, Xodo is free and works well. Samsung Notes if they have a Samsung tablet obviously.
Tell people to import your PDF planner into their annotation app and then they can write on it, add stickers, highlight, whatever. That’s the whole point of digital planning.
Adding Those Extra Features People Love
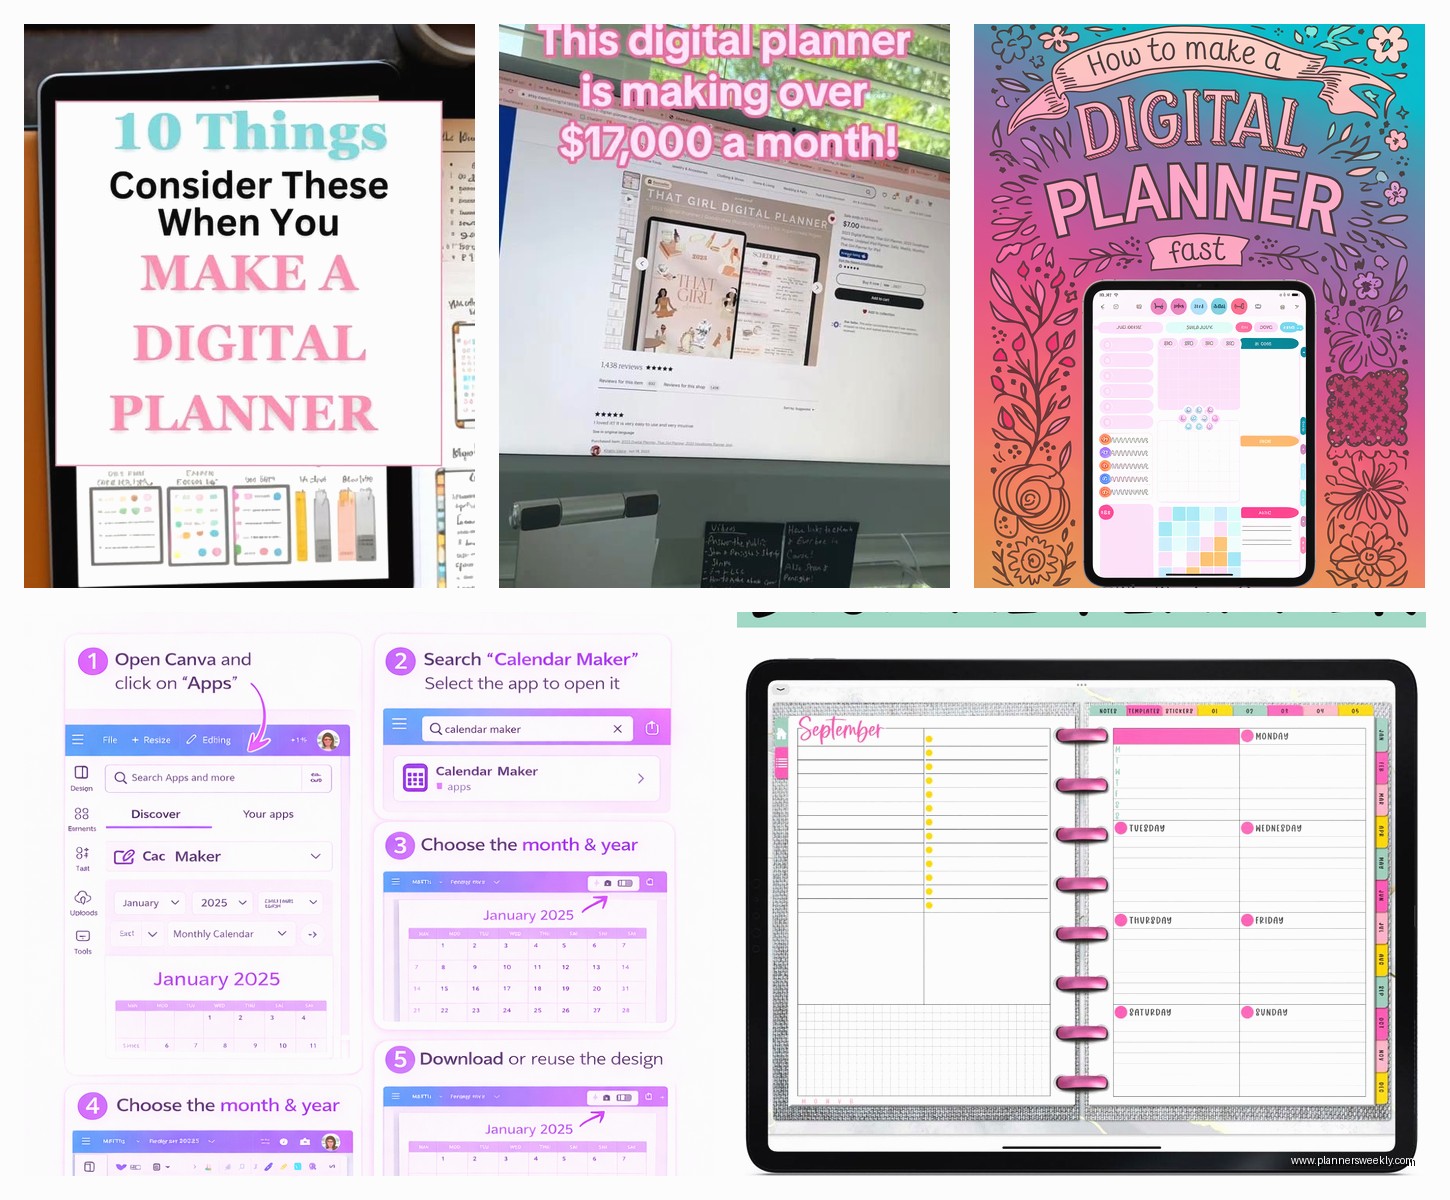
Tabs are huge. Like actual clickable tabs on the side of pages that let you jump to different sections. In Canva or PowerPoint, these are just rectangles or shapes that you hyperlink to specific pages. I usually make them different colors for different months or sections.
Make them stick out from the edge of your page so they look like real tabs. Most people put them on the right side. Stack them vertically and make sure each one links to the right section.
Stickers and decorative elements
This is gonna sound weird but people go crazy for digital stickers in their planners. I’m not talking about stickers you design – I mean creating a sticker page in your planner with little icons and decorations.
Wait no that’s different. Okay so some planner makers include pages of little graphics that users can screenshot and paste into their planner pages. Cute but not necessary for a functional planner.
What IS useful is including different page styles. Like give them some blank note pages, some with lines, some with grid patterns, some with different layouts. Variety makes planners more useful.
The Export Settings That Matter
From Canva: download as PDF Standard with flatten PDF option OFF. If you flatten it, your links won’t work. This took me three attempts to figure out.
From PowerPoint: File > Export > PDF, make sure to check the box that says “use hyperlinks” or something like that (the wording changes depending on your version I swear).
From Keynote: Export > PDF > Best quality. Check your links are working in the export settings.
Always open your exported PDF on an actual tablet before sharing it. Computer PDF viewers don’t always show you how it’ll actually work on a tablet. I use my iPad to test everything.
If You’re Gonna Sell These
Etsy is where most people sell digital planners. You need good mockups – like photos or graphics showing your planner on an iPad screen. People won’t buy something they can’t visualize using.
Your listing needs to be super clear about what they’re getting – a PDF file, what size it is, how many pages, what apps it works with. I see listings all the time that don’t explain this and then the seller gets bad reviews from confused customers.
Price them based on complexity. A simple weekly planner might be $5-8. A comprehensive yearly planner with 200+ pages could be $15-25. Check what similar planners are selling for.
You gotta include instructions. Like a simple PDF that explains how to download the planner, import it to GoodNotes or whatever app, and start using it. So many people have never used a digital planner before.
The legal stuff I’m not qualified to explain but you should know about
If you use graphics or fonts in your planner, make sure you have the right licenses for commercial use. Canva Pro gives you commercial licenses for their elements. Free elements might not allow commercial use. Read the licensing agreements I guess? I’m not a lawyer but this matters.
Testing Before You Share Or Sell
My client canceled last week so I spent like three hours just clicking through one of my planners testing every single link. Found 12 broken ones. This is boring but necessary work.
Make a checklist: every navigation button works, every back button goes to the right place, every tab links correctly, the pages are in the right order, there are no weird blank pages, the file size isn’t insanely huge (compress your images if it is).
Get someone else to test it too. You know where everything is supposed to go so you won’t catch confusing navigation. A fresh person will find problems you missed.
Try writing on it with a stylus. Does your handwriting show up okay on all the pages? Are there any spots where the background makes writing hard to read? Fix those before releasing it.
The Stuff That Makes Planners Actually Useful
After making like 30 of these I’ve noticed patterns in what people actually use. Monthly views need enough space for people to write events – those tiny calendar squares don’t work. Weekly spreads should have sections for each day plus a notes area or task list.
Habit trackers are weirdly popular. Just a grid where people can check off daily habits for a month. Takes like 5 minutes to design but people love them.
Goal pages are good but keep them simple. A place to write goals, break them into steps, maybe track progress. Don’t overcomplicate it with a million fields nobody will fill out.
Blank note pages. Just include a bunch. People will use them. I usually add 20-30 blank or lined pages at the end of planners.
Oh and another thing – page numbers aren’t really necessary in digital planners since you’re not flipping through them the same way. But some people like them? I usually skip them to save time.
The key is making something you’d actually use yourself. I test all my planners by using them for at least a week. If I find myself avoiding certain pages or wishing I had different features, I redesign before sharing them. Your planner should make planning easier not more complicated.