Digital Productivity, Online planners, Planners
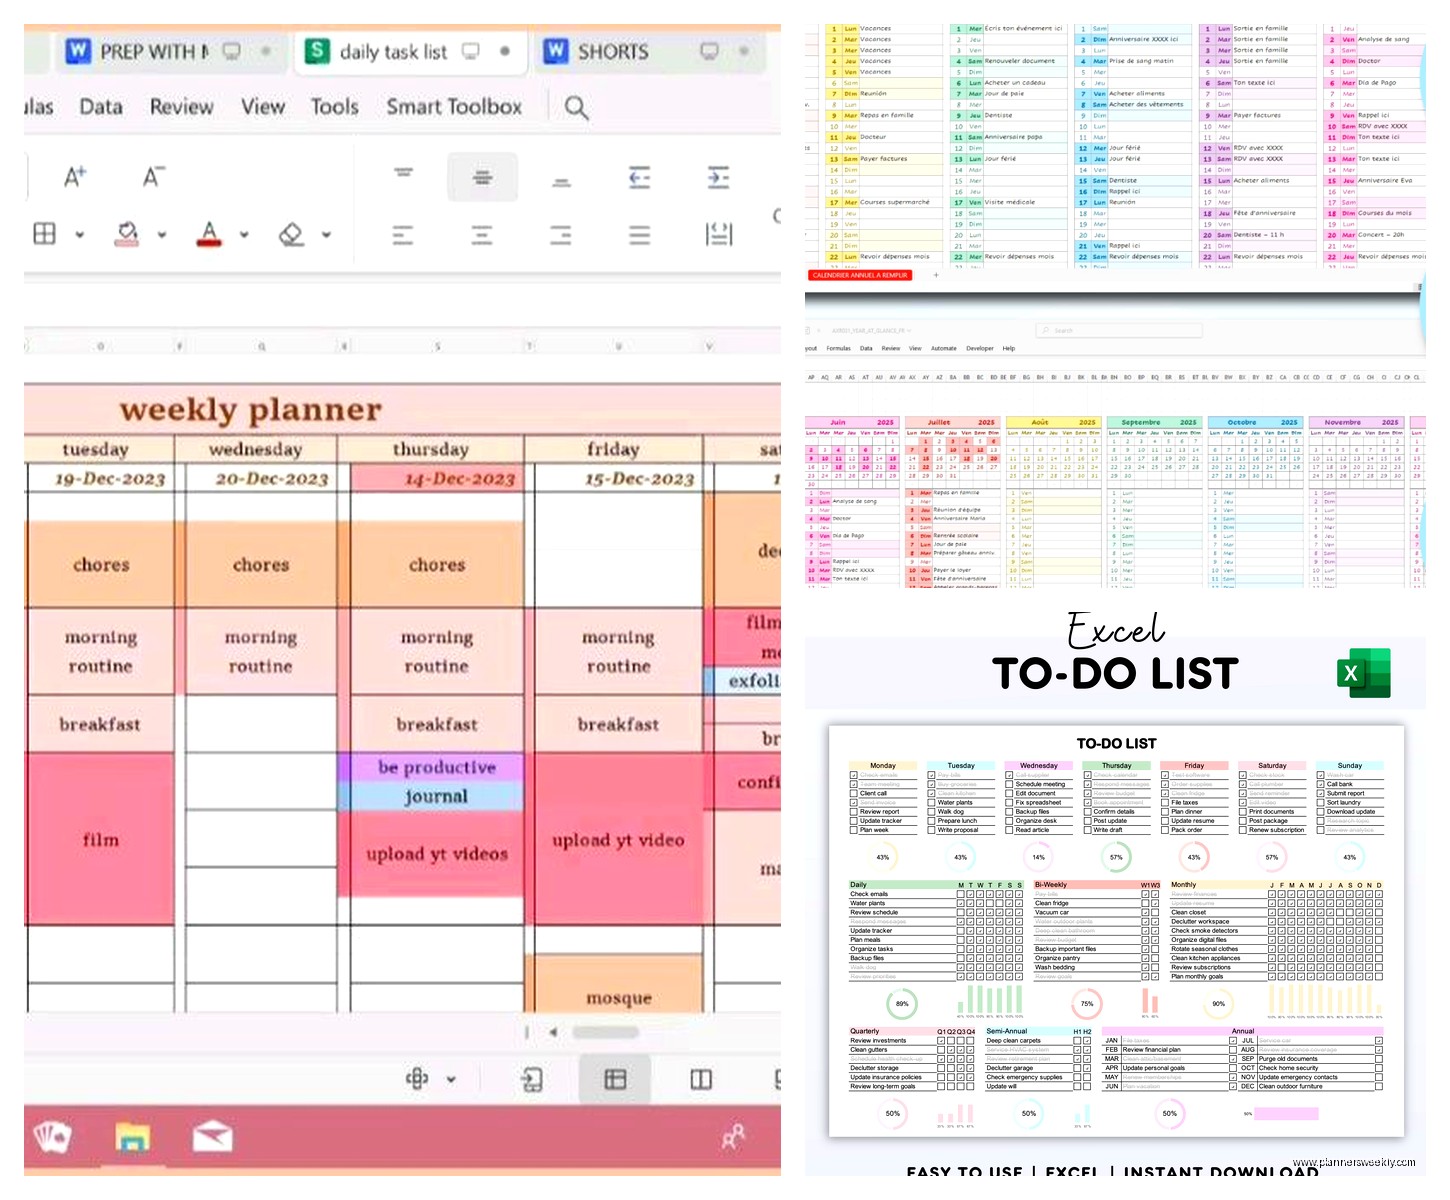
Excel Weekly Planner Template: Free Downloads & Guide

Mar
Okay so I’ve been testing Excel weekly planners for like three months now because honestly half my coaching clients keep asking me which template they should use and I got tired of giving vague answers. Let me just dump everything I learned on you.
The Free Templates That Actually Work
Microsoft’s own template library has this basic weekly planner that’s honestly pretty solid for starting out. You go to File > New > search “weekly planner” and there’s like fifteen options but the one called “Weekly Schedule” is the cleanest. It’s got time slots from 7am to 9pm which is… optimistic for most people but whatever, you can edit it.
The thing nobody tells you about Excel templates is that half of them are locked with protection settings and you’ll spend twenty minutes trying to figure out why you can’t change the font. Right-click the sheet tab, check if “Unprotect Sheet” is an option. Game changer.
Vertex42’s Weekly Planner
This one I found after my cat knocked over my coffee and I rage-downloaded every free template on the internet. Vertex42 has this weekly calendar that’s actually formatted well. It’s got:
- Clean Monday-Sunday layout
- Space for notes at the bottom
- Doesn’t look like it was designed in 2003
- Actually prints correctly on one page
That last point matters more than you’d think. I tested nine templates and four of them printed across like three pages with weird margins. The Vertex42 one just… works. You download it, add your stuff, print it if you’re into that.
Template.net Weekly Planner
Okay so this site has a bunch of options but you gotta navigate through some annoying popups. The “Simple Weekly Planner” is good if you want something minimal. Fair warning though, it opens with a ton of example text that you have to delete. Spent like ten minutes clearing cells before I could actually use it.
Setting Up Your Template From Scratch
If you’re gonna make your own because you’re picky like me, here’s what actually works. Open a blank Excel sheet and I’m gonna walk you through this.
Basic Structure
Merge cells A1 through H1 for your header. Type “Week of [Date]” or whatever. I use “Week Starting [Date]” because it’s clearer when I’m looking back through old planners.
Row 2 is your days. Start with Monday in B2 (leave column A for time labels or task categories). Put Monday through Sunday across B2 to H2. Select those cells and click “Merge & Center” if you want them to look less cramped.
Wait I forgot to mention – make column A wider. Like 15-20 width. The other columns can be around 12-15 depending on how much you write.
Time Blocking Version
If you’re into time blocking (and honestly it’s the only way I stay on track), put hours down column A starting at whatever time you actually wake up. Be realistic. Mine starts at 7am but my friend Sarah’s starts at 10am because she works evenings and there’s no point lying to yourself.
I do one-hour blocks: 7am, 8am, 9am, etc. Some people do 30-minute blocks but that’s too granular for me. Tried it for two weeks and just felt stressed looking at all those cells.
Here’s the thing about time blocking in Excel – you gotta decide if you want each hour as one row or if you want bigger blocks. I use three rows per hour because it gives me space to write actual task details. So like rows 3-5 are 7am, rows 6-8 are 8am, you get it.
Task-Based Version
Or you can skip the time thing entirely and just do categories. Put these in column A:
- Top Priorities
- Work Tasks
- Personal
- Appointments
- Notes
Give each category like 4-5 rows of space. This works better if your schedule is flexible or if you’re not tied to specific times for everything.
Formatting That Actually Matters
Okay so funny story, I spent an entire Saturday formatting a planner template while watching that show The Bear (so good btw) and here’s what I learned about what formatting actually helps versus what’s just procrastination.
Colors You’ll Actually Use
Don’t go crazy with colors. I see these templates with like twelve different color codes and nobody uses them. Pick three, maybe four max:
- One for work stuff (I use light blue)
- One for personal (light green works)
- One for urgent things (yellow or light red)
- Keep white/no fill for empty space
To set this up, select a cell, go to Home tab, click the paint bucket icon. Use the lighter shades because dark colors make text hard to read and printing them eats your ink.
Borders That Don’t Suck
Select your entire planner area. Go to Home > Font section > Borders dropdown > All Borders. This gives you basic grid lines that show up when you print.
Then go back and select just your header row and the row with day names. Borders dropdown > Thick Bottom Border. Makes it easier to scan visually.
This is gonna sound weird but I also put a thick border around the entire planner. Select the whole thing, Borders > Thick Box Border. It just looks more finished and makes it easier to see where the planner ends when you’ve got other stuff on the sheet.
Fonts and Sizing
Use Calibri or Arial at 10pt for regular tasks. Your headers can be 12pt or 14pt. Don’t get fancy with fonts because they won’t print right on other computers. I learned this when I sent a template to a client and it opened looking completely different on her laptop.
Bold your day names and category labels. That’s it. Don’t italicize things unless you’re emphasizing something specific.
Formulas That Are Actually Useful
You don’t need a ton of formulas but a few make your life easier.
Auto-Dating
In your header where you put “Week of [Date]”, try this instead. Type “Week of ” in one cell, then in the next cell put =TODAY(). That formula always shows today’s date. Or if you want it to show Monday of the current week, use:
=TODAY()-WEEKDAY(TODAY(),2)+1
That looks complicated but it just calculates the Monday of whatever week you’re in. You can copy the file each week and it updates automatically.
Checkbox System
Oh and another thing – you can kinda fake checkboxes in Excel. Not as clean as actual checkboxes but it works. Leave a column (like column B if you’re doing a task list layout) for status. Type “☐” for empty or “☑” for done. You can copy-paste these symbols.
Or just use X for done and leave it blank for not done. That’s what I do because I’m lazy.
Conditional Formatting for Overdue Stuff
If you put actual dates in your planner, you can set up conditional formatting to highlight overdue tasks. Select the cells with dates, go to Home > Conditional Formatting > New Rule > Format cells that contain > Cell Value > less than > =TODAY()
Pick a red fill color. Now anything dated before today shows up red automatically. Pretty satisfying honestly.
Printing Settings That Won’t Drive You Crazy
This is where most templates fail and where I wasted so much paper during testing.
Go to Page Layout tab. Set Orientation to Landscape if you’re doing a full week view. Portrait works better for daily planners but weekly needs the horizontal space.
Click on Width and Height dropdowns, set both to “1 page”. This forces Excel to shrink everything to fit on one page. Check your print preview (Ctrl+P) to make sure it’s still readable.
Margins should be Narrow (that’s a preset option). Normal margins waste too much space.
Wait I forgot to mention – if stuff is still cutting off, go to Page Setup > Sheet tab > check “Gridlines” under Print. This prints the borders even if you didn’t format them, which is helpful for blank templates you fill in by hand.
Mobile and Cloud Sync Stuff
If you’re using Microsoft 365, save your template to OneDrive. Then you can open it on Excel mobile app on your phone. It’s not amazing for editing but you can view your schedule which is useful when someone asks if you’re free Thursday.
The mobile app is honestly clunky for weekly planners though. The cells get tiny and you’re zooming in and out constantly. Better for checking than for planning.
Google Sheets is an option too. Upload your Excel template to Google Drive, open it in Sheets. Most formatting carries over okay. The advantage is easier sharing – if you’re coordinating schedules with someone, you can both access the same planner. My client canceled last week so I spent an hour comparing Excel versus Sheets for this and honestly for solo planning, Excel is better. For shared planning, Sheets wins.
Customization Ideas That Clients Actually Use
After working with like thirty clients on their planning systems, here’s what modifications people actually stick with:
Habit Tracker Addition
Add a section at the bottom with habits you’re tracking. Make it simple – list the habit in column A, then put a small box for each day across. People check off when they do the thing. Works for water intake, exercise, whatever.
Meal Planning Row
One row at the top of each day for dinner plans. Sounds random but like five clients asked for this. Makes grocery shopping easier when you can see the whole week.
Weekly Goals Box
Merge some cells at the top right for 3-5 weekly goals. Separate from daily tasks. Helps you see if your daily stuff is actually moving toward bigger objectives.
Reflection Space
Some people add a “Weekly Review” section at the bottom. What worked, what didn’t, what to change next week. I personally don’t use this but the people who do seem to find it valuable.
Common Problems I Had to Troubleshoot
Cells not expanding when you type – right-click the row number, select “Row Height”, set it to like 30 or 40. Or just double-click the line between row numbers to auto-fit.
Text getting cut off – either widen the column or enable text wrap. Select cells, go to Home > Alignment section > Wrap Text button. Text will flow to multiple lines within the cell.
Template looking different on other computers – stick to standard fonts and don’t use fancy formatting. Also save as .xlsx not .xls because the older format has compatibility issues.
Can’t edit certain cells – the sheet is probably protected. Review tab > Unprotect Sheet. If it asks for a password and you don’t have it, you gotta find a different template.
Which Template to Actually Download
If you just want something ready to go right now, grab the Vertex42 weekly planner. It’s the most balanced between features and simplicity.
If you want to customize everything and you’ve got time, build your own using the structure I described. Takes maybe 30 minutes to set up initially but then you have exactly what you need.
If you’re gonna share it with other people or access from multiple devices, make it in Google Sheets instead of Excel. The collaboration features are just better.
For printing weekly to put in a binder or on your desk, make sure you test print before you make like fifty copies. I learned that one the hard way when I printed twenty weeks’ worth and realized the margins were off.
The Microsoft template library one is fine for trying out the concept before you commit to something more customized. Don’t overthink it at first, just start using something and you’ll figure out what you actually need versus what looks nice but you’ll never use.