Digital Productivity, Online planners, Planners
Trip Itinerary Template: Free Travel Planning Tools
Mar
Okay so I just spent like three weeks testing every free trip itinerary template I could find because honestly my Japan trip last month was a disaster without proper planning and I’m never doing that again.
The Google Sheets Templates That Actually Work
Right so Google Sheets is gonna be your best friend here. I tested probably eight different templates and most were trash but there’s this one from Vertex42 that’s honestly perfect for people who like having everything in one place. It’s got tabs for flights, hotels, daily schedules, packing lists, the whole thing. The budget tracker is what sold me though because you can see in real-time how much you’re spending and I am terrible at math when I’m excited about a trip.
What I love is you can share it with whoever you’re traveling with and everyone can edit simultaneously. My sister and I used it for our Portland trip and she kept adding these random food trucks at 2am which was actually super helpful because I never would’ve found that amazing dumpling place on my own.
The daily itinerary section breaks down hour by hour if you want that level of detail or you can just do morning/afternoon/evening chunks. I’m more of a chunks person because scheduling every single hour stresses me out and then I feel bad when we inevitably run late.
Setting It Up Without Losing Your Mind
Download the template first and make a copy so you don’t mess up the original. Then start with your fixed things like flights and hotel check-ins because those can’t move. I color-code mine – blue for transportation, green for accommodations, yellow for activities I’ve already paid for.
Oh and another thing, add a column for confirmation numbers. I cannot tell you how many times I’ve been standing at a hotel desk frantically searching my email for a booking code. Just put them all in the spreadsheet with the booking platform so you know where to look if something goes wrong.
Notion Templates When You Want It Pretty
Okay so Notion is having a moment and yeah the templates are gorgeous but they’re also actually functional which surprised me. There’s a free travel planner template in their gallery that’s really visual if that’s your thing. My client Sarah uses it and showed me her whole Hawaii itinerary and I was honestly jealous of how nice it looked.
The template has these database views so you can see your trip as a calendar, a list, or a gallery with photos. The gallery view is great for restaurants because you can add pictures and it becomes this visual menu of places you wanna hit. I spent way too long making mine look aesthetic for my Portugal trip but also it made me more excited to actually go?
What’s cool is you can embed Google Maps directly into the pages. So like for each day I had a map with all the locations pinned and I could just click through. Way better than switching between apps when you’re already overwhelmed in a new city.
The Learning Curve Is Real Though
Not gonna lie, Notion takes a minute to figure out. I watched probably three YouTube videos before I understood how databases work. But once you get it, you can customize literally everything. Add properties for budget per activity, travel time between locations, whether something’s kid-friendly if you’re traveling with family.
I made a property called “energy level required” because I know myself and I cannot do two high-energy activities in one day without getting cranky. So I’d mark things as high, medium, or low energy and balance my days accordingly. Game changer for someone who used to plan museum after museum and then wonder why I was miserable by 3pm.
The Simple Microsoft Word/Google Docs Approach
Wait I forgot to mention the basic templates if you’re not into spreadsheets or fancy apps. Sometimes you just want a simple document you can print out and that’s totally valid.
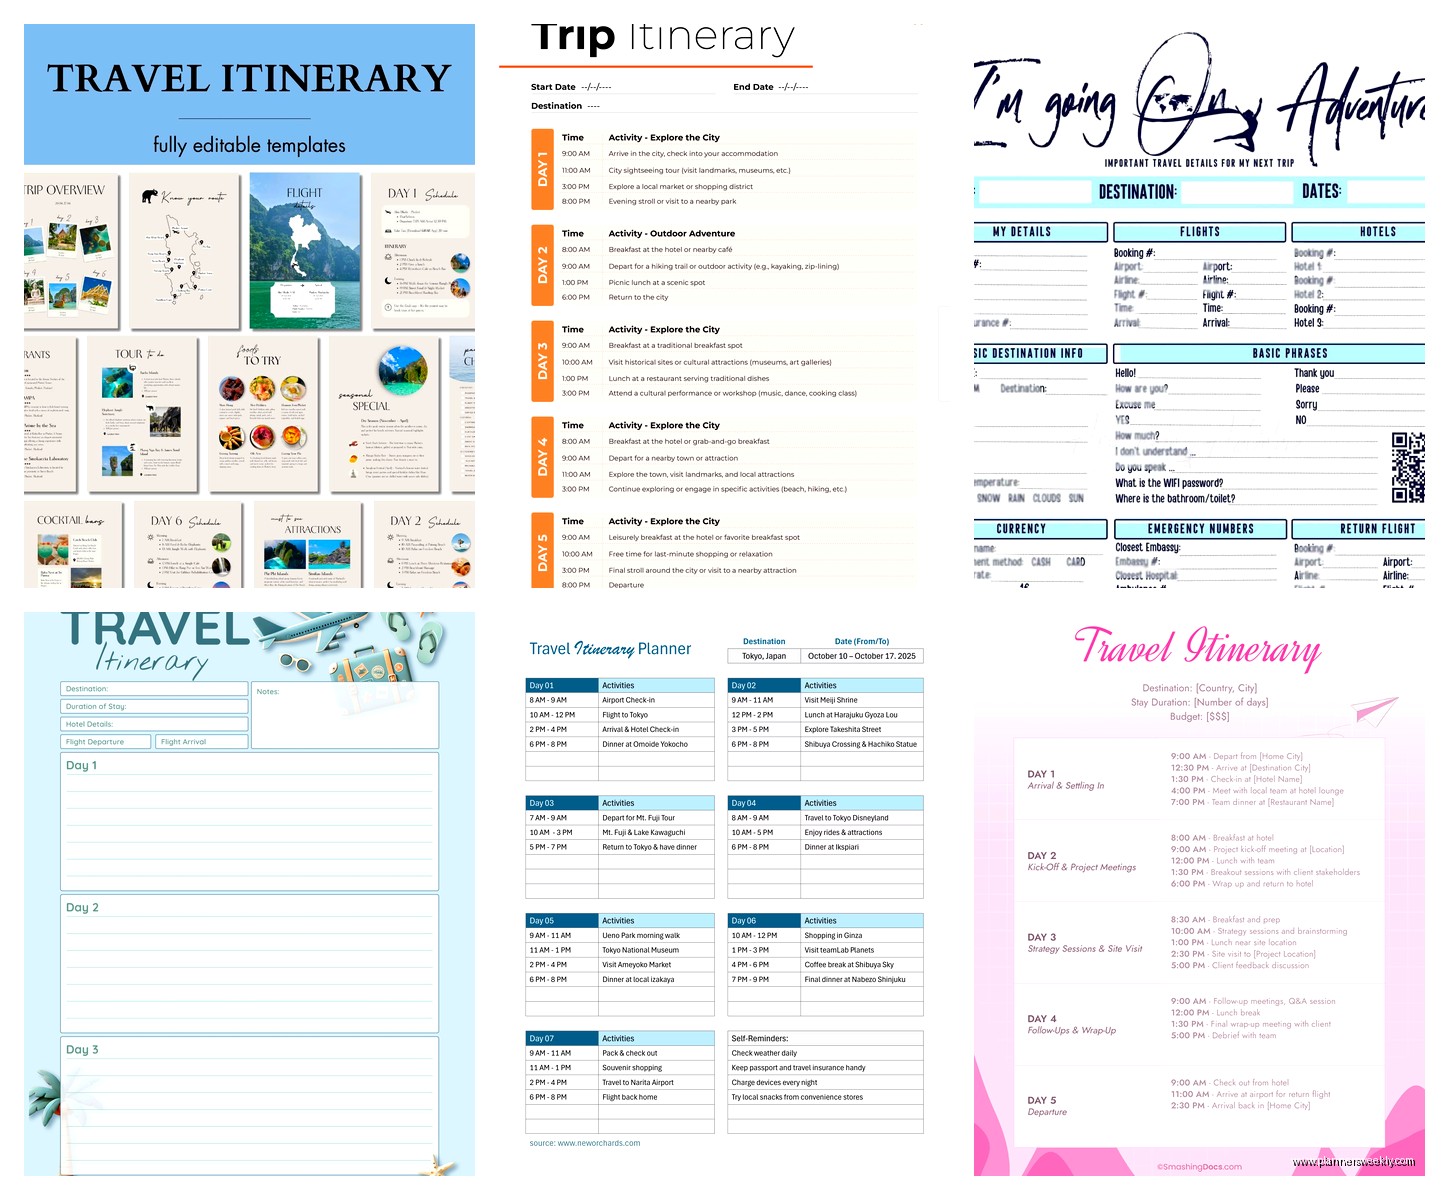
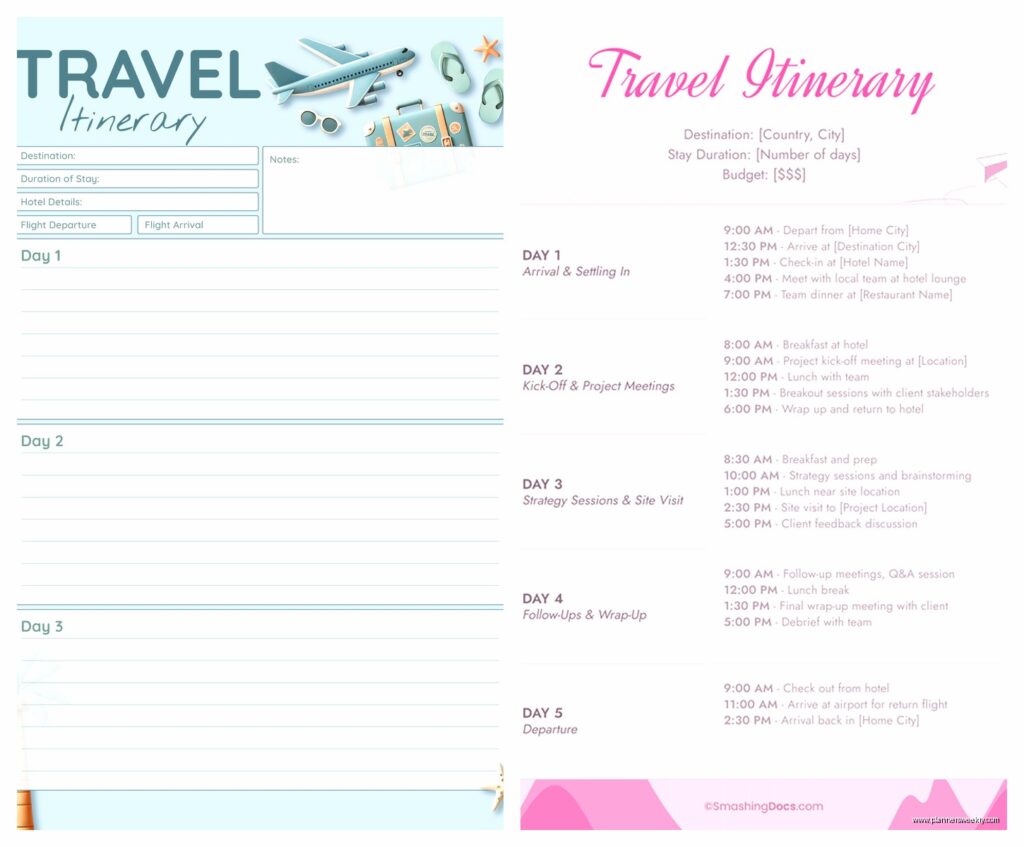
Google Docs has templates in their gallery under “Travel” and there’s a basic itinerary one that’s literally just a table with dates, times, activities, and notes. Super straightforward. I used this for my mom’s 60th birthday trip because she’s not tech-savvy and needed something she could print and keep in her purse.
The benefit here is it’s familiar. Everyone knows how to use a Word doc. You can share it as a PDF, print multiple copies, whatever. My dad still prints everything so this was the only option that would work for our family vacation.
Make It Your Own
The template is bare bones so you gotta add what matters to you. I always add a “backup plan” column because weather happens and museums close unexpectedly. Like when we went to Barcelona and our main activity got canceled, I had three backup options already researched with addresses and hours.
Also add emergency info at the top – embassy numbers, your hotel address in the local language, allergies if anyone in your group has them. This is gonna sound paranoid but I also screenshot important pages and save them offline in case I lose service or my phone dies.
TripIt for the Automatic People
Okay so funny story, I resisted TripIt for years because I thought it was just another app I didn’t need. But then my friend convinced me to try it and now I’m annoying about recommending it to everyone.
You forward your confirmation emails to their special address and it automatically creates an itinerary. Like magic. Flights, hotels, car rentals, restaurant reservations if they’re through OpenTable or whatever. It pulls all the details and organizes them chronologically.
The free version is honestly enough for most people. You get a master itinerary, offline access, and you can share it. The pro version has flight alerts and stuff but I’ve never felt like I needed it. My cat just knocked over my water bottle so brb.
Why This Works for Scattered Planners
If you’re someone who books things randomly over several weeks, this keeps everything in one place without you having to manually enter it. I booked my Austin trip over like a month – flight one week, hotel two weeks later, some tours whenever I remembered. TripIt just collected it all as I went.
You can also manually add things that don’t have confirmation emails. Like if you’re planning to hit a specific taco stand or whatever, just add it as a note on that day. It’s not as detailed as a spreadsheet but for people who want low-effort organization, it’s perfect.
Wanderlog for Group Trips
This app is specifically designed for travel planning and it’s free for basic use. The interface is really intuitive – you can add places from Google Maps directly, rearrange your days by dragging and dropping, and it automatically calculates drive times between locations.
I used this for a road trip with three friends and we all had the app so everyone could add suggestions. You can vote on activities which was helpful when we couldn’t agree on anything. Also it has this feature where it optimizes your route so you’re not backtracking across the city like an idiot.
The map view shows everything you’ve planned for each day color-coded by category. So all your food spots are one color, attractions another, hotels another. Visual people love this and honestly it helped me see when I was trying to cram too much into one area or when I had weird gaps in the day.
Collaboration Without the Drama
Everyone can add notes and photos to places. So my friend who’d been to Nashville before added tips like “get here before 10am or the line is insane” or “skip this it’s overrated.” Way more helpful than just having a list of places with no context.
You can also see who added what which is good for accountability. When someone keeps adding expensive restaurants and then complains about the budget, you have receipts.
Making Your Own From Scratch
Honestly sometimes the templates are too much or too little and you just gotta make your own. I did this for my Iceland trip because it was mostly driving between natural landmarks and none of the templates really fit that format.
I used Canva which has free travel itinerary templates you can customize. They’re designed to look nice which matters to me more than it probably should. I made a one-page visual itinerary with a map, daily highlights, and key info. Printed it on nice paper because I’m extra like that.
What to Actually Include
Start with dates obviously. Then your accommodations with addresses and check-in times. Major transportation like flights and car rentals. Then break down each day however makes sense for your trip.
I like having a “must-do” and “if we have time” section for each day. Takes pressure off because not everything has to happen. Some of my best travel memories are random things we stumbled into because we weren’t overscheduled.
Add estimated costs if budget matters. Include confirmation numbers. Put in addresses in a format you can copy-paste into maps. Add phone numbers for restaurants if you need reservations.
The Printable PDF Route
Template.net has free downloadable itinerary templates in PDF format that you can fill out by hand or type into. Very old school but also there’s something satisfying about physically writing out your plans.
I printed one for my grandmother when she came to visit me and we planned a week of activities. She liked having it in her purse to reference and honestly having a physical copy meant she wasn’t asking me “what’s next” every two hours.
When Digital Isn’t the Answer
If you’re going somewhere remote with sketchy service, print your itinerary. I learned this the hard way in rural New Zealand when I had no service for three days and all my plans were in apps. Had to wing it which was fine but also stressful.
Also some people just focus better with paper. My partner cannot plan digitally, his brain doesn’t work that way. He needs to see everything laid out physically and cross things off with a pen. Different systems for different people and that’s fine.
Combining Multiple Tools
Real talk, I usually use like three different things for one trip. TripIt for automatic collection of bookings, Google Sheets for detailed daily planning and budget tracking, and I’ll make a Canva one-pager for quick reference.
It sounds like overkill but each serves a different purpose. The automatic collection means I don’t forget confirmations. The spreadsheet is for planning mode when I’m at my computer researching. The one-pager is for when I’m actually traveling and need info fast without scrolling through tabs.
You gotta find what works for your brain. My sister uses only Apple Notes and somehow makes it work. My friend uses a physical Moleskine planner. There’s no right answer here just whatever system you’ll actually use.
The key thing is having your important info accessible, organized enough that you’re not stressed, and flexible enough that you can adjust when plans inevitably change. Start simple and add complexity only if you need it. Most people over-plan their first trip with templates and then scale back to what actually matters.